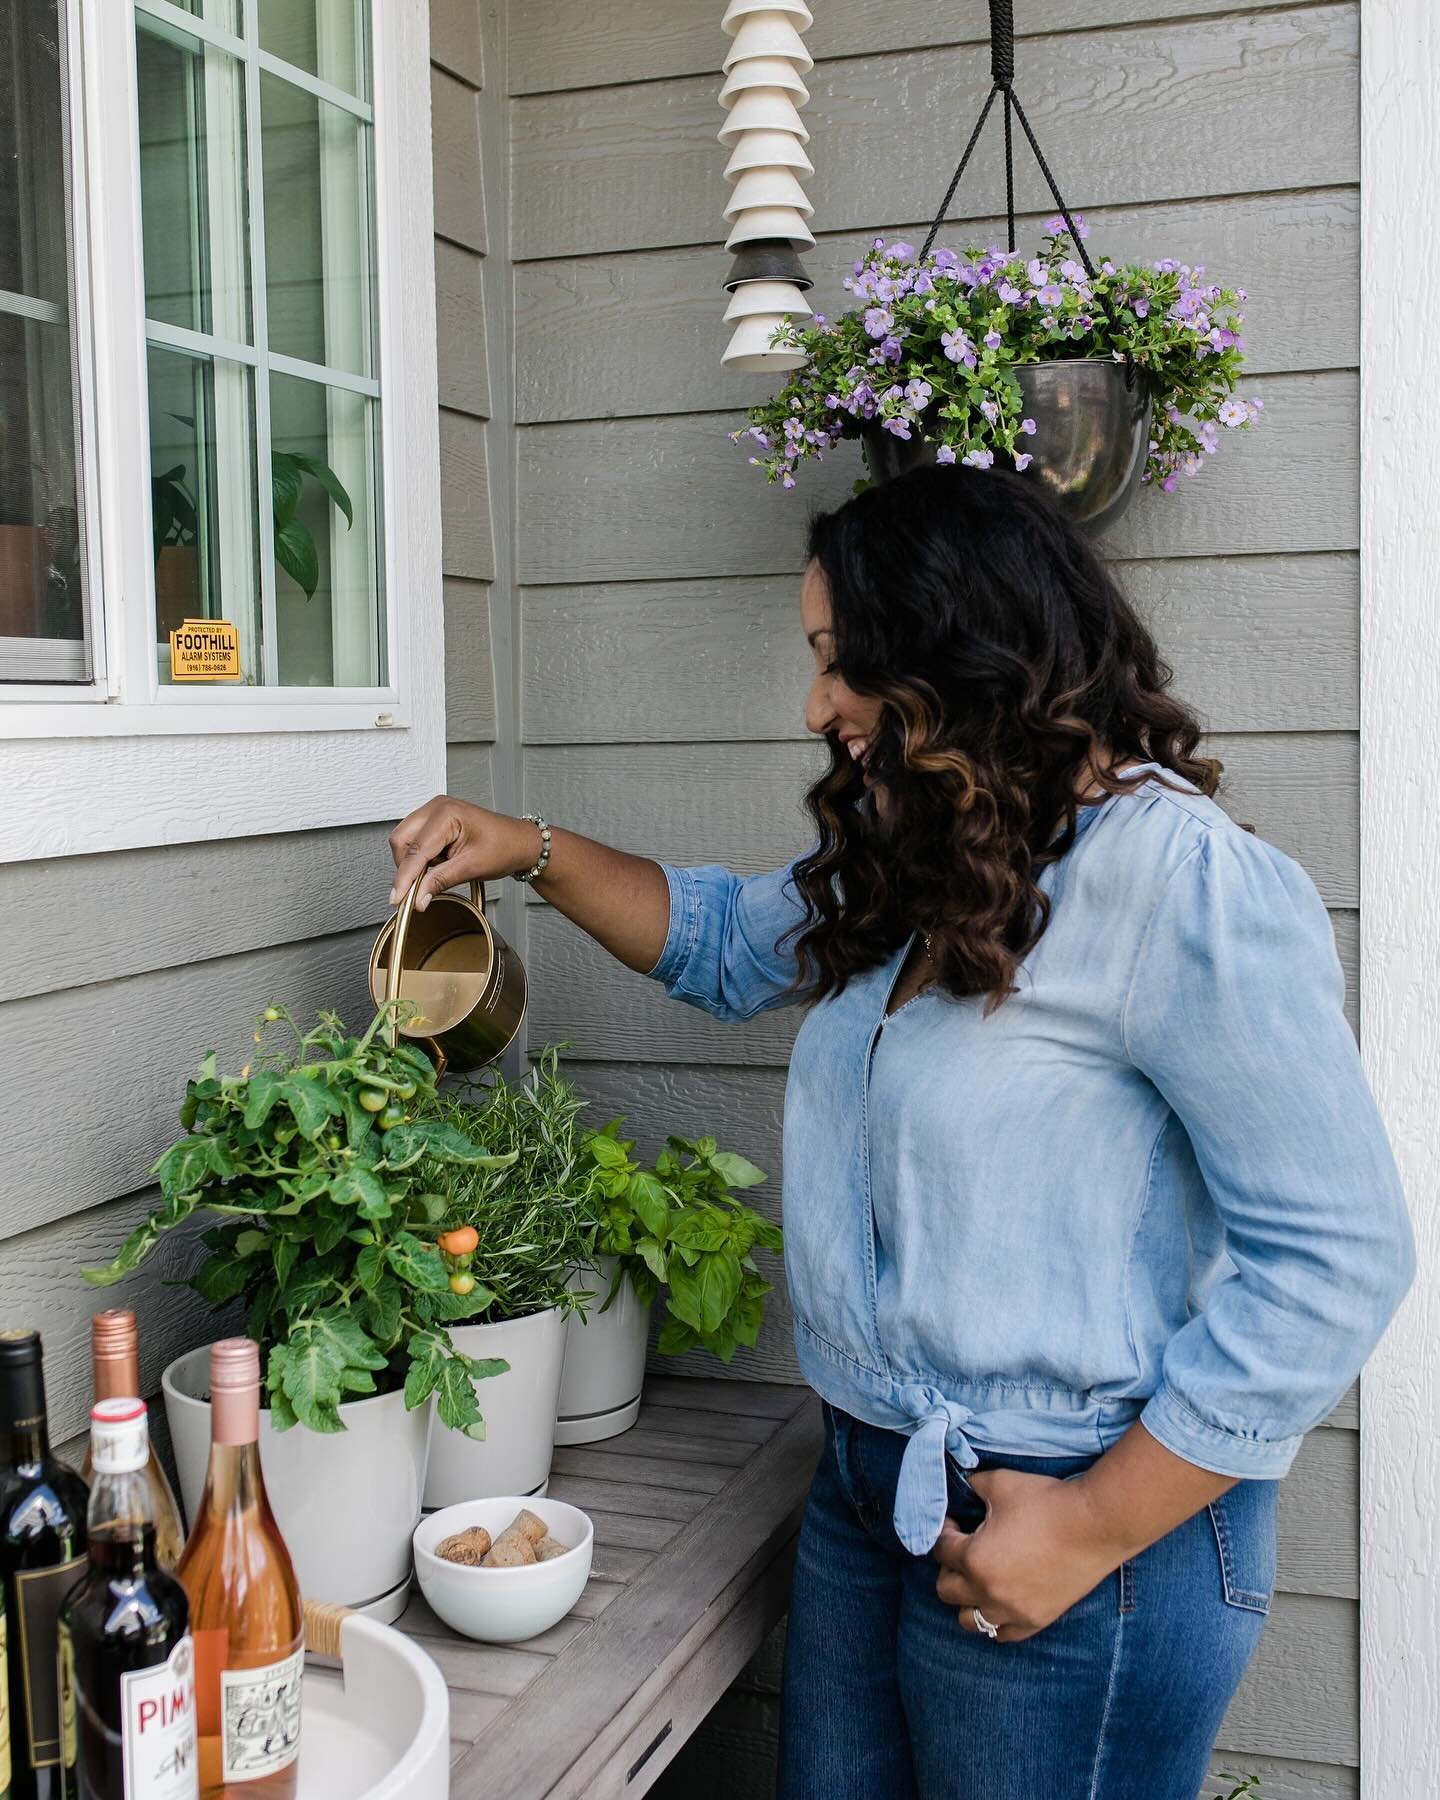
It’s always been a dream of mine to have my very own creative space. I adore my small home, but it’s lacking a little extra space to call my own for: DIY Projects, Sewing, Crafting, and Drawing and of course Blogging. Currently when I working a DIY Project, my home can get quickly overran with projects pilled on our dining room table and my bedroom becomes DIY Central [ not as glamorous as it sounds, trust me ]
With that said, I have some dream news to share; I’ve teamed up with
to collaborate on a ‘dreaming making’ project to transform a shed into my very own She Shed! This is project honestly a dream come true!! If you’re not familiar with the She Shed concept, it’s basically transforming a shed into a women’s own space that can be used for whatever they want, from a reading nook to a craft room etc.
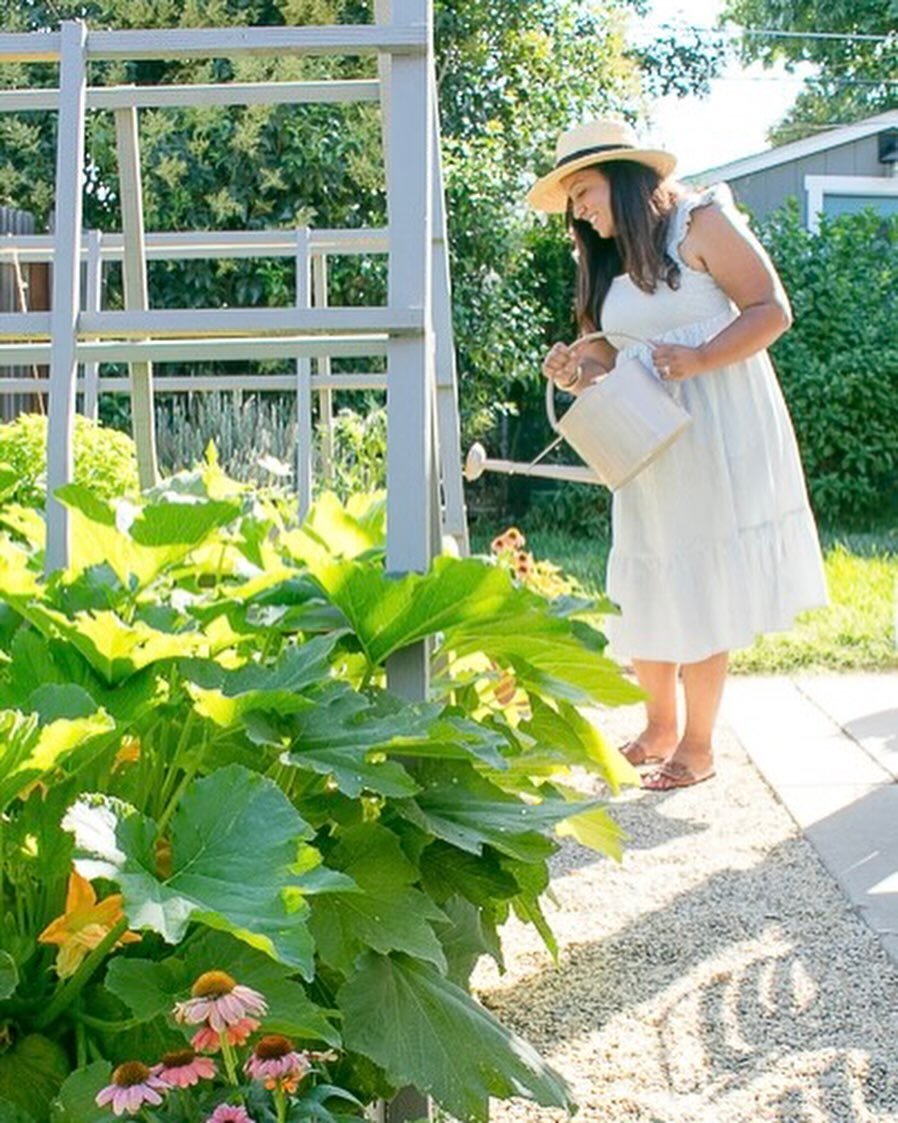
I plan on using the She Shed, as my Creative Studio Hub for: blogging, interior design projects, sewing & upholstery, crafting and photography and more. For my shed, I choose a
, giving me 120 square feet of creativity that I can call all my own. One thing [trust me I really have 100+ reasons] I love about the TUFF SHED from The Home Depot is the ability to pretty much to customize their sheds from concept to reality, or as I prefer to say dreams into reality. A year ago, I came across a book while visiting one of my best friends called ‘
Stylish Sheds & Backyard Hideaways
’, which was a huge source of inspiration for me while designing my TUFF SHED into my backyard studio. I worked with the Jeff, TUFF SHED regional manager in my area to help determine the best location for my shed in my backyard along with taking my concept for my shed from paper to reality. Where I live in Northern California, we have zoning guidelines for how tall, how large, and how close sheds can be placed on near easements (
fence lines
) and how close they are allowed to be placed near homes, before
requiring
a building permit. Working with Jeff from TUFF SHED, we made sure my new she shed stayed within those guidelines so no building permit would be required.
Exterior Design Plan
I’m so excited to share my design plan! I envisioned my TUFF SHED as a mini cottage version of our beloved rancher. I’ve already lovely renamed my She Shed, my Cottage Studio because it feels like a little backyard cottage, hang tight I’ll share my cottage soon and you’ll see how it got its new name. Below is my design inspiration board, I put together to help visualize my design plan.


For the exterior of the cottage, I decided to use the same paint colors as our house Pier by Behr and the trim Ultra Pure White by Behr, both in satin finish. I love the idea of adding a trellis on the side of the shed and planting an evergreen flowering vine to grow up the side of the shed.
I also plan on building either window flower boxes or a window ledge to hold flowers. To help our shed blend into the surroundings and feel intentional and like it’s always been a part of our yard, the plan is to enlarge our existing garden bed next to our fence line and plant a variety of drought resistance plants, flowers and ornamental tree. I have my heart set on planting either a flowering Dogwood or Crepe Myrtle tree. I think either one would be darling
addition
to our yard and provide a little shade. On the right side of our shed, I love the idea of planting a trio of hydrangeas that love morning sun and afternoon shade.


image via
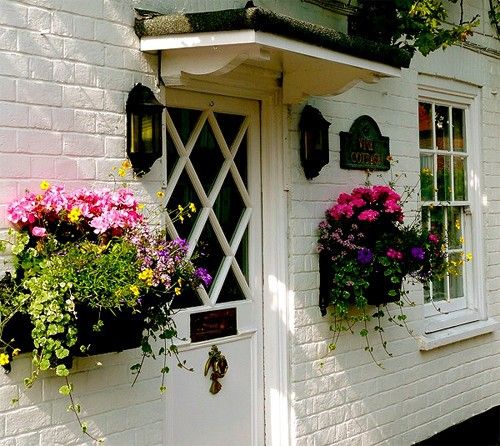
Image via
Lucy Williams Interior Design Blog
I also want to create a pathway that leads to the studio, my favorite look is stone or brick steps placed in grass.
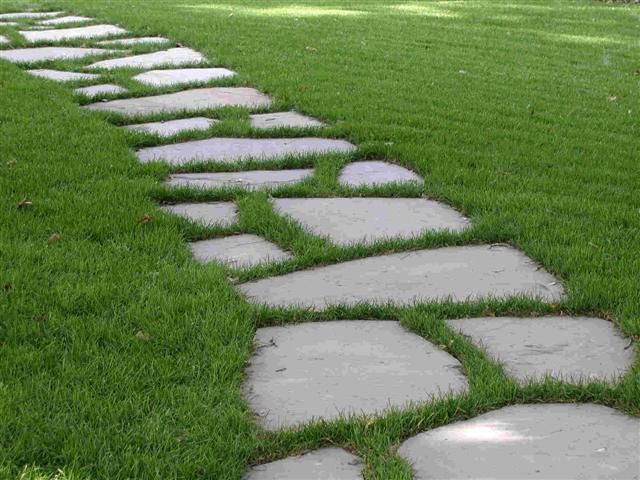
Image via
For the interior design of the shed, I plan on painting the walls a very pale grey with white baseboards, similar to the interior of our house. I plan on using bookcases to hold books, my sewing machine fabric and more. I’m so excited my ever growing fabric stash will have a new permanent more organized home. I also love the idea of building a window seat inside, filled with lots of colorful pillows giving me extra seating inside and a spot to
curl-up
blog and read at.

Image via

Image via the
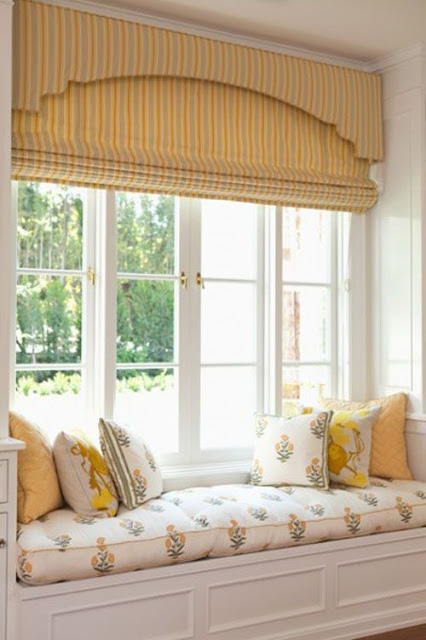
Image via
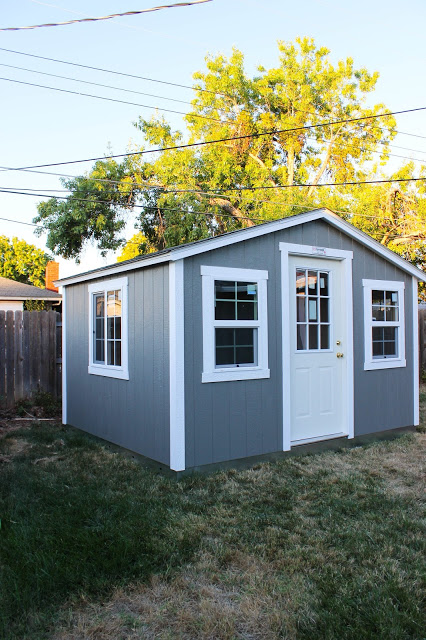
Now, drumroll please the moment you’ve all been waiting for, here’s my she shed! It was so exciting watching the arriving my shed, on the back of the trailer. The TUFF SHED was prefabricated then built on site. It was so exciting watching my shed arrive and seeing how everything was put together.


To prep our yard for the arrival of the shed, we removed our grass and laid down gravel to give our shed a nice even pad to sit on top of. The build team of Bill and Joe where extremely nice and paid attention to detail while building our TUFF SHED. Since I’ll be using my TUFF SHED as my creative hub year round and the interior will have insulation and drywall, TUFF SHED added house wrap inside which creates a weather resistant barrier to my shed.

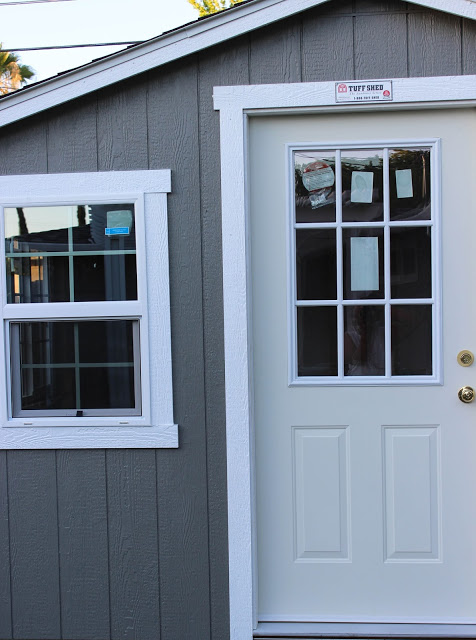
Now for a better look at our new TUFF SHED that is now called my Cottage Studio, isn’t my cottage the cutest! I’m in love with it, the shed is the perfect size and fit for our backyard. I’m in love with the twin windows in the front of the shed, and the door! The front door on our shed, matches our laundry door that we enter / exit to our backyard. Doesn’t the door we chose, give off cute cottage vibes! I love rooms filled with
natural
light, so lots of windows were a must. In the front there are two 2 24x36 windows and on each side of the shed 2 36x36 windows and it also has a skylight! I'm in love with the skylight, best decision ever! The skylight lets in pretty
opaque
lighting in, which is such a must.
I can't wait to plant the perfect vine to grown along up along the side of the cottage, its going to look so pretty, along with adding plants in the front like I mention above.

Now for some quick photos of the inside of the cottage, its amazing how much different the inside of my little cottage looks compared to just when it first arrived. The white inside of the shed, is the house wrap I mentioned above to help keep my cottage water tight.
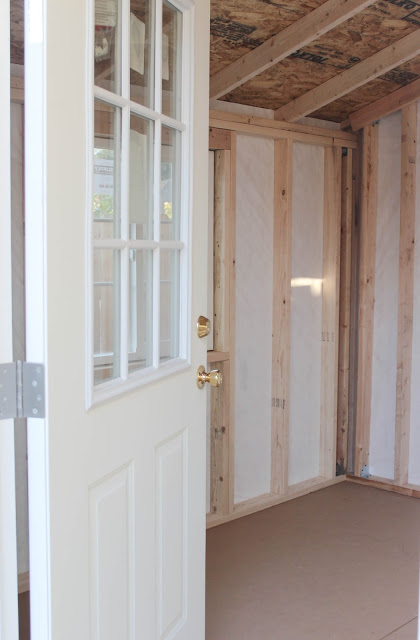
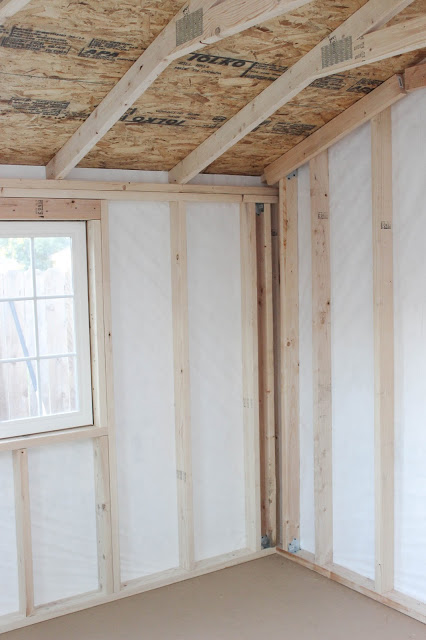
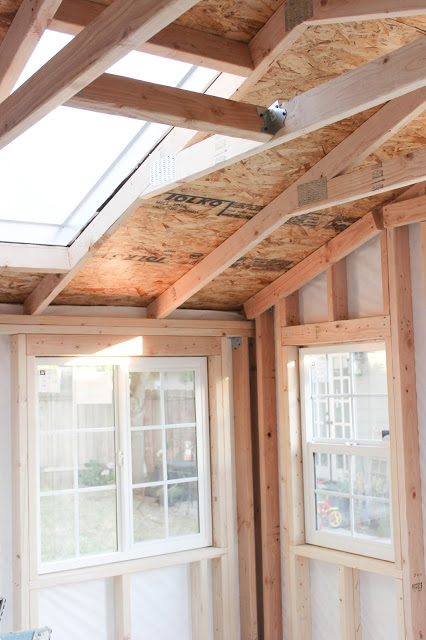
Now that our shed has been installed, we’ve been hard at work getting the shed framed inside and ready for insulation and drywall, along digging a trench for electrical. I'll
share
more of the Electrical details in another post.
Exciting things are happening and I’m so excited to share our finished cottage in a few weeks with you all.
Friends, what do you think of my new she shed? Could your backyard also use your own creative outlet?
Follow Along My Home Depot Project The Cottage Studio
The Cottage Studio: Behind the Scenes Part I
The Cottage Studio: Behind the Scenes Part II
The Cottage Studio Color Story
The Home Depot Apron Blog, She Shed Reveal
This Post is Sponsored by The Home Depot
I acknowledge that The Home Depot is partnering with me to participate in this shed program. As a part of the Program, I am receiving compensation in the form of products and services, for the purpose of promoting The Home Depot. All expressed opinions and experiences are in my own words. My post complies with the Word of Mouth Marketing Association (WOMMA) Ethics Code and applicable Federal Trade Commission