

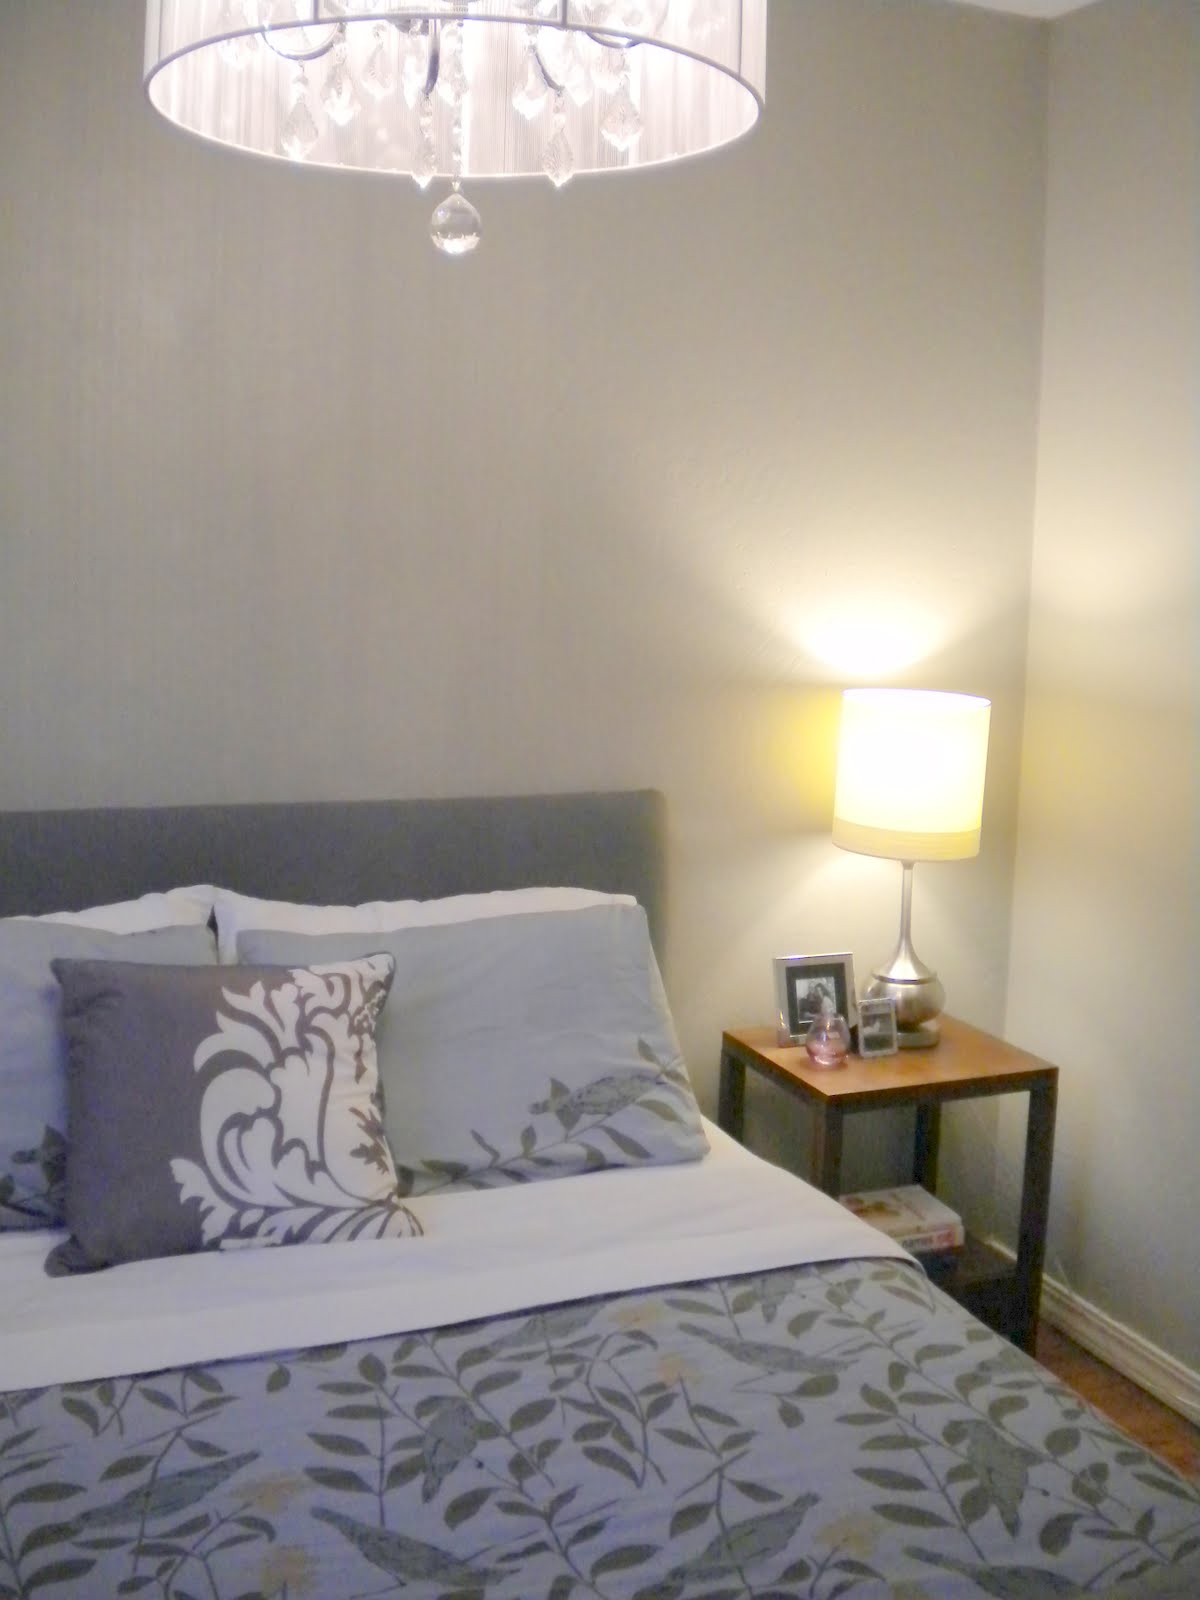
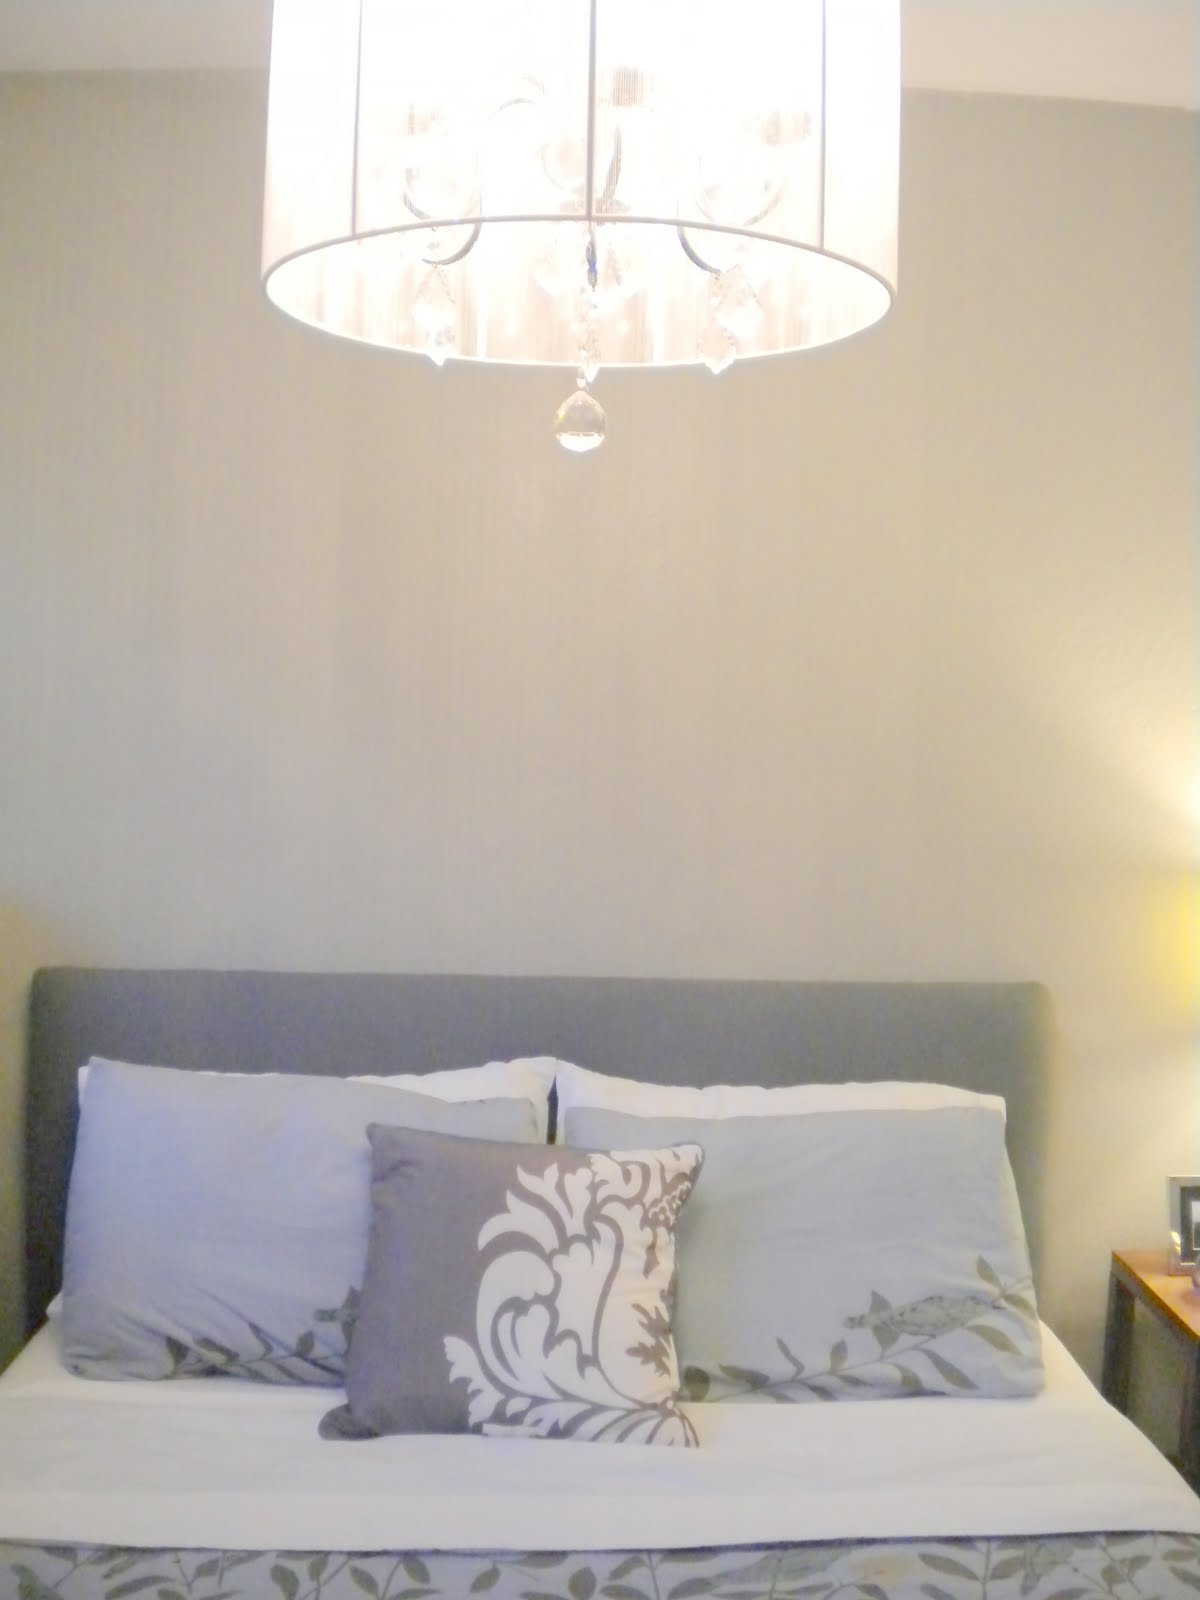
But back to our headboard project. After much consideration and debate between a light grey fabric vs. a dark grey fabric. We went with a dark grey linen fabric{ so glad we did } Our inspiration for our was the Nail head Upholstered Headboard from West Elm. Here's a glance of our headboard.
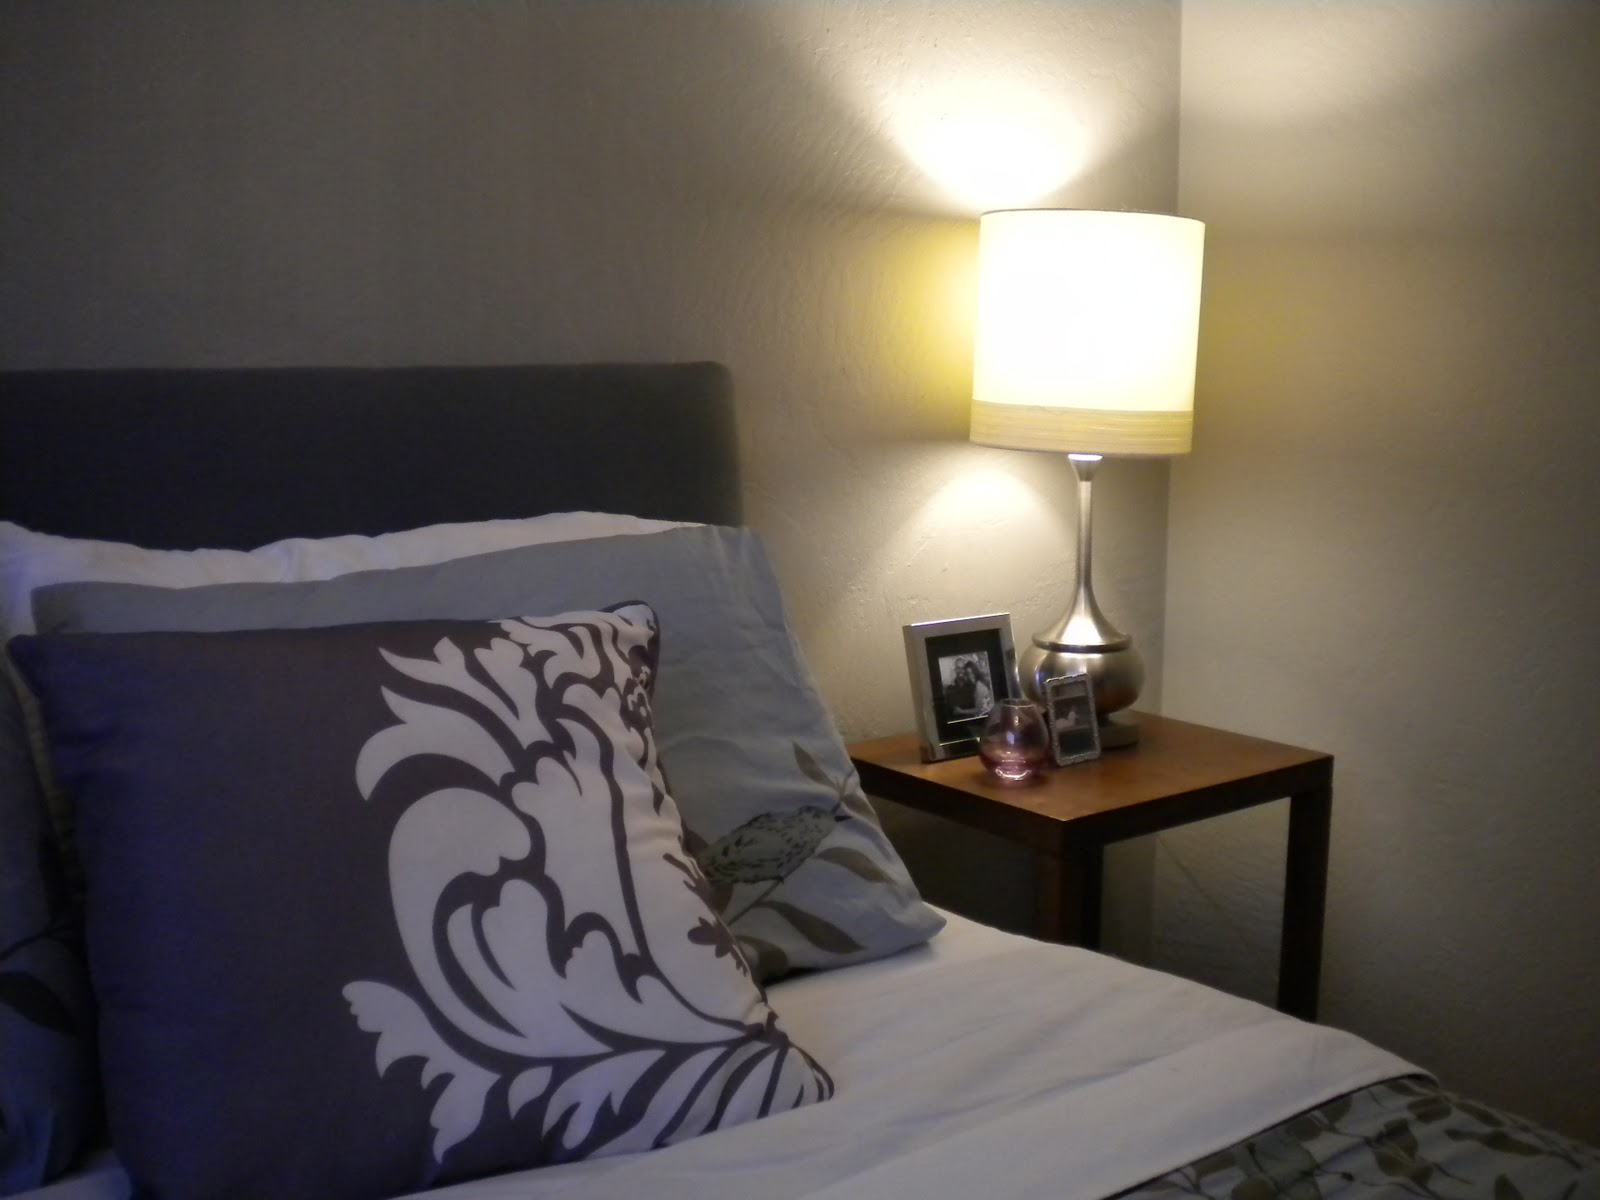
Supplies:
Particle Board Cut to 63 wide x 43 high { just a smidge larger then a Queen bed width }
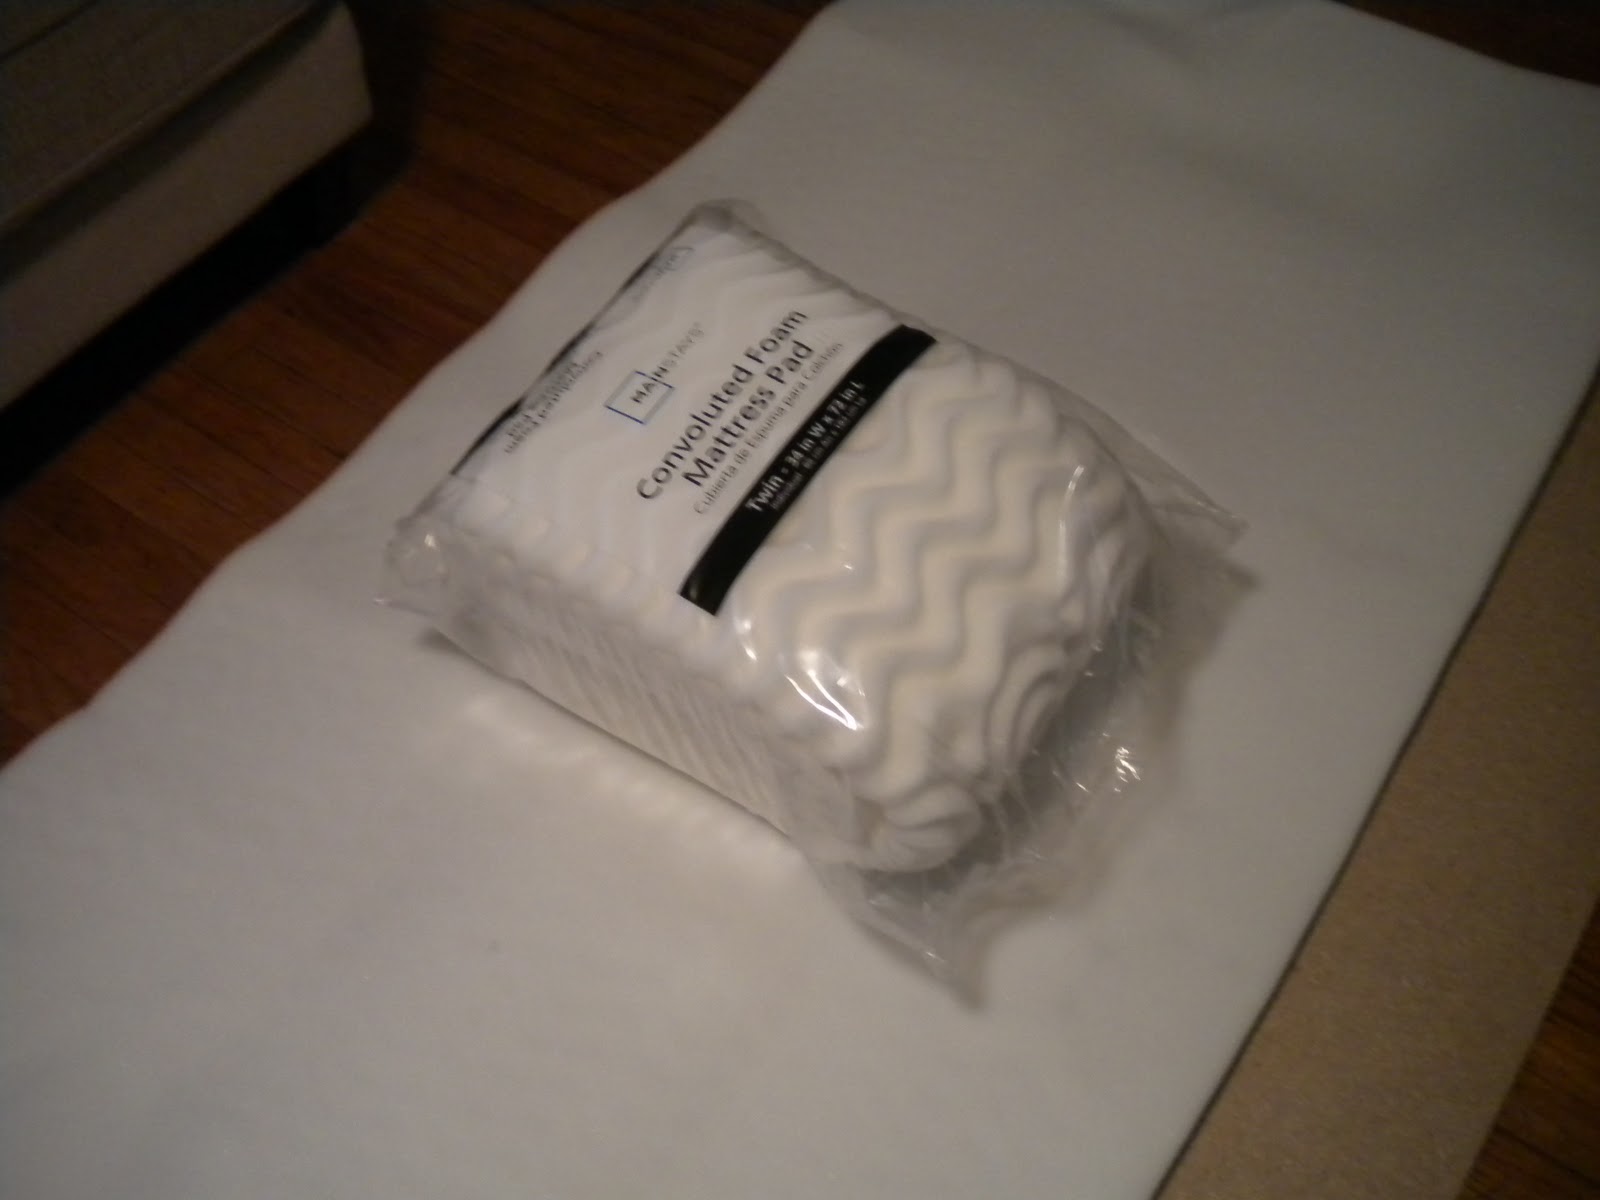
2 Twin Mattress Foam Pads
2 Yards of batting
2 Yards of Muslin
2 Yards of Dark Grey Fabric
Staple Gun and Staples
Here's what we did. Instead of buying expense foam, we bougth two twin mattress pads from Wal-Mart and placed the flat part of the pad on top of the board. Then place the other pad contoured side down, which created a nice thick pad. Note: The pad wasn't wide enough to cover the entire length, which is fine because the portion is the very bottom of the headboard which will be cover by the box spring
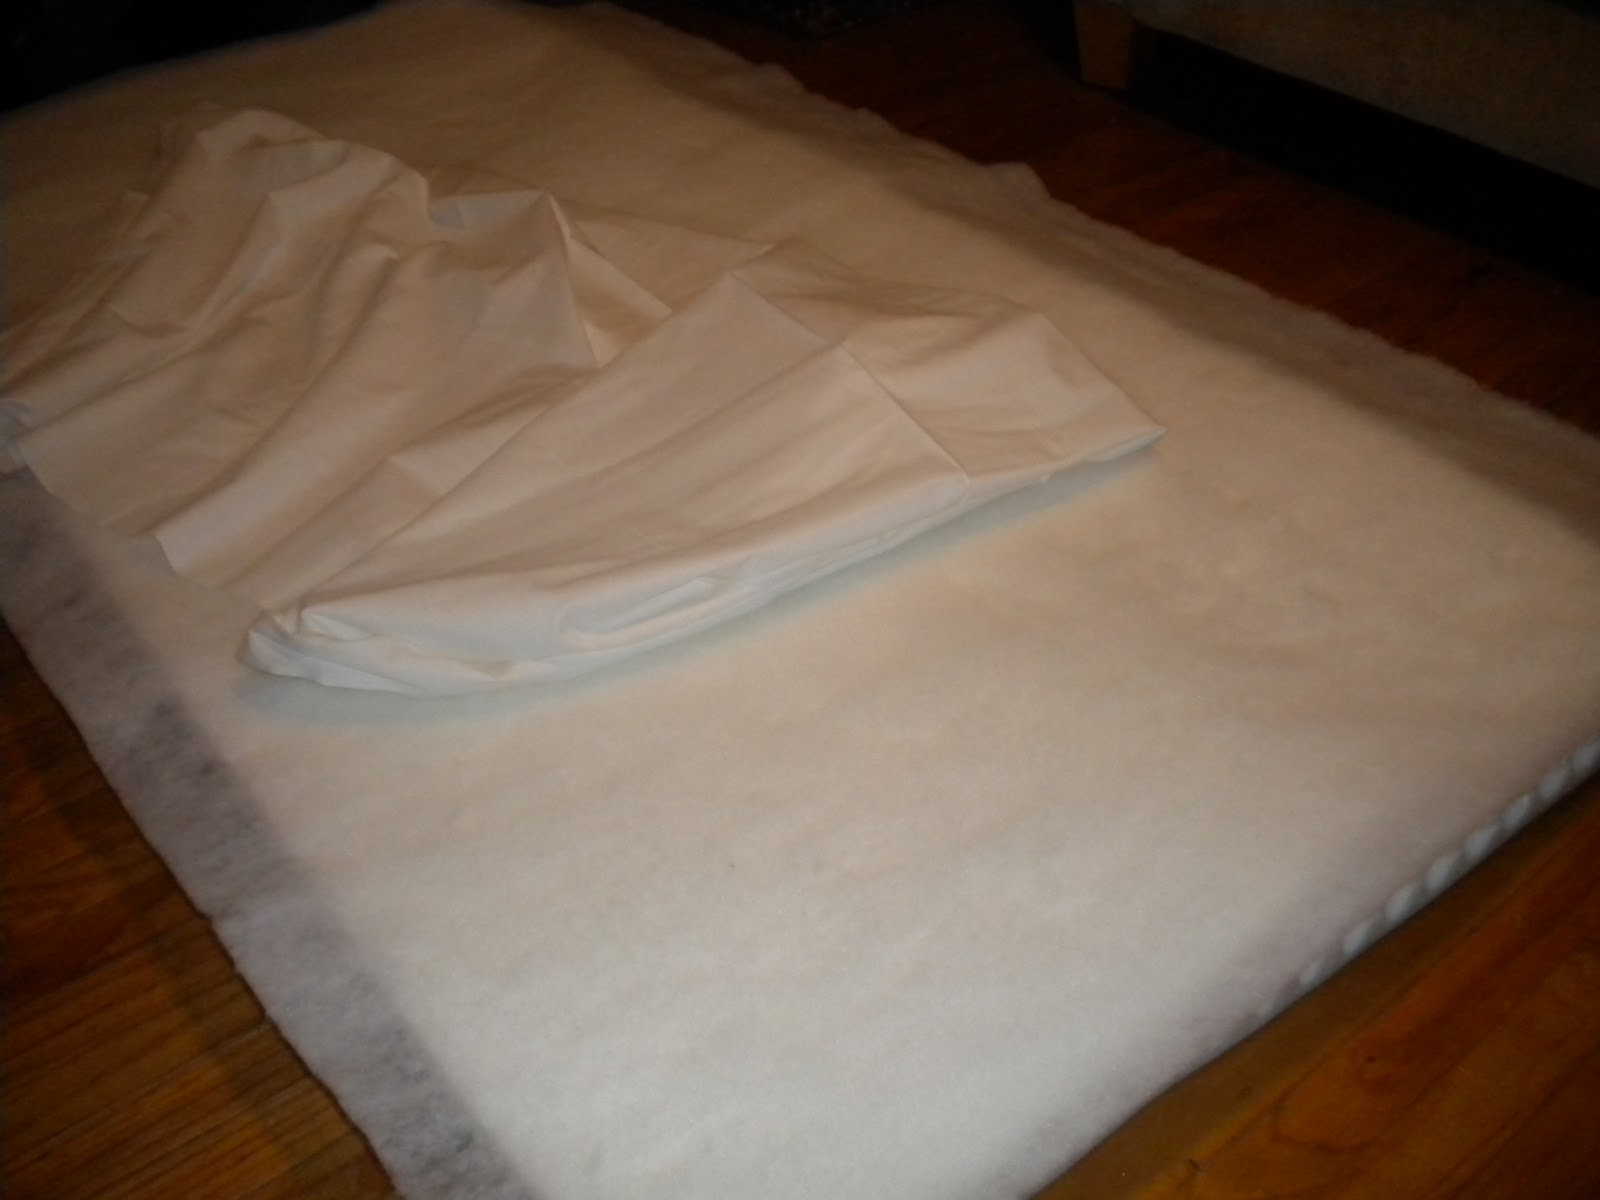
Next we placed the batting over the pads and then wrapped the foam around the board and stapled the batting and muslin in place.
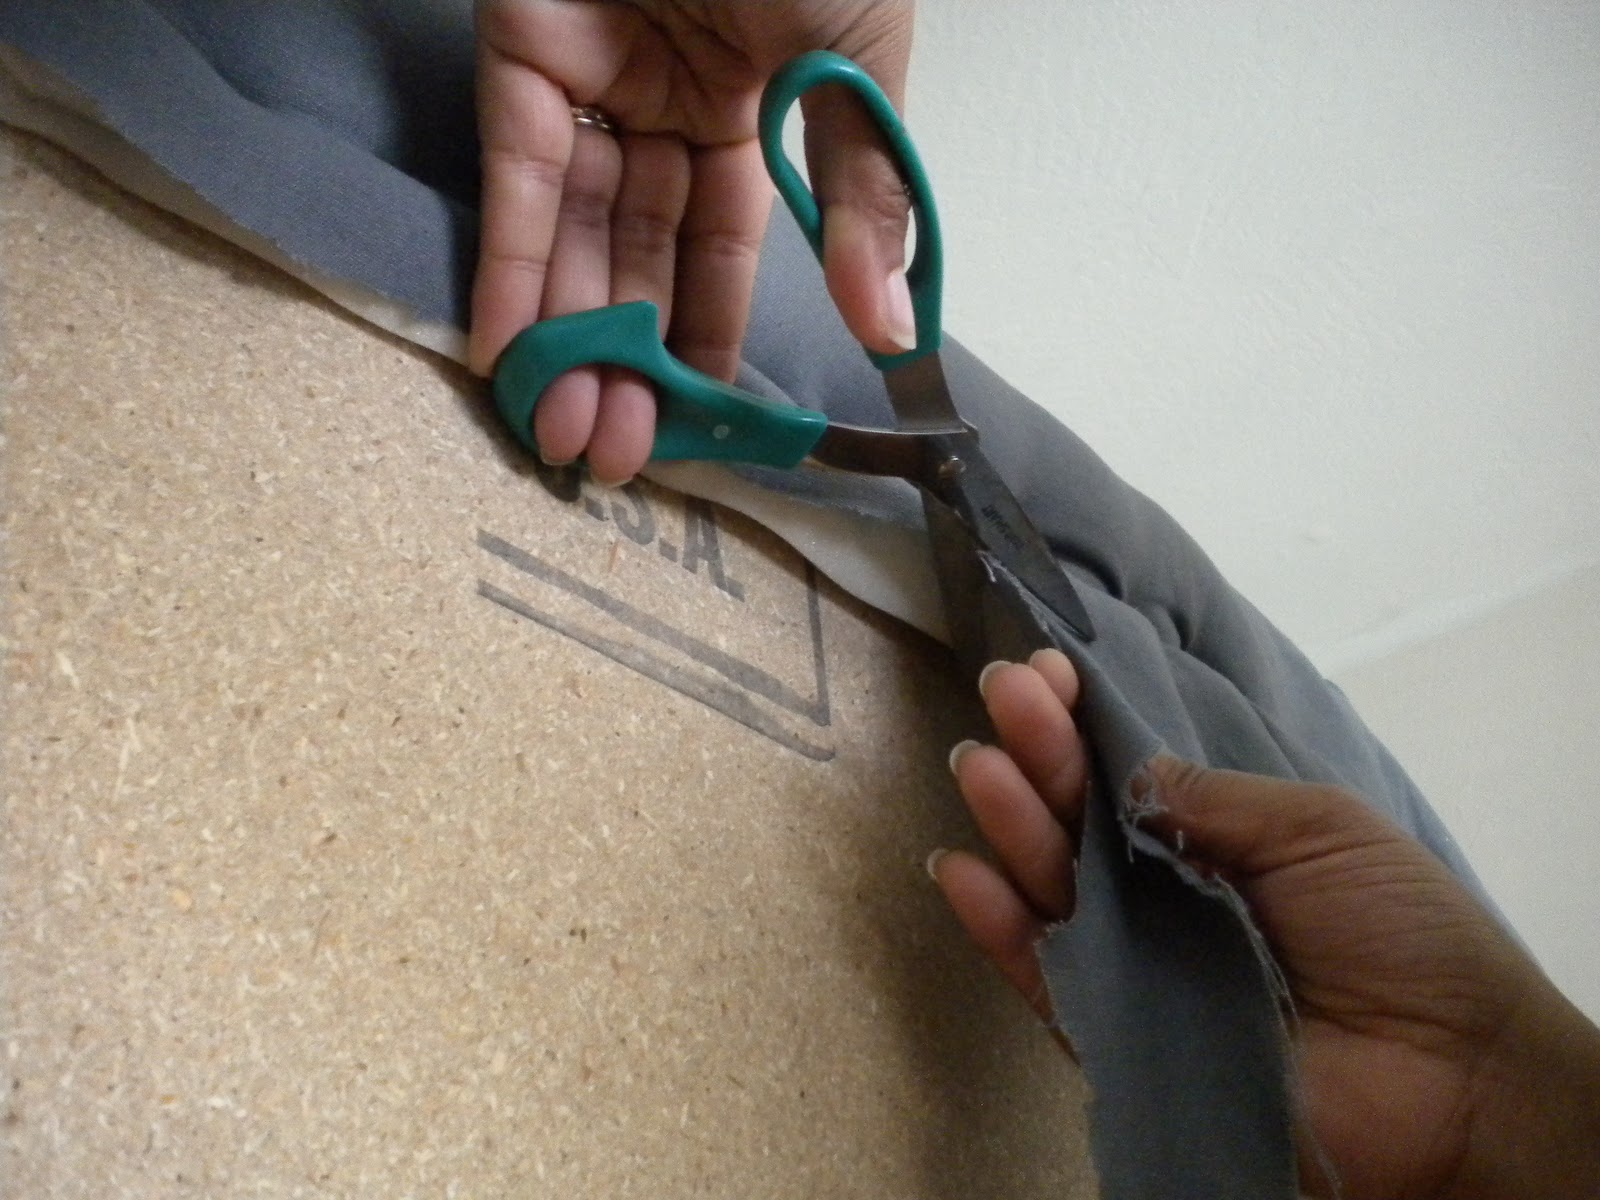
Then we stapled the grey fabric on the board. First we stapled the top then bottom and then sides. We pulled the material very very tight. Then I carefully trimmed the excess fabric from the back of the board.
We really like how the headboard turned out, it looks great in our bedroom. I also love how soft the headboard is, its nice to sit up in bed and have a nice thick cushion to lean on. We decided to skip nail heads on our headboard and prefer how it looks without. We are also playing with the height of the headboard and most likely will raise it a few inches. Before the headboard after, a reminder of how bedroom looked pre-headboard.
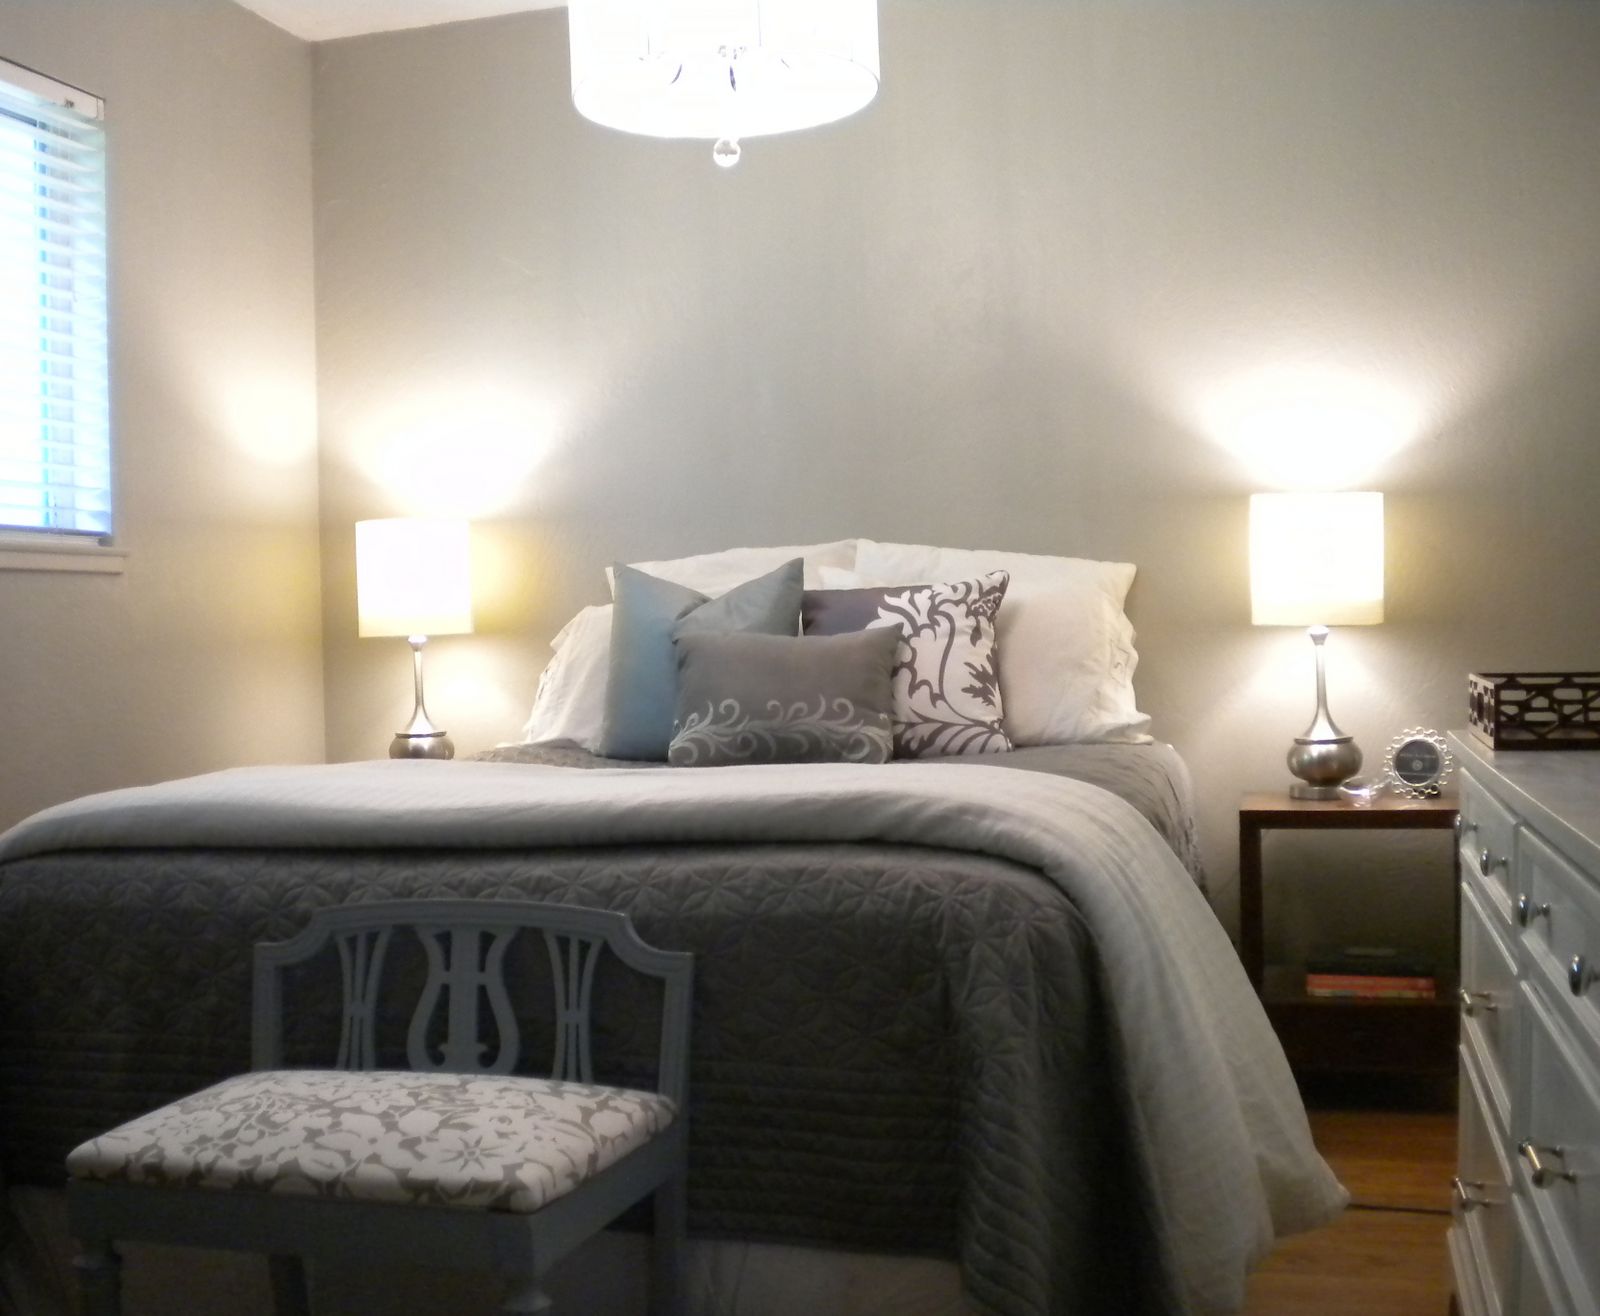
Here's our diy headboard in our bedroom.
What project are you looking forward to completing?




Oooh looks so good! Did you hang it on the wall, or is it on legs?
ReplyDeleteVery nicely done.
ReplyDeleteIt looks great, the headboard makes a huge difference!
ReplyDeleteThanks everyone! We used legs on the headboard and are still thinking about raising it a few inches
ReplyDeleteLooks great. The mattress cover must make it very comfortable for sitting in bed.
ReplyDeleteThat's a project I've always wanted to take part in for our bed!! You made it look so easy!
ReplyDeleteKarrie the proejct is pretty easy, but for sure a two person job.
ReplyDeletePerfect! It looks so much more "finished" with the headboard. The dark grey was a good choice. I wish we had a chic fabric headboard instead of the big wooden one that came with our bedroom set! But making a new one is not at the top of the priority list right now. :)
ReplyDeleteI always think a headboard finishes the room. Great use of cheaper items (from Walmart) to make a beautiful piece.
ReplyDeleteWow, this is one of those situations where you don't realize something was missing until the "after." It looks great!
ReplyDeleteLooks great! I think it would look nice if you raise it a few inches. How are you attaching it to the bed?
ReplyDeleteI am having pillows made for our sofa. I am excited to see how they will change the room. We are also adding molding to our empty dining room.
Looks great girl! I'm glad that you went with dark gray!
ReplyDeleteAmy - Thanks! I'm pretty sure we'll raising it a few inches, we used 'legs' and attched it to our bedframe with brackets.
ReplyDeleteLove the look! And I love the lamps!
ReplyDeleteLooking Good, Katrina!!!
ReplyDeleteShannon
{aka}|design
I loooovvveeeee your headboard! When my husband comes home from work I am going to show it to him... Perhaps have a headboard by next week ;).
ReplyDeleteIt looks so great. I've been thinking about doing this for such a long time, but I just haven't gotten around too it. Perhaps this is just the inspiration that I need :)
ReplyDeleteI really like the cool gray colors of your bedroom...and that head board is killer...I'm going to paint Mini's headboard black this weekend...
ReplyDeleteThis is really cute. Im getting married in 9 days, trying to get my apt ready for my hubby and we are on a tight budget so this is an awesome idea so our bedroom can be more put together. How much did the total project cost?
ReplyDelete