Sweet Storage Idea

Thursday, August 29, 2013

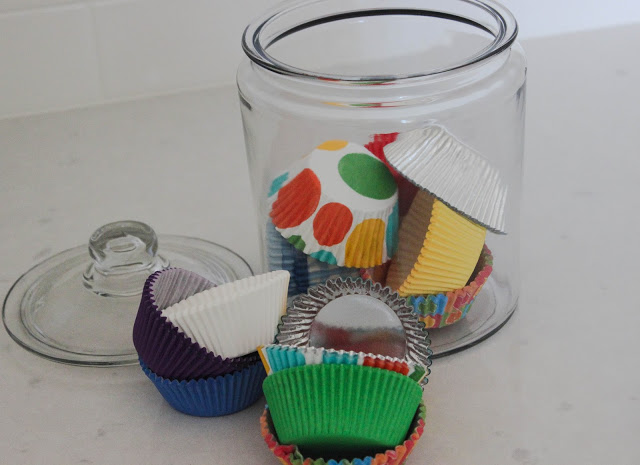
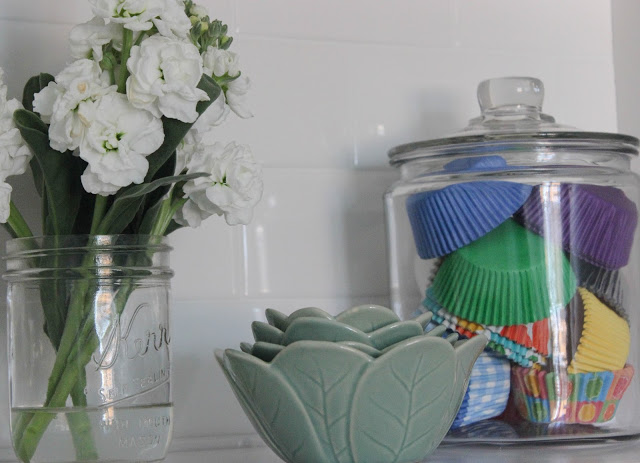
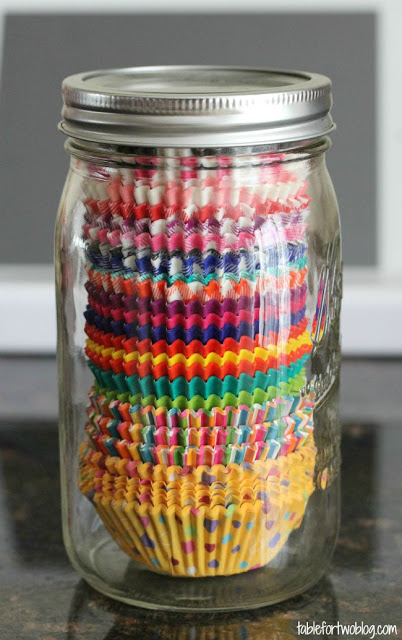
I love when I come across cute storage ideas for my kitchen. I was reading though the September issue of HGVT when I saw a sweet way to store cupcake liners. I seriously fell in love with this idea, typically my cupcake liners are thrown in a cabinet and I'm on the hunt for them when its time to bake cupcakes. I already use two large glass containers to store our flour and sugar in and decided to buy the smaller version to hold the cupcake liners. I bought the smaller version for around $5 bucks at Wal-Mart.


I love how the cupcake liners in a jar look on our shelves! I love how its cute, but not over the top cute, lol. Hope that makes sense! 


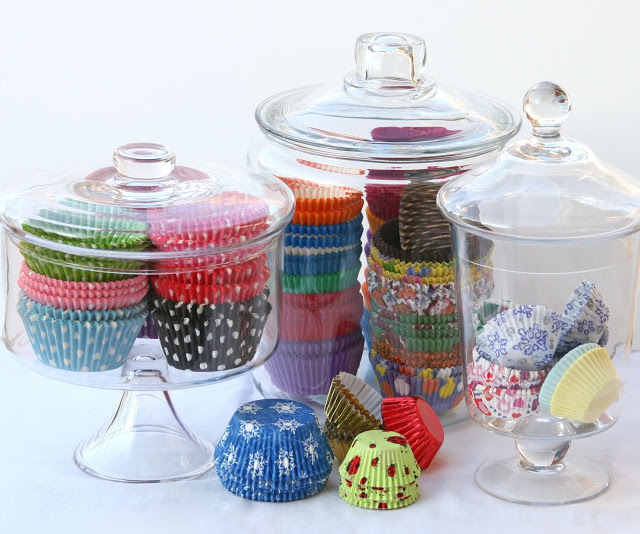
Here's a round up other other cute ways to store cupcake liners in your kitchen. Colorful cupcake liners shine so much in various glass jars: truffle jars, glass containers and glass footed jars.


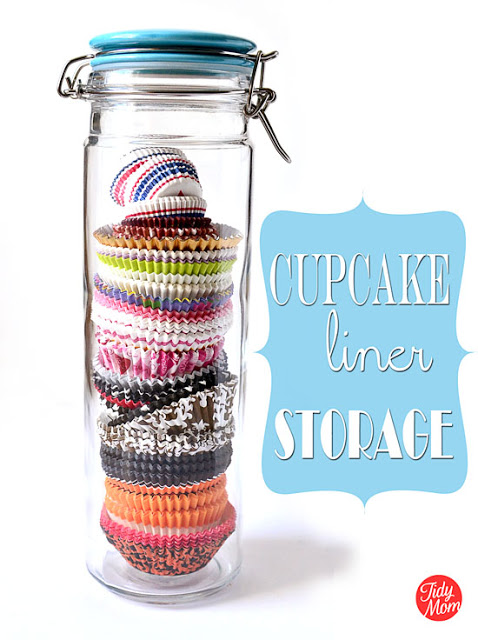
They look super cute all stacked up high in this tall glass container, that typically stores pasta


[via Tidy Mom]

Can Mason Jars do no wrong? Seriously the many ways you can use them amazes me!! Love this simple mason jar transformed with layers of colorfully cute cupcake liners. 

[ via Pinterest]

Don't be surprised if the next time you see my jar full of cupcake liners they all neatly stacked, in fact I'm might just go ahead and do that today, lol.

Have you seen any cleverly cute storage ideas lately for the kitchen? How do you store your cupcake liners? 


Couldn't Resist

Wednesday, August 28, 2013

I stopped in Ikea a few weeks back to buy a bunch of goose down pillows, seriously can't get over how affordable they are! I did a quick pit stop to look in the plant section, crossing my fingers I'd come across another forest for Fiddle Leaf Fig trees like a did at Home Depot. I mentioned before, I'd love to find another smaller fiddler for my bedroom to sit on a console table [whenever we buy one] Well, I did indeed come across another Fiddle Leaf Fig tree Forrest, they had a boatload all super green and lush. I swear I looked though the entire lot to find the smallest healthiest one I could find, and I think I did. Of course, I was so excited, I had to Instragram my find


Now in no way is my new fiddle is small and I highly doubt it would be able to fit on a console, but it looks so right for our bedroom. So far the Fiddle in my bedroom seems to be loving all the filtered sunlight coming in from our french doors throughout the day. In fact another fiddle leaf has appeared, see the almost Chartres leaf, that's a new fiddle fig leaf and its already super huge. There have been a few downsides, mostly from my curious two year old who found his way into our bedroom and tore one of the leaves apart. Cue me crying and reminding my son 'look with his eyes and not his hands.' Hopefully my new tree won't hold it against me. 


I still plan on placing the fiddle fig tree in our living room in a woven basket and like the idea of finding a large vintage pot for our bedroom fiddle. I'm going to start looking at Consignment stores and Ebay for the perfect pot. Right now, my fiddle is sitting in a plastic bag, I know so attractive, lol.


Have you bought any new house plants lately? Or found a Forrest of Fiddle Leaf Figs at Home Depot, Ikea or a your local nursery lately?


Homemade Vanilla Latte

Tuesday, August 27, 2013

Huge thank you for all the lovely words about our finished kitchen and another thanks to all my Instragram friends, feels so good to share our house rebuilding journey with you & finally share our kitchen! Now back to our to today's post on of my favorite things. 

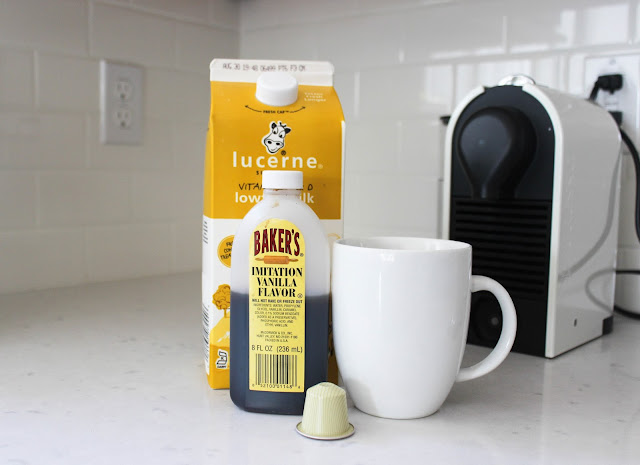
Right after I had Avery in the Summer of 2011, I fell in love with [decaf] Iced Vanilla Lattes. I loved how refreshing they tasted in the mornings on our walk to our local Starbucks with Avery and Tabari in tow. From that Summer on, I've been hooked on Vanilla Lattes iced or hot doesn't matter its my drink. I used to be a White Mocha girl back in the day, but now I find them way too sweet. Thanks to one of my dear friends gifting our kitchen a with a Nespresso Maker [the very one from my birthday wishlist] I've been enjoying Lattes at home. I'm in love with our Nespresso and feel spoiled & loved each time I make a latte  for myself or Hasani or friends! I've been playing barista at home for the past few weeks and love it!

Here's my recipe for a vanilla latte to enjoy at home. 


Vanilla Latte 

1 Nespresso Vanillo Capsule 
1 Tablespoon on Vanilla Extract
1 Splenda [or other sweetener of your preference]

1% fat free milk poured into Nespresso Areoccino 

I make a Lungo cup using my Nespresso, and then add more hot water because the espresso is already strong. You can substitute the Nepresso capsules for your favorite capsules for your machine or make a stronger pot of coffee. I like pouring the vanilla extract into my coffee cup before making my cup of espresso, so the espresso is flavored with the vanilla while its being brewing. 


While your making your cup of espresso, pour your milk into your milk frother.I love lots of froth in my lattes and prefer using 1% milk for less froth& more milk use a  heavier milk [2% or Whole Milk] Amazon sells several milk frothers at various price points. I love our Nespresso milk forther and would recommend that one or one that frothes both hot & cold milk. Another option is putting a small amount of milk into a small plastic container shaking it and then warming the milk in a microwave. 


After your espresso is finished brewing, slowly pour the milk into your coffee cup. 


Sometimes I top my vanilla latte with sprinkles of chocolate, either way its really yummy. 


I love vanilla lattes, just oh so perfect and yummy. Here's some links to a few other drinks, I've shared in the past: Passion Tea Lemonade, Homemade Holiday Drinks.

What's your favorite go to coffee or tea drink year round?

Our Mini Dream Kitchen...is Done!

Monday, August 26, 2013

Our kitchen is pretty much done, cue happy dance. We still need to select hardware & kitchen pretties and knowing me it may take awhile, so I decided not to wait any longer and share our kitchen journey with everyone now. Later I will do an updated post when we have hardware & as we add pretties to our kitchen [artwork, rug, roman shades etc etc] OK  pull up chair grab your favorite cup of coffee or tea, this post is going to be super picture heavy & long so just a heads up. 

Our kitchen before was dark and dated with white tile counters & backslash that had dark brown grout. Our old kitchen layout was a L Shape with a floating fridge, that lacked storage and had an odd bump out from coat closet in the hallway. If even all out kitchen issues, it had good bones. I loved that our cabinets went all the way to the ceiling, our window above our sink. As many of you know before the fire at our home we were in the process of starting our kitchen redo, and replaced our kitchen counters and purchased a new stove.  Here's our kitchen before.


During the re-building phase of home after the fire, our kitchen & entire house was stripped down to the studs. Below is our kitchen just a few months ago. The 'white paint' you see on the studs & pipes is smoke seal spray to seal in the smoke from the fire. While we were in the planning phase, I decided to re-work out kitchen layout from an 'L Shape' to a more functional 'U Shape,' read more about the layout changes here


We starting to plan for our kitchen design, I made a little of mini dream kitchen details that I would love to incorporate in our kitchen re-design. I knew we wanted white kitchen cabinets, that was non-negotiable, we got quotes from local cabinet makes which were affordable until adding in paint [ yikes!] We also looked into the big box stores Home Depot & Lowes. In the end we worked with a local cabinet company Loomis Cabinets, and purchased out cabinets though Wellborne Cabinets. We loved all the options and were able to stay within our budget and get exactly what we wanted. I designed our kitchen layout and had some help from Loomis cabinet's kitchen designer in making it perfect for our home. 

Here's our cabinets a few days after being installed. I walked into our kitchen and pretty much flipped out!! My heart was beating fast, I was so happy! To have joy come out of a horrible event is is amazing, trust me. 


Mini Dream Kitchen Details  
  • Cabinets that go all the way to the ceiling
  • White Cabinets 
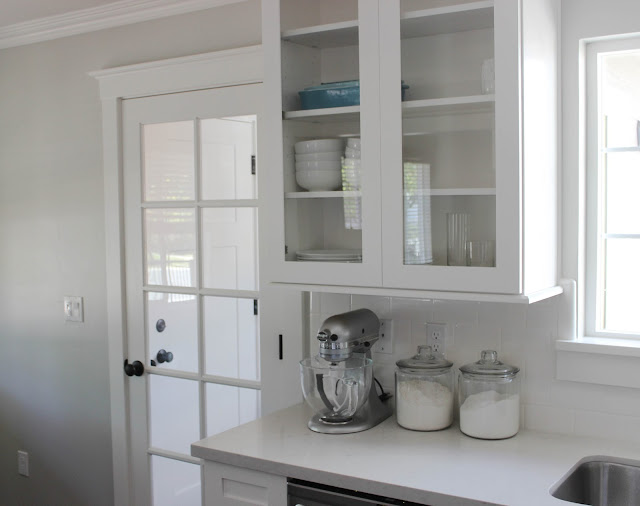
  • Mixture of Glass & Solid Wood Cabinet Doors 
  • Lots of 'Pantry' Storage 
  • Floating shelves 
  • Large bank of drawers for baking & cooking supplies  
  • Fridge with the 'Built-in' Look 
  • Subway tile 
  • Light Counters (preferably Quartz) 
  • Deep Under mount Stainless Steal Sink 
  • Storage space above fridge that's easy to reach
After living with our kitchen for the past few months, I can honestly say that as of right now I'm head over heals in love with our kitchen. It's one of my happy places in our home and I have several, lol. It just feels so good, happy and oh so me. Now for our full kitchen tour. 


This is your view of the kitchen when you enter though our now much wider doorway. The new enlarged doorway really makes our living areas of our small home feel so much larger and happier. 


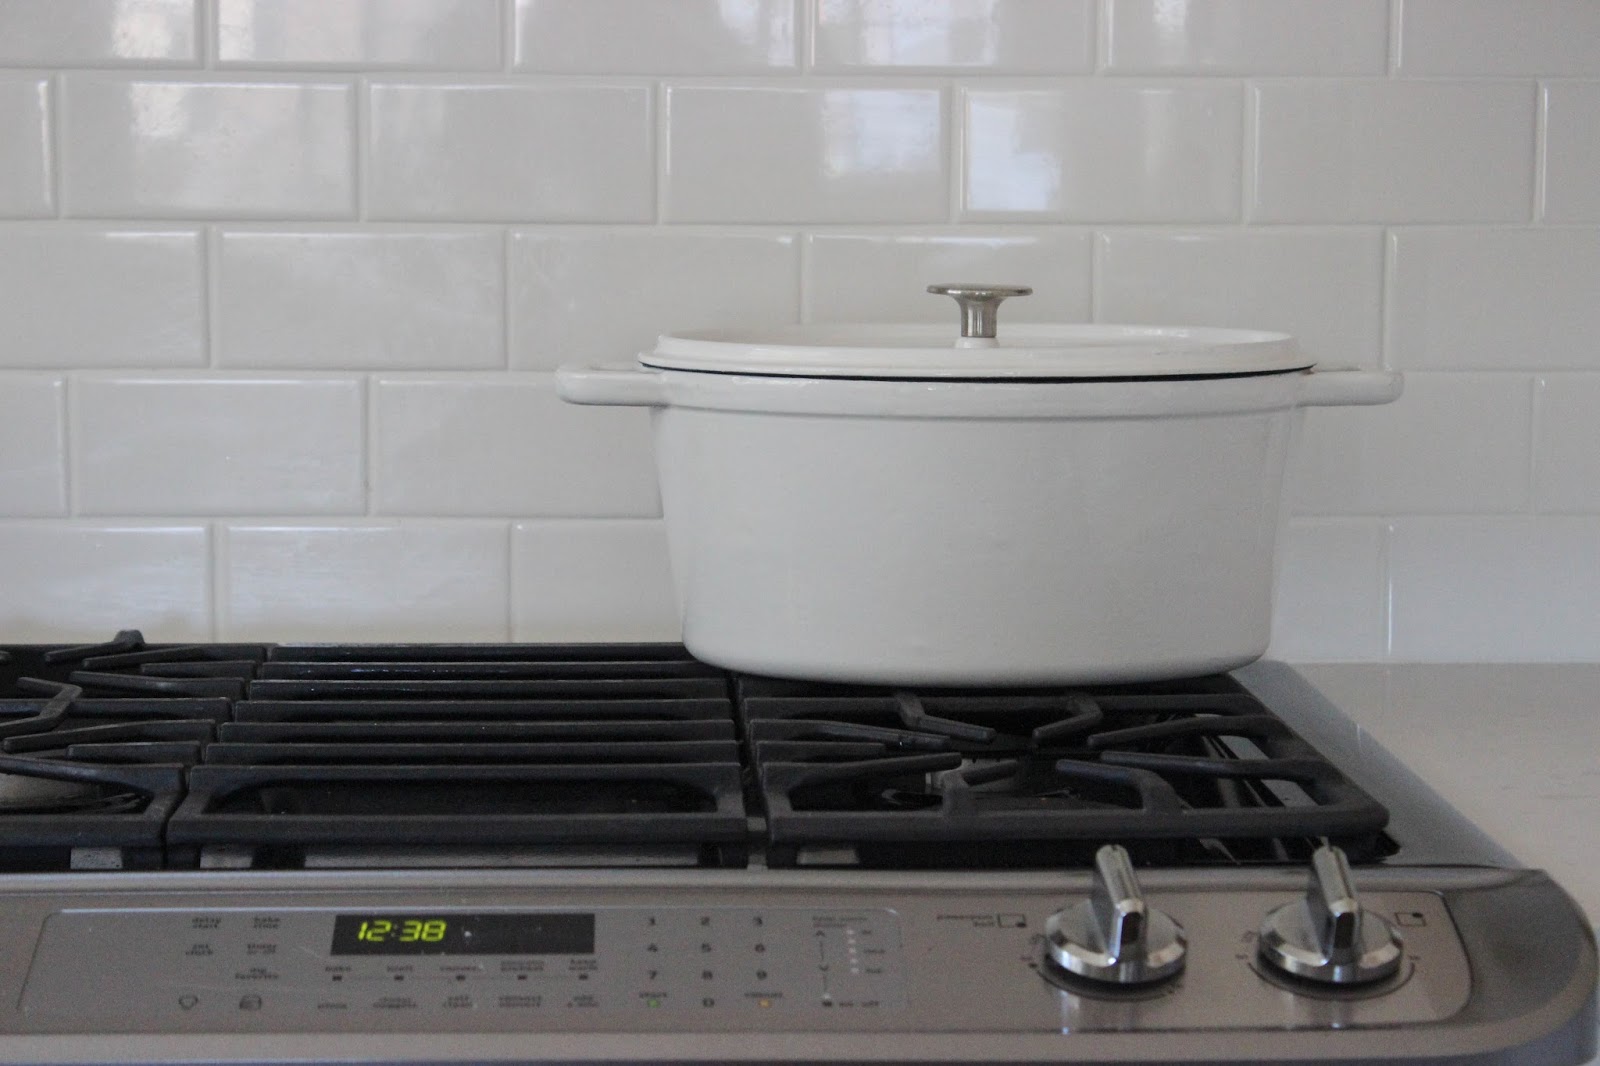
This is the direct view looking in from our dining room, which really is our eat in kitchen, but I like referring to it as our dining room. Te whole space feels much more open and spacious. We decided to take the kitchen cabinets all the way to the ceiling which gives us additional storage space and helps the kitchen appear taller. We used simple off the shelf white subway tile from Home Depot, its really hard to beat their awesome prices on white subway tile. We also carried subway tile all the up to the ceiling behind our wall mount hood and floating shelves. In the pictures our kitchen appears white, in person its more of a creamy white and not stark hospital white and our quartz counters a warm grey. 


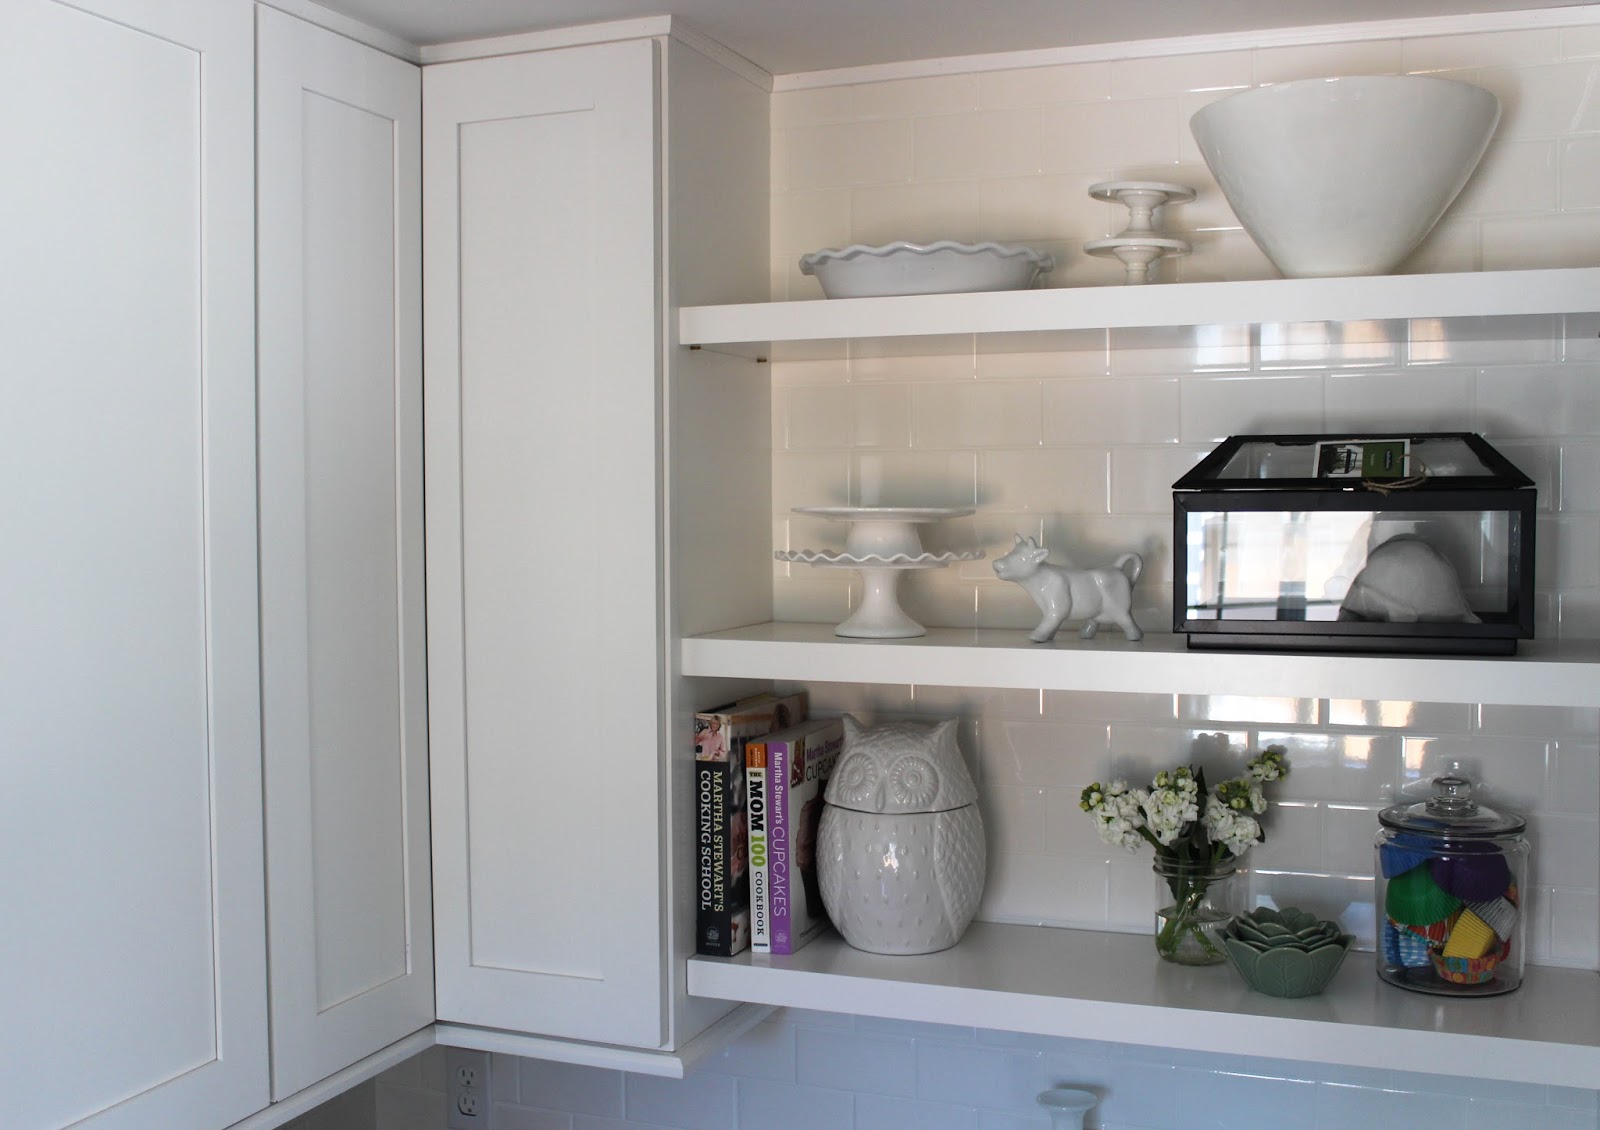
I'm so happy with our floating shelves, they look fantastic! We placed them to the left of our refrigerator. Right now our floating shelves hold: our owl cookie jar, cookie books, cake stands and misc kitchen pretties. 


Eventually the white and aqua vases will reside on our dining room table or in the living room, but for now I love the color they add in our kitchen. 


I'm so happy with our kitchen, and so looking forward to making it feel more done once we have hardware, add a colorful rug, artwork and add more pretties [more dishes, misc kitchen accessories] I hope you all enjoyed our kitchen tour! Please let me know if you have any questions about materials used, where I bought certain items, I'm happy to share! Soon, I'll share a complete source list for everything [with links] once our hardware is installed. 

What do you think? Our little kitchens come along way and feels truly transformed! 

Adding Glass to Kitchen Cabinet Doors

Wednesday, August 21, 2013

As a mentioned a few weeks back one of our finishing touches for our kitchen is adding glass for our cabinet door uppers. We ordered our kitchen cabinets from a local company, knowing that glass would have to be ordered separate. The cabinet company estimated the glass plus insulation would run over a $100.00. We decided it made more sense for our DIY this step & save money. I measured the inside of both our cabinet doors width and length and bought the measurements to a local glass company Pennington & Sons click here for the link for any Sacramento Locals in need of glass or windows etc. & nope I'm not getting compensated for mentioning the company, just really liked their customer service and attention to detail. 

I loved all the different glass options available, but in the end I love the look of clear glass doors on cabinets. It's the look we always planned to have in our kitchen, we even had the middle of our old cabinet doors cut out and planned on installing glass inserts. I ordered two large pieces of glass both measuring 11 7/8 x 36 7/8 for $ 28 [$14 bucks each glass panel] While I was there, I also ordered 6 panes of glass for our linen cabinet doors, read more about my linen cabinet plans here


I removed our cabinet doors and left the hinges on our cabinet face frame, it seemed easier to me than removing the doors and hinges. After removing both cabinet door frames, I placed them both on the dining room table, so I would have a nice safe overnight drying zone for the door frames after installing the glass.


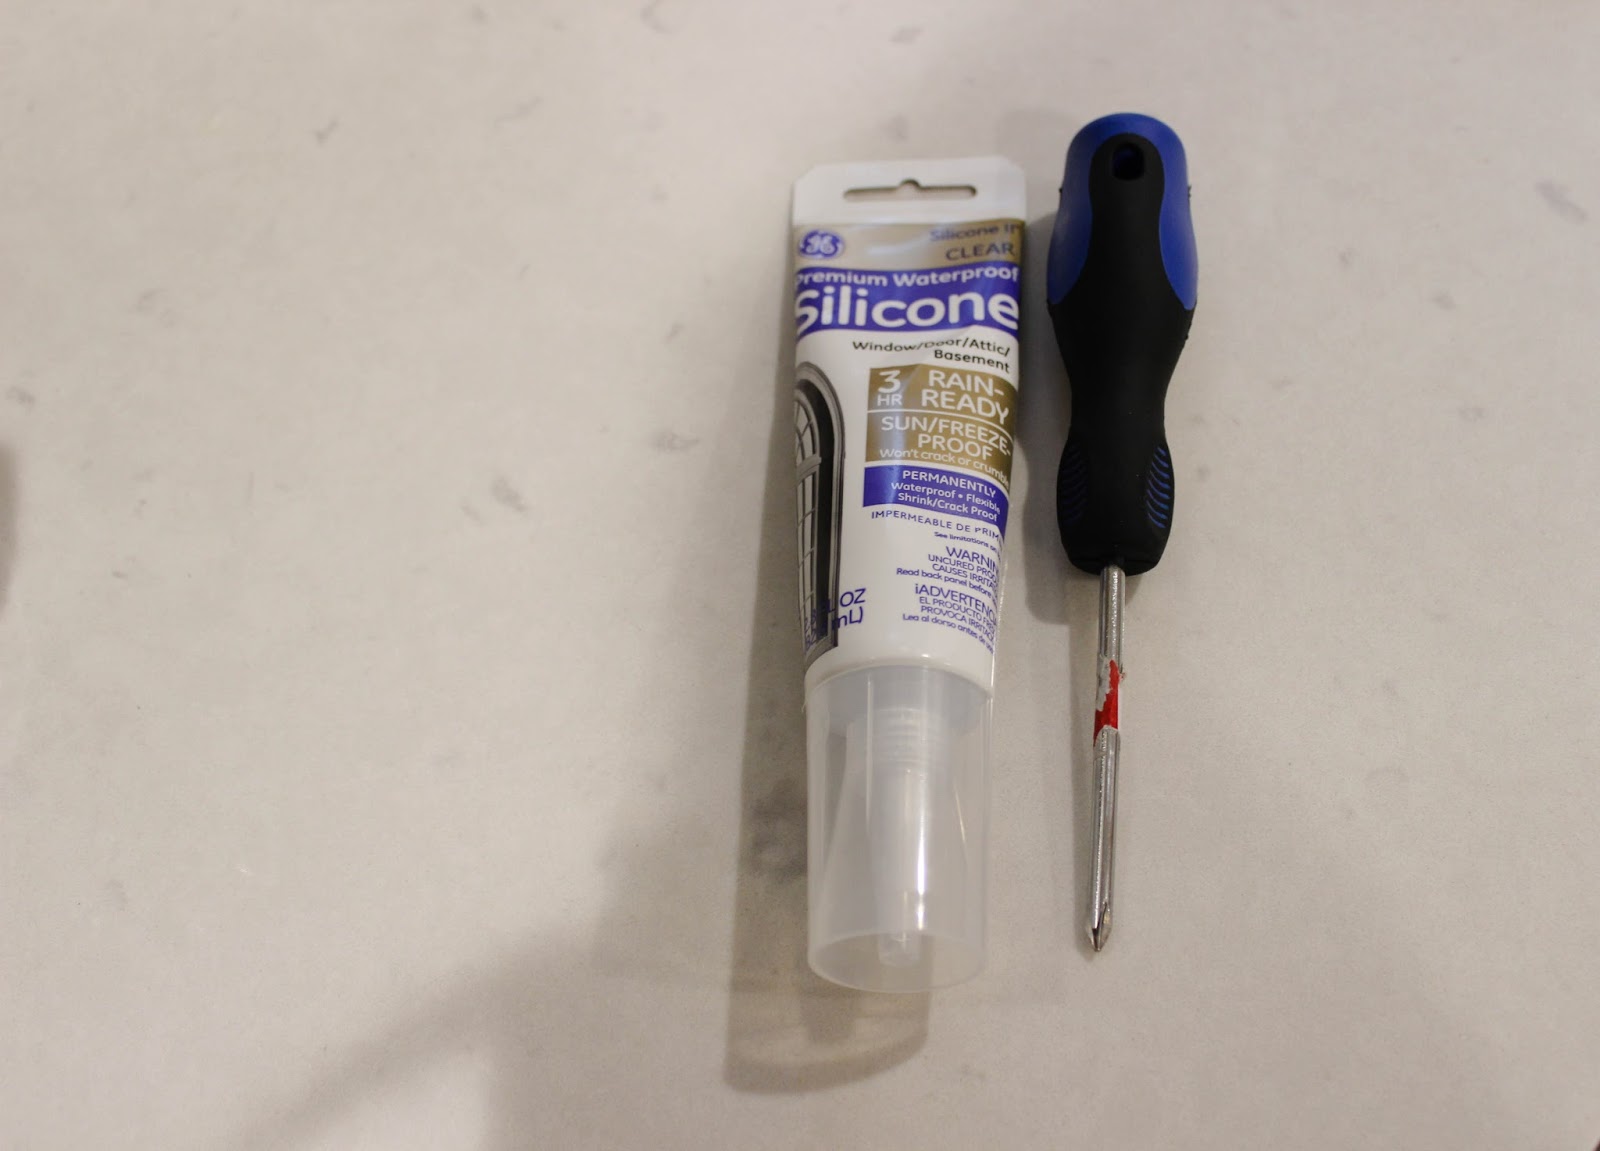
To install the glass panels in the cabinets, I used GE Silicone II Window & Door caulk to adhere the glass panels to the inside our cabinet door frames. The silicone caulk was around $3 bucks. I spread a medium squiggly thick line of silicone one the inside of the door frame. Hasani and I carefully placed the glass back inside of the door frame. We placed misc. kitchen items on top of the glass to help weigh the glass down while the silicone dried. 


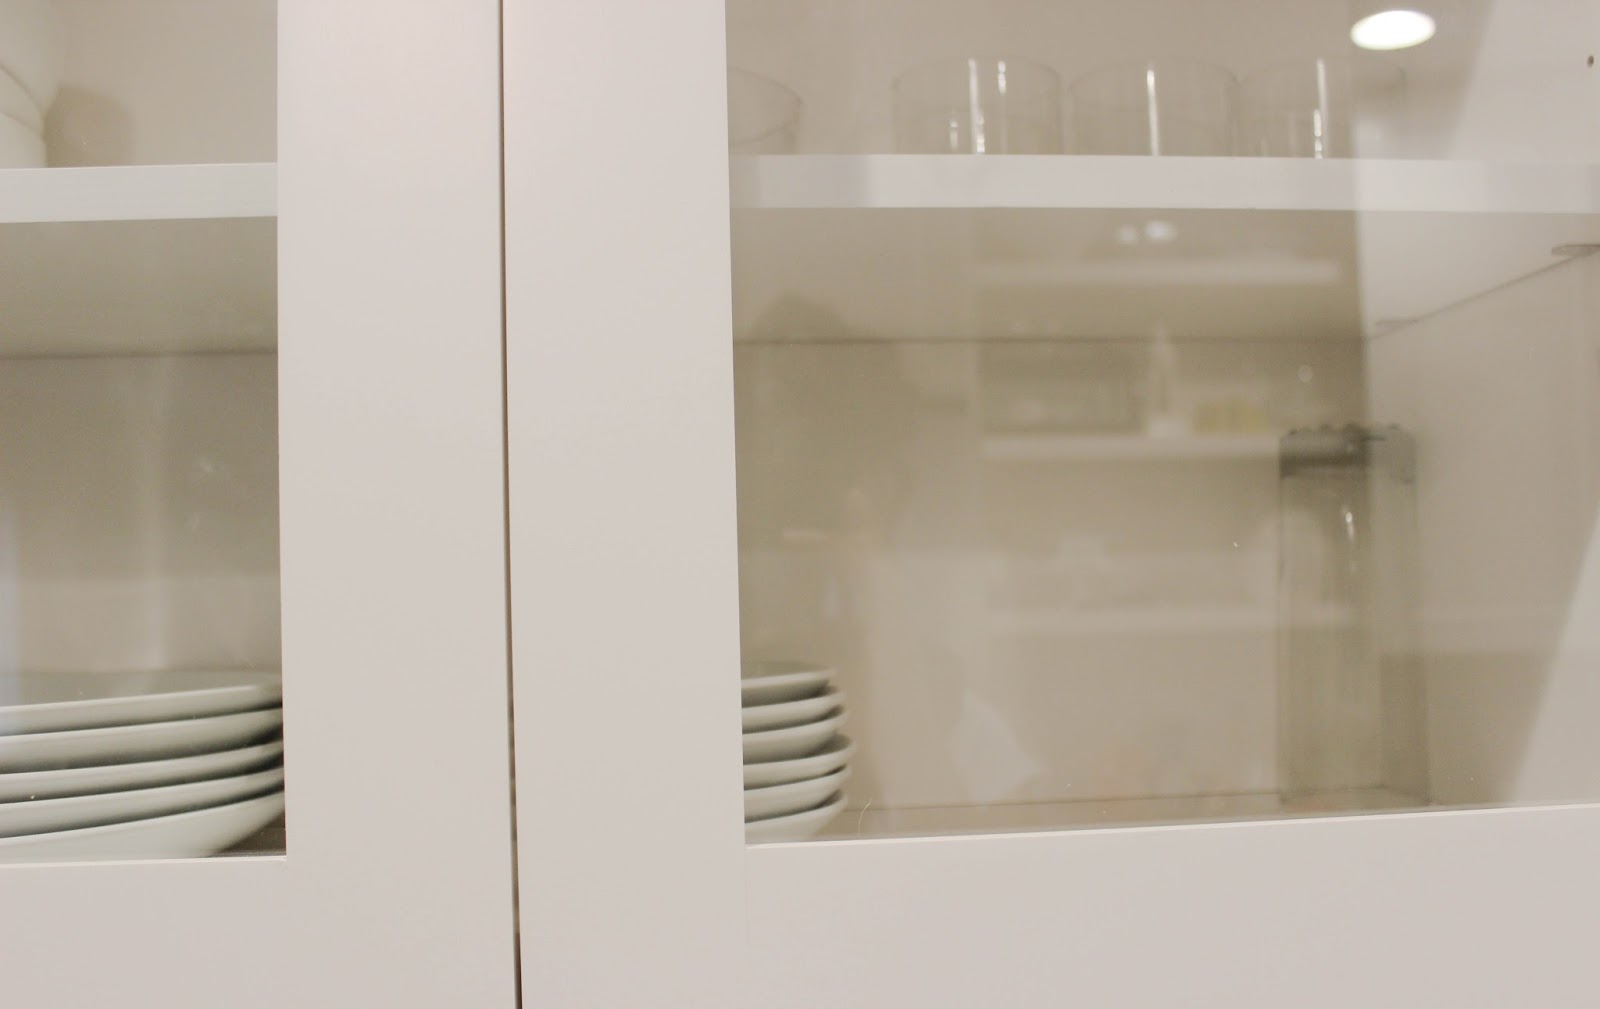
We kept the misc. kitchen items on the glass for around 10 hours to allow the silicone to fully dry. Hasani re-attached the cabinet doors and I smiled and snapped a few pictures. Yay for glass reflections! 


It's amazing how finished our kitchen feels just by adding the glass to our once empty doors. I know I'm only sharing a small spinets, but I'm planning on sharing our mostly finished kitchen next week. We're still deciding on our cabinet hardware while I'll share once it arrives.

Have you've done any quick and affordable updates to your kitchen lately? 

Pin of the Week

Friday, August 16, 2013

Pinterest Pin of the Week is where I share my favorite Pin of whatever has been on my mind during the week: Decor, DIY, Gardens and Food and much more. This week prettying up my coffee table in a practical way that makes sense for my family is been on my mind big time, now that our living room is feeling more like home. 

(via Pinterest)


What's your idea of the perfect coffee table set up for your home? Have a Happy Weekend! 

Roman Shades (progress)

Wednesday, August 14, 2013

A few days ago, I shared my plans to begin working on roman shades for Avery's twin windows in his bedroom. I love the look of pattern roman shades especially in kids rooms, its such a fun way to add color and pattern in a room. However it can be pricey having custom roman shades made. My plan was to buy existing roman shades and customize them myself with fabric. Over the weekend my friend and I began working on Avery's roman shades! I seriously have such amazing friends and loved having her help with this project and the execution  it really made it so much fun & easier bouncing ideas off each other! We finished the first roman shade complete and it looks so cute & custom. 
I underestimated the amount of fabric I would need for both roman shades due to the exterior boning the roman shades have I purchased. I ordered more fabric and hopefully  it will arrive soon and we can finish the other shade. 

I'm super excited to show you all the shade that is done and fully functional. But, first here's what the the roman shade looked like when we started. Basic white roman shades I purchased on sale from JCP. 


Here's the same roman shade now, customized with a graphic fabric. The new roman shade looks amazing and so colorful, but not in your face more like 'ahh that's really cute.' It really brightens up  his room! The top portion of the roman shade will be covered with a valance hiding the cord and head-rail, once the other roman shade is done. 


I'll share a complete 'How To' with lots of pictures of the process and a budget breakdown once we finish the other roman shade. I'm so happy I decided to customize his roman shades for his bedroom! 

What do you think so far? Have you made a roman shade before or customized one?

Painted Campaign Dresser

Tuesday, August 13, 2013

Yesterday, I shared to how used paint stripper to remove the old stain off our vintage campaign dresser, I found at a antique store (read more about my find here) I'm so excited to share its makeover with everyone!! It truly came out amazing oh so sleek and the best part is I love how it looks in our living room. Here's a quick reminder of how the campaign dresser looked before. The old stain on the dresser was really pretty, but worn down in several places and showing its age. Our old temporary setup was a mess. Small TV with a much of misc electronics on top, and why yes that is an old school Nintendo! My moms letting its borrow it, its the same one I played on as a kid, and still love playing it after all this years. 


I love the clean lines of the dresser an the side hardware is perfection! 


When first bought the dresser home, I was on the fence about painting the dresser or staining it a darker more richer color. Hasani really want to go white and I love a pretty white dresser so we decided to go white and I'm so glad we did. I really love how it adds some glam to our in-progress living room.


The finish on the dresser came out amazing and super shiny and glossy and very smooth. 


I decided to leave the vintage hardware as is and not spray paint it, I love that its tarnished and shows its age against the shiny white paint. The hardware its self is really heavy and is solid metal. maybe brass? 


Here's a full room view of our in progress living room. So far in our living room, we've added our twin sofas, rolled out our new rug and spray painted the metal coffee table we found via Craigslist. We also upgraded our TV size and hung it on the wall, love having a 'floating TV.' We hung the TV at sitting eye level, which feels like the perfect height while sitting. Next. I need to tackle the mess of the cords off the to left of the TV. The TV is plugged into the wall directly behing the TV, but the cords come from our internet connection and DVD player etc. 


Eventually, the TV will feel more blended in with its surroundings while remaining in plain sight. Maybe a photo gallery wall around the TV? 

For the refinishing the dresser, I decided to try something new again! Instead of using water based paint like I have in the past, I decided to use oil paint. I've only used oil paint on canvas, so this was a fun change up. Here's a quick run down of what I used on the dresser [I painted the entire dresser by hand only using one brush

  • Zissner Oil Based Primer
  • Rustoleum Oil Base Paint: Glossy White
  • Fine Grit Sandpaper, using a power sander Black and Decker
  • Purdy Paint Brush (for all types of paint) - Next time I will try natural fiber paint brush to reduce a chance of brush strokes and better application. 
  • NEXT Mineral Spirits for cleaning the brush
I really love using oil paints on the dresser, the finished is super smooth and super glossy almost like a lacquer. I feel like it takes longer to paint using oil, because of the clean up and application. It's all about small smooth stokes and working in little sections and moving to the next area and leaving it alone - no going back over it until its dry. The dry time is 24 hours between coats. The dresser took three coats of paint: one coat of primer and two coats of the Rustoluem Oil Paint. All oil based paint and stain is very fumy, make sure you work on your project in a well ventilated area. I used my garage to paint in with the garage door all the way open. I'm sure my next furniture painting project, I'll use oil paints again, and share and in-depth how to post. I'm excited to try out the All Surface Enamel oil based paint from Sherwin Williams, because I can get it mixed in several colors! 

What do you think our paint freshly painted campaign dresser? 

You Make Also Like

Related Posts Plugin for WordPress, Blogger...