

Hey Blogland
I'm Hasani aka Mr.CLH this is my first official post so go easy on me lol .
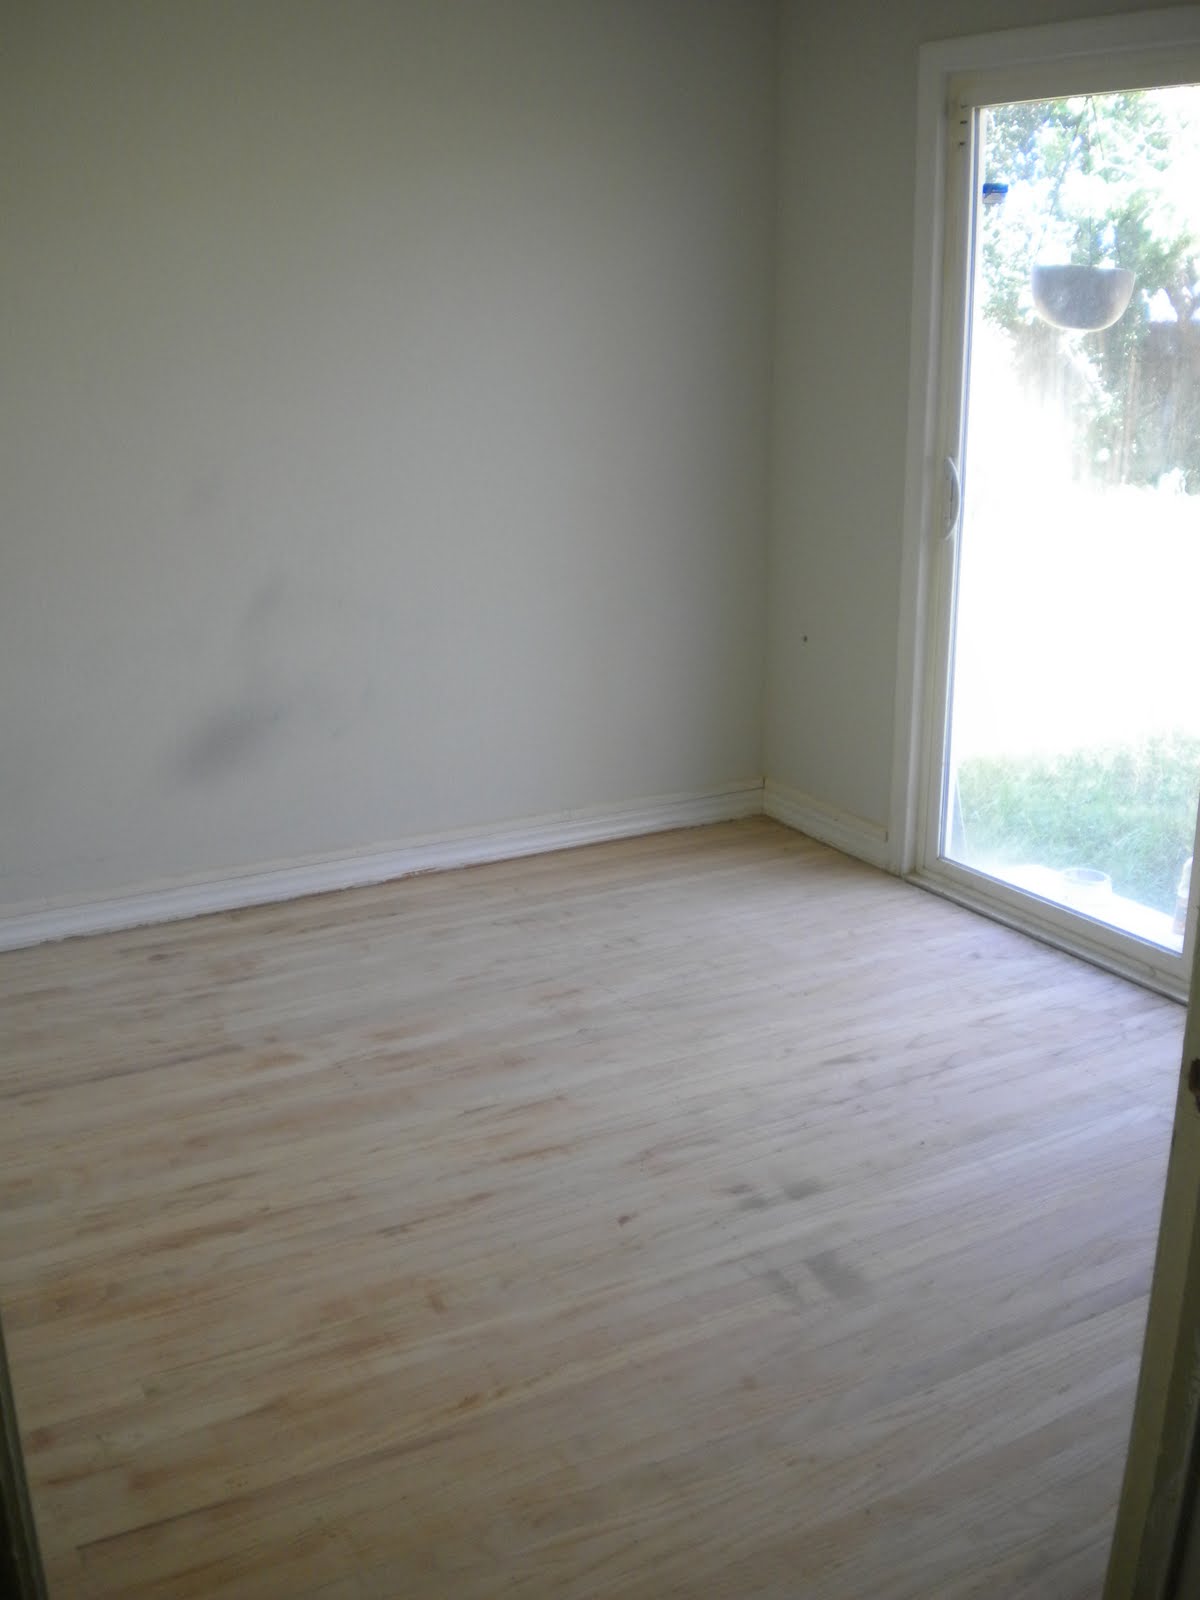
We decided to re-do the floors because they looked every bit of their 50 + years. At one time there was carpet on the floor so in some areas you could see where someone had a hard time removing it and the color of the wood was a huge distraction at times. It didn't feel like us. Our hardwood floors before:
Prepping Our Floors
At first we both had our hearts set on a really dark brown for the new floors but then decided to go with a more natural color Minwax's Early American. After moving all the furniture into the garage and kitchen the first thing my Father and Law and I did was sweep all the floors and used a dry vacuum to remove any dust. Before sanding we taped off all the vents so that the dust wouldn't get stuck in them, we even put a large plastic bag around our bedroom chandelier. I tired really hard not use news paper with good coupons on them but some had to be sacrificed for the good of the house lol.
The Sanding Process
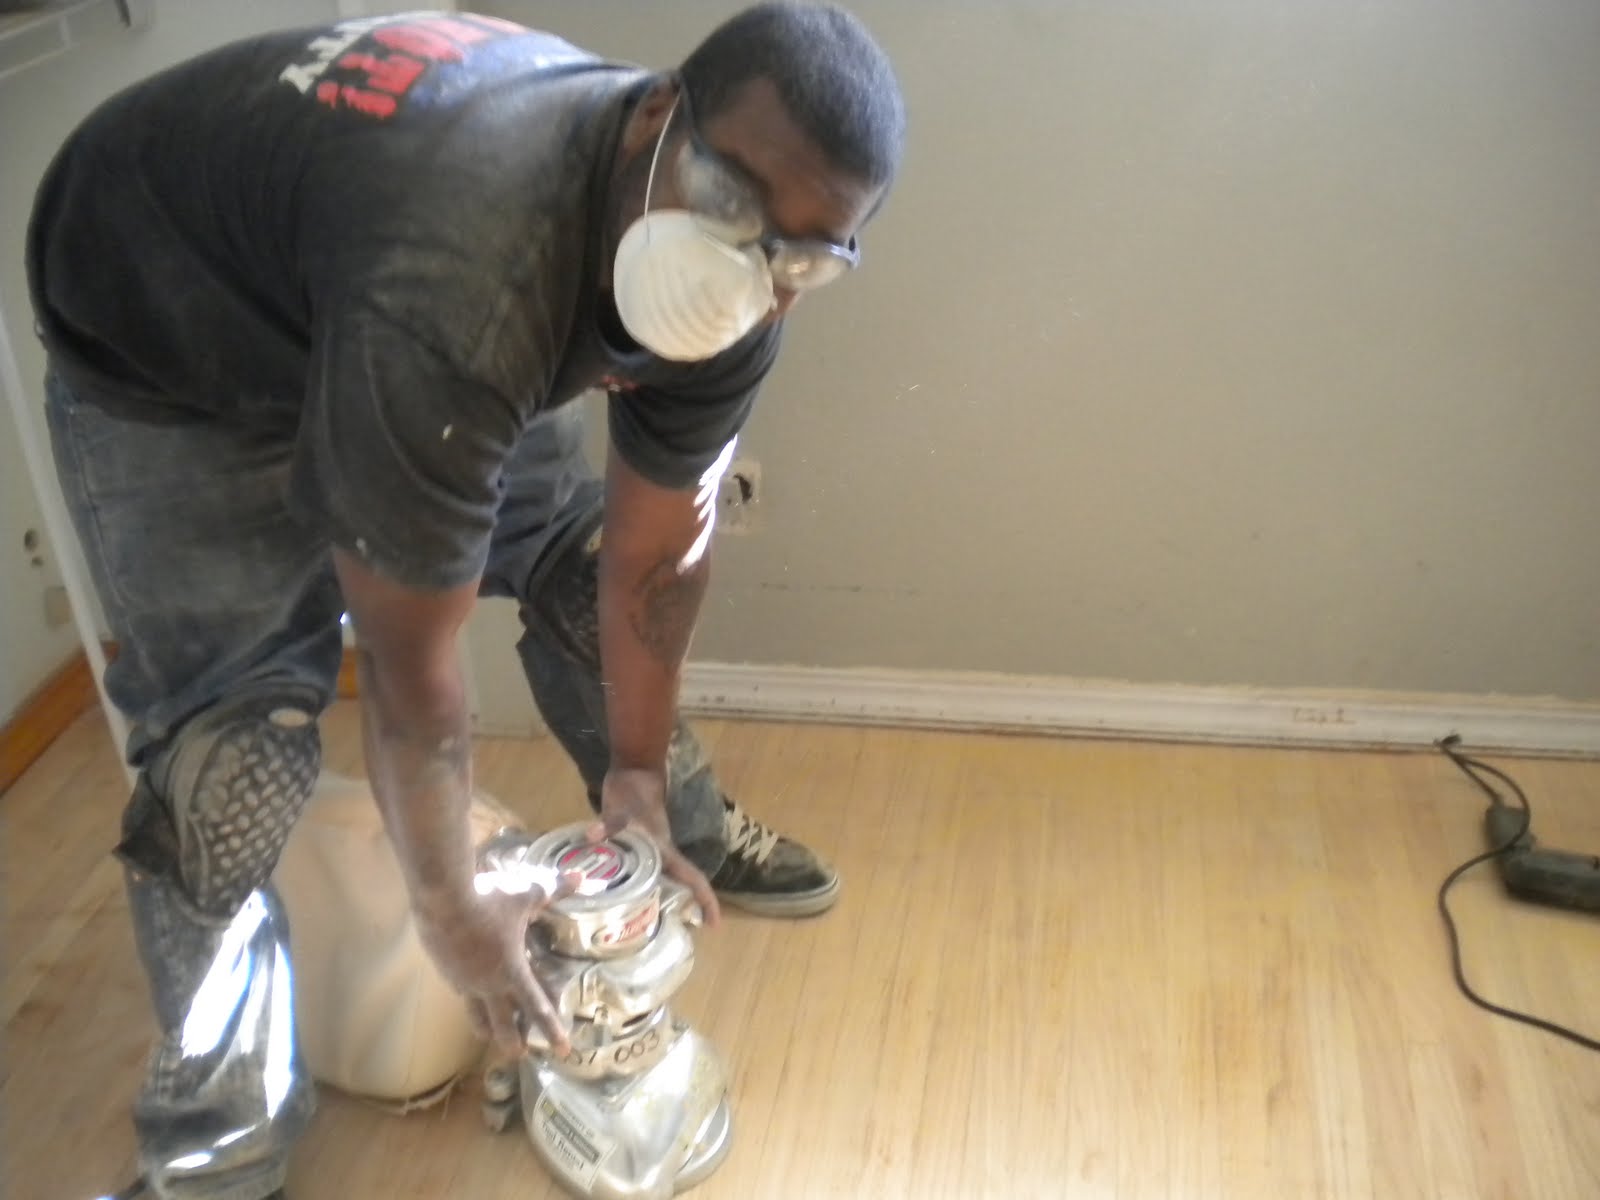
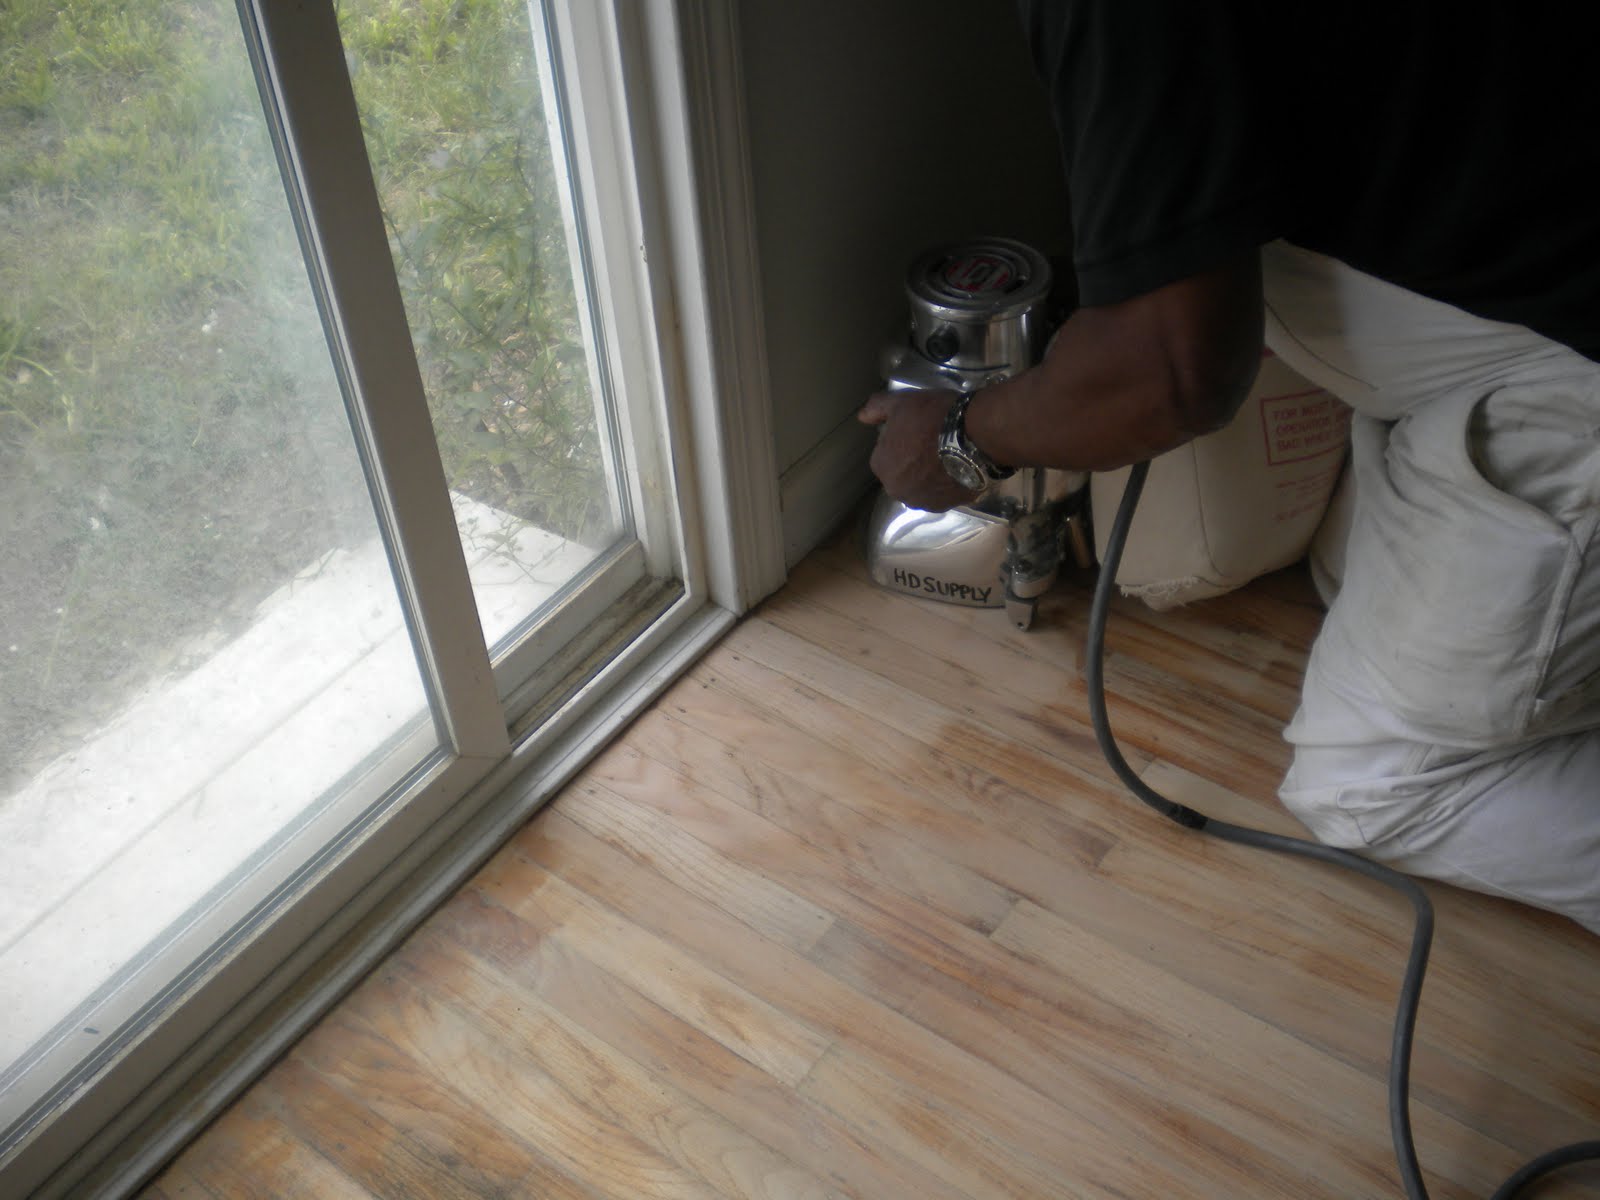
Next we sanded the floors using a drum belt sander and a edge sander (a heavy duty hand held sander for the edges and corners) we rented from HD HOME SUPPLY way cheaper than any other place we looked, and the had a 20% off rental special that weekend, bonus. We used 36 grit sandpaper to start the process. We did a test area in a closet to see how well the old stain was coming up. It's always good to test in an area like the closet.
When sanding the floors you want to so back and forth in the directions of the wood grain, don't stop in one place or you good leave gauges in your wood. My Father in Law used the drum belt sander, we started in the nursery first.
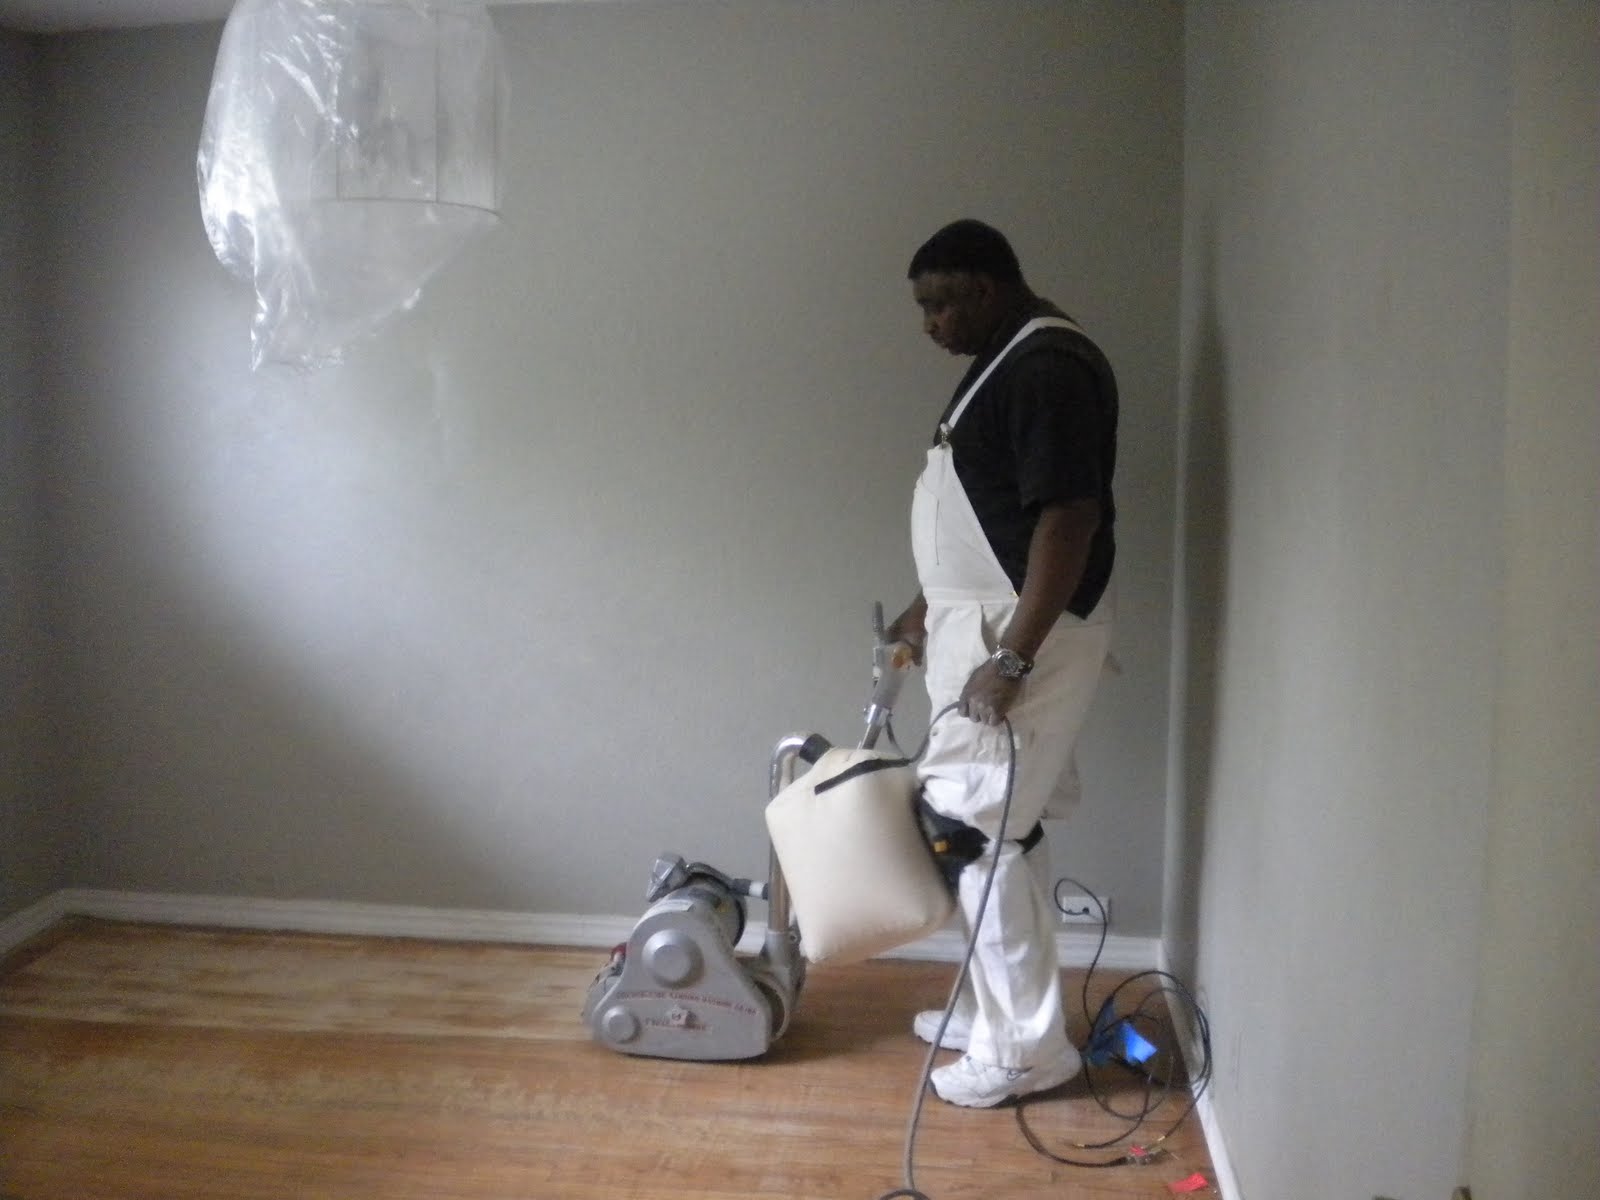
(The Nursery)
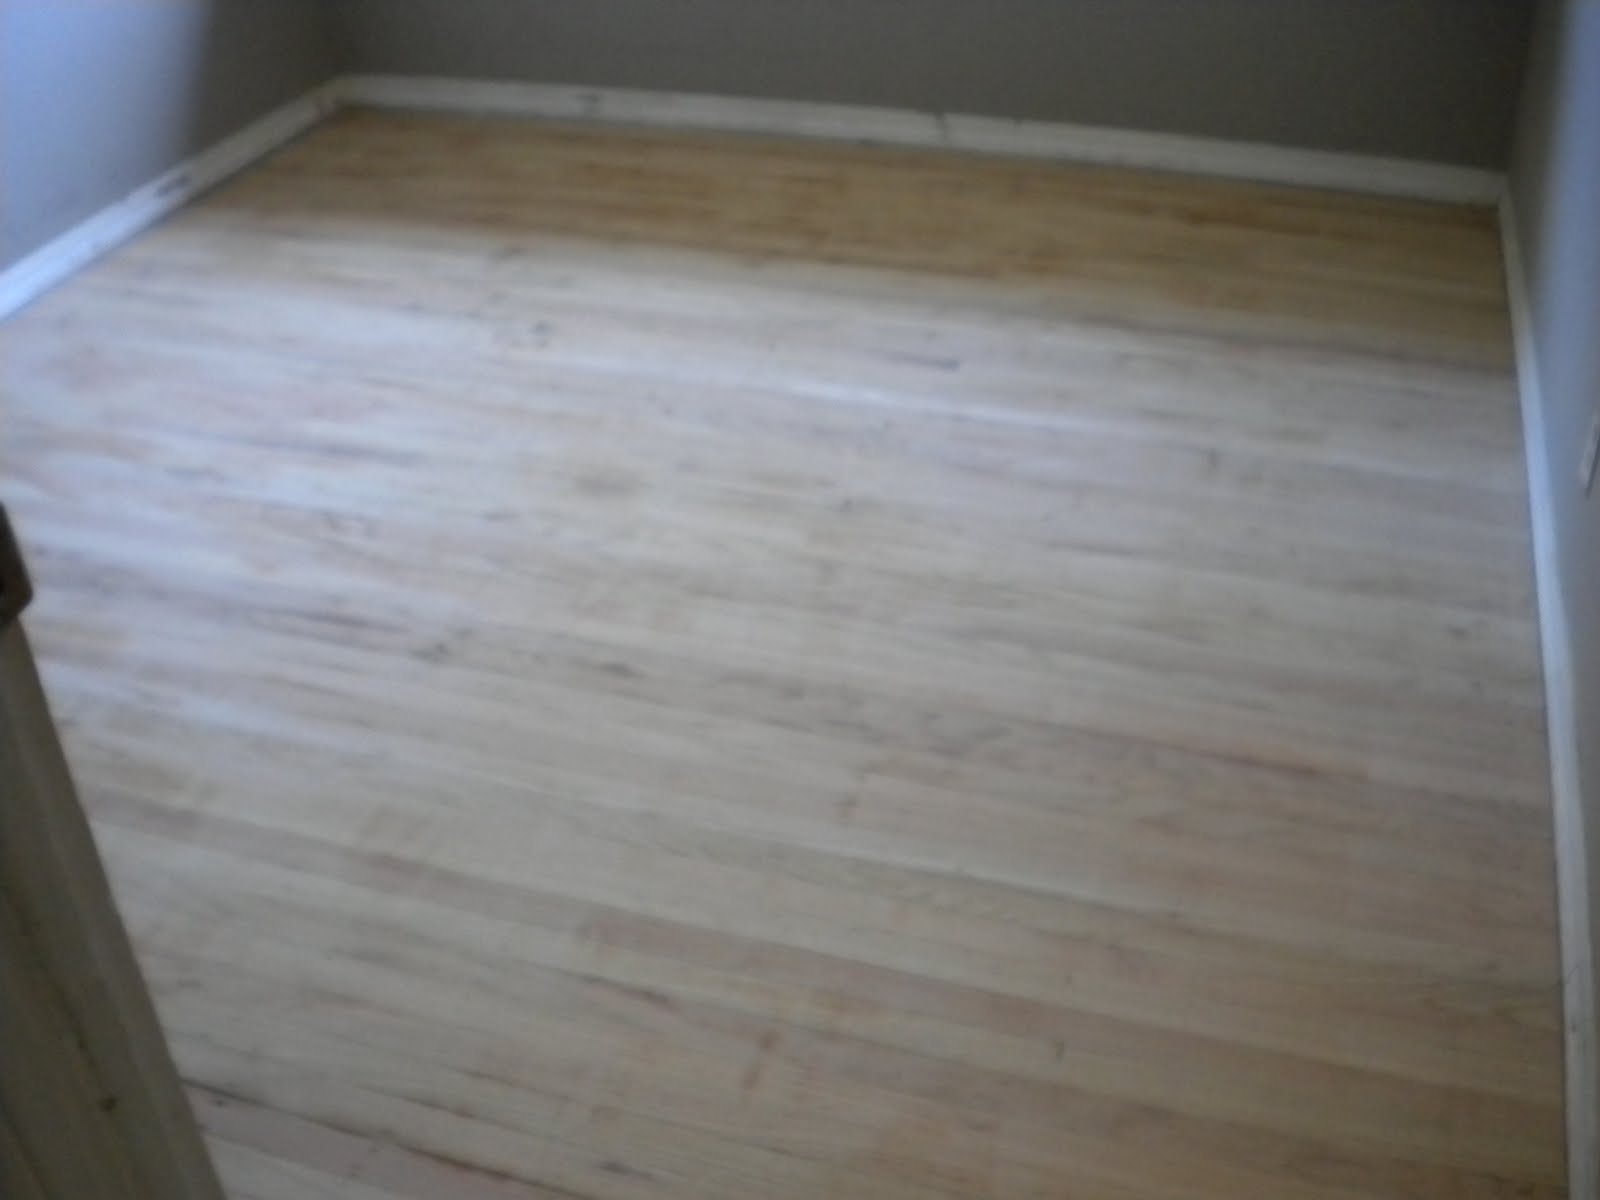
( Tabari's Room )
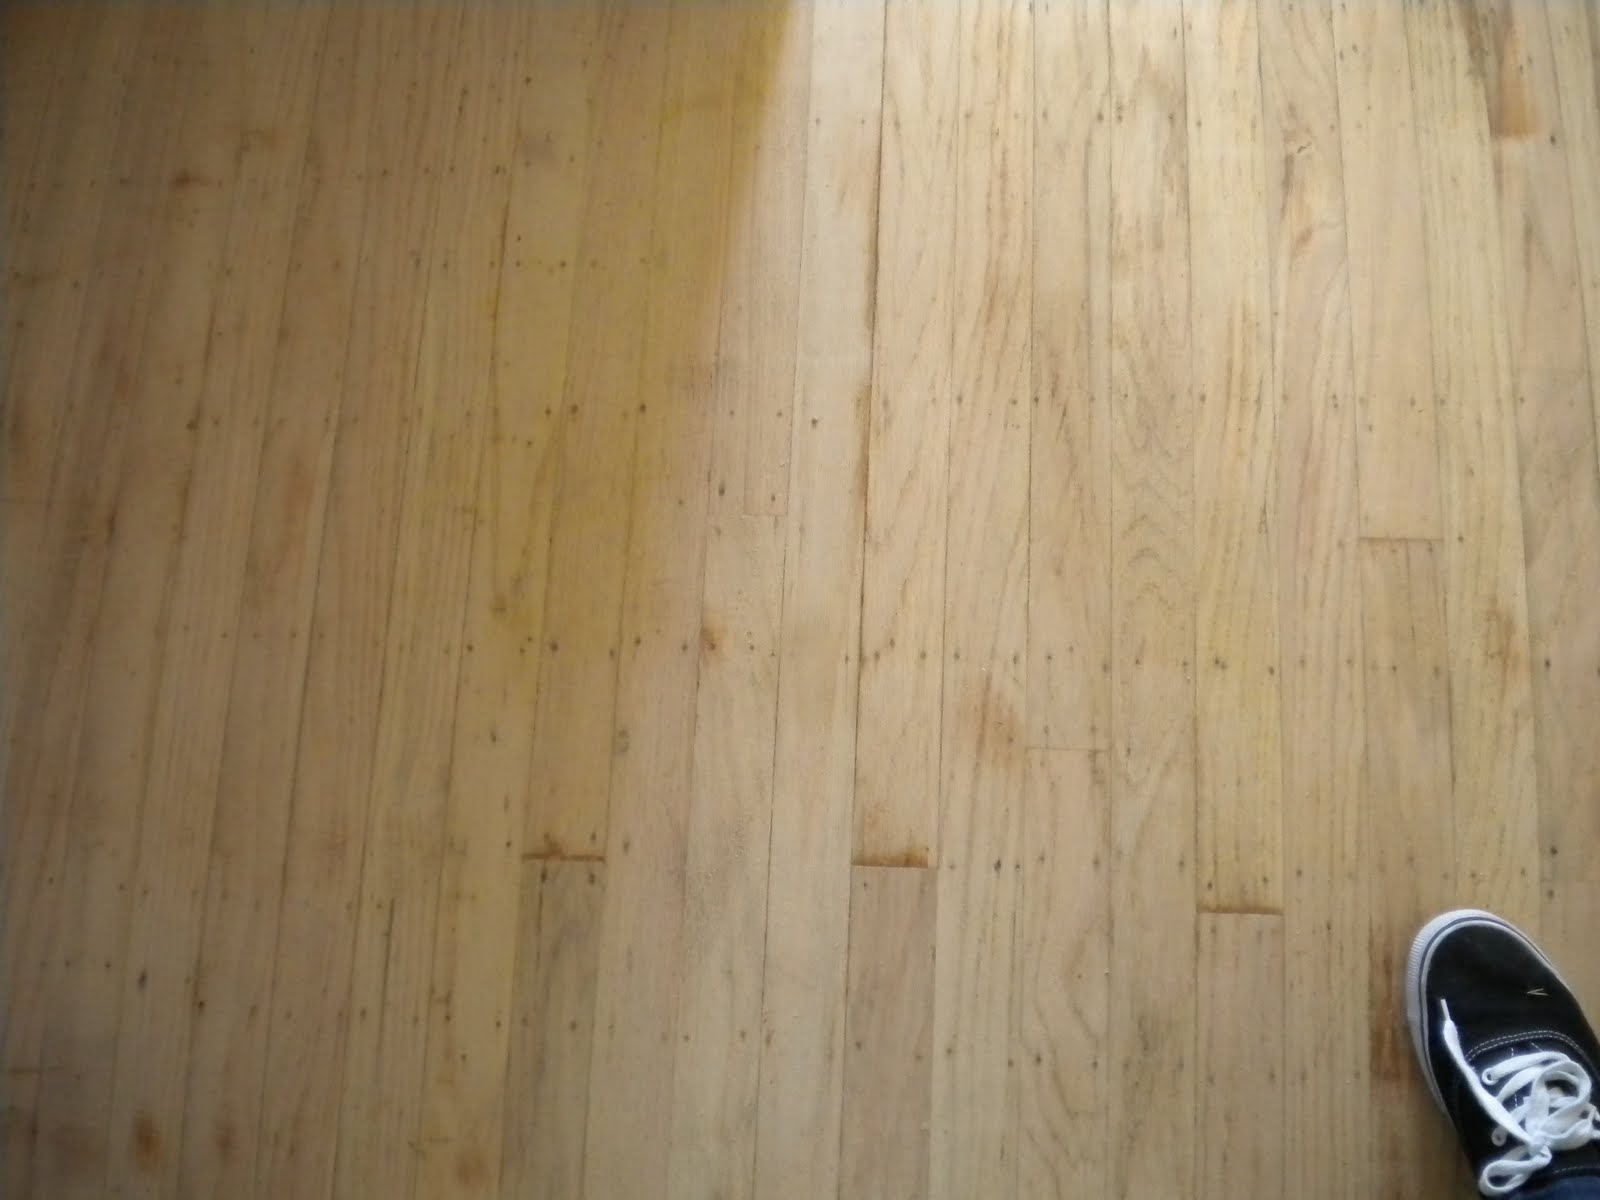
(Living Room Floor)
We chose the color Early American after a quick trip to Home Depot right after the floors were bare of old stain, we test, new oak wood right in the store, Katrina and I agreed we liked how the color look instantly. Again we used a closet to test the color of the stain making sure the color looked good on our old floors.
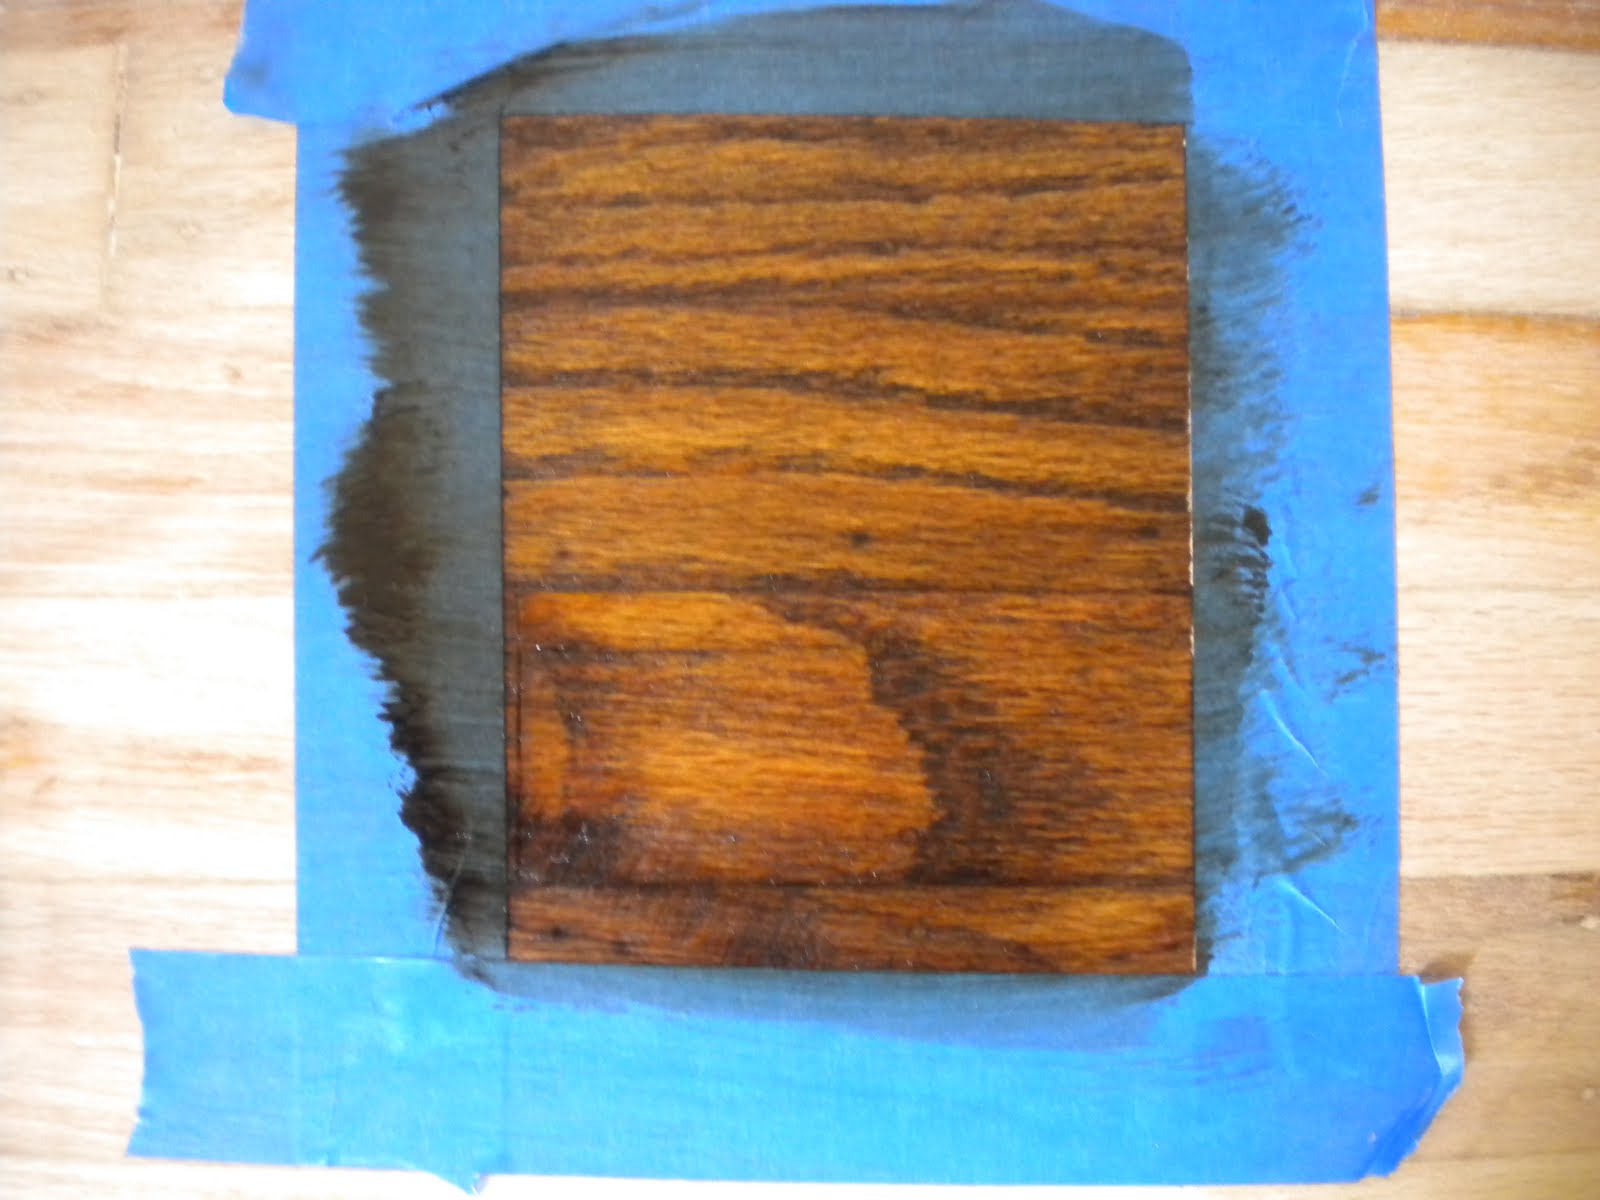
We got a GOOD price on 2.5 gallons of Poly, on clearence.

We used small water container to pour the stain on the floors. We used a lambs wool applicator and lint free towel to apply the stain on the floors. Make sure you apply the stain following the direction of wood grain. Then we wiped the excess stain off using the lint free towel waiting only a few minutes between wiping. We only had to wait a five minutes because the floor was soaking up the stain quick and we didn't want the color to be too dark. After wiping away the first section, I got excited. I could tell the floors where going to look really nice.
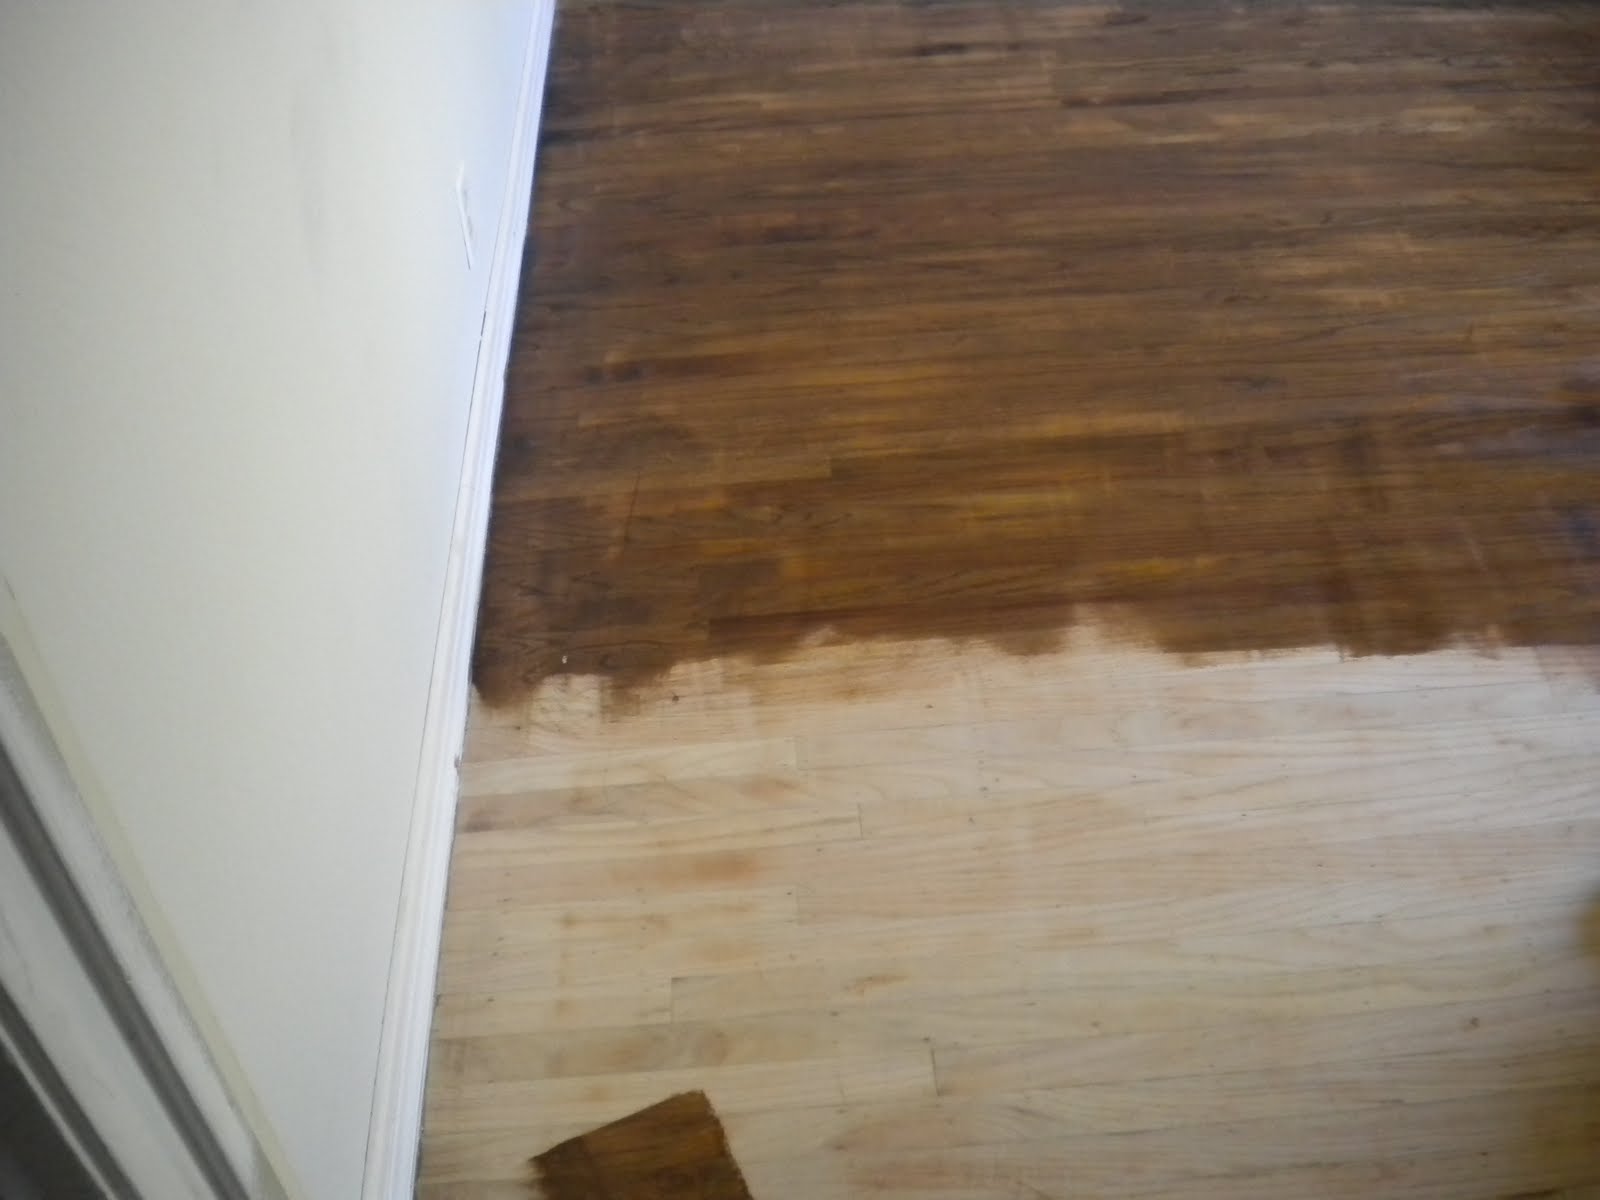
The hardest part about working with the stain for me was keeping my hands from touching the walls. I had to touch up paint many parts of our the walls!
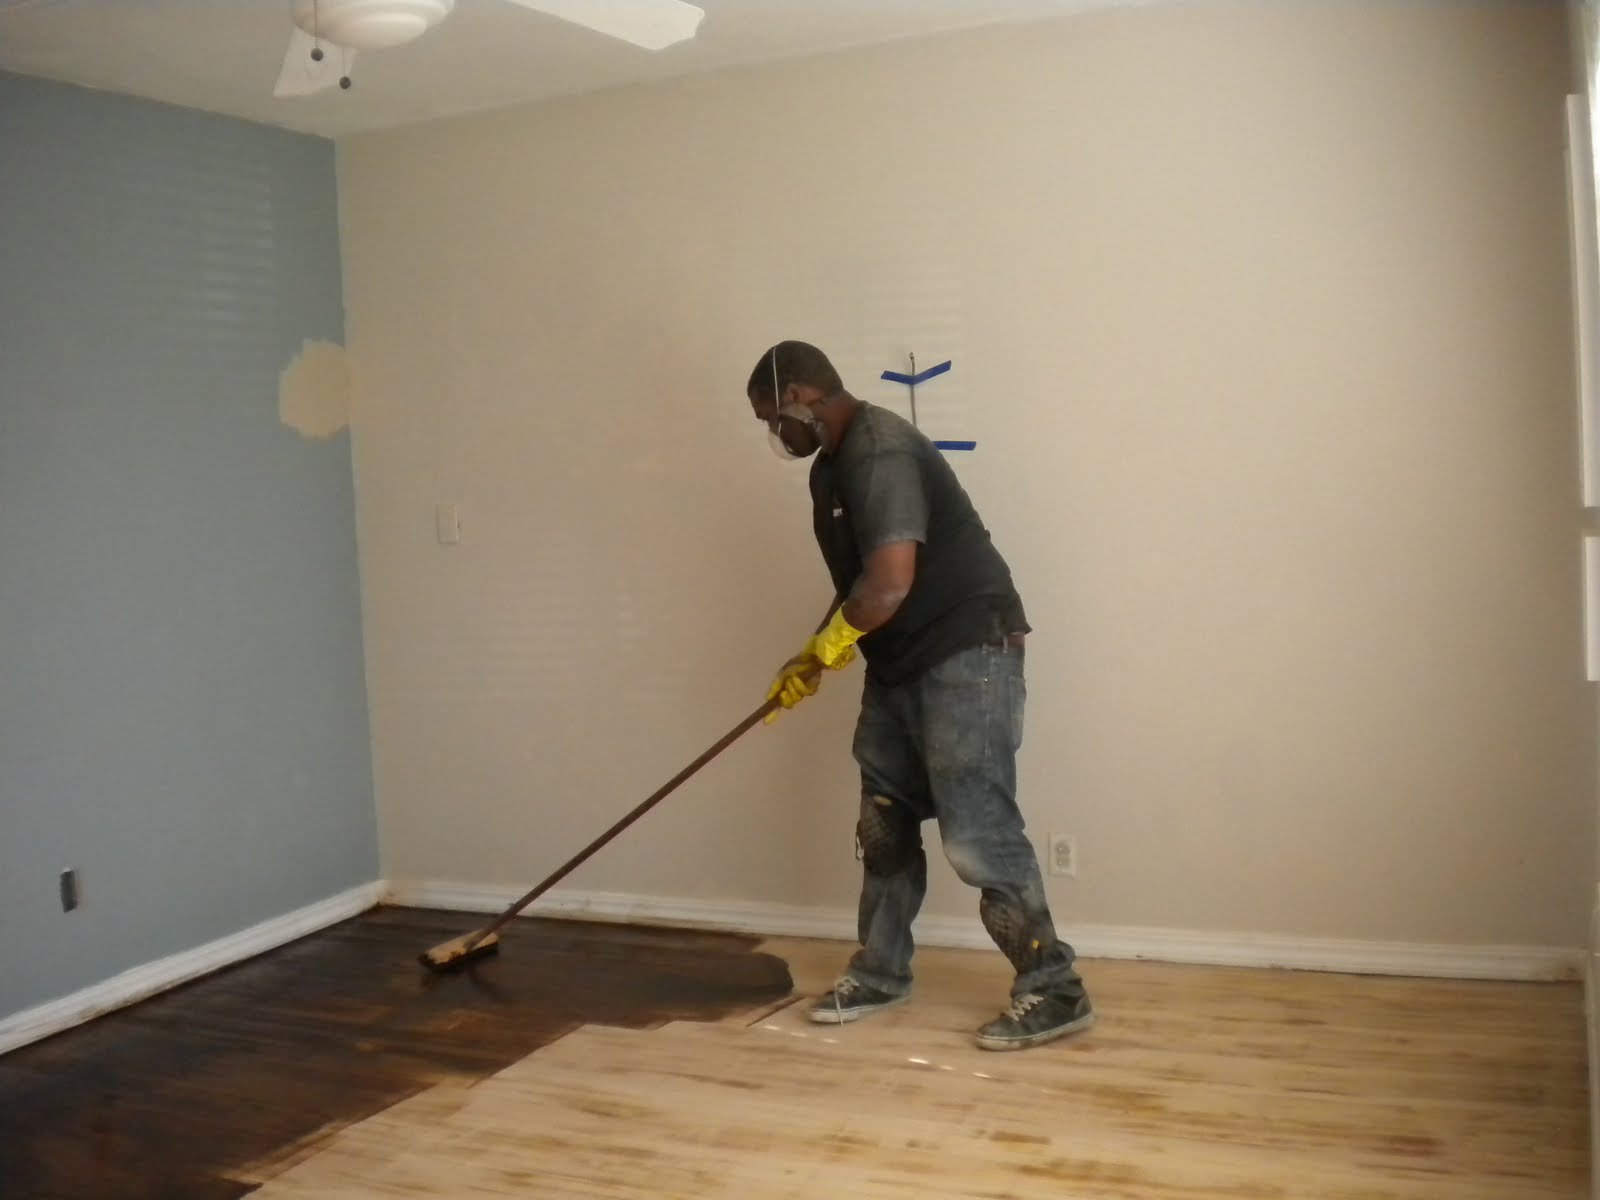
Once the entire floor is covered in stain you have to wait 24 hours before applying the second coat thank god we only needed one coat. I think two coats of stain would have been to much. We used almost 2 gallons of the stain we bought.
Applying the Poly
The next day we applied the poly. We did a light sanding using a 120 grit sandpaper and then removed dust. This time we used a floor orbital sander my father brought with him. Before applying the poly, my Father in Law thinned out the poly with paint thinner. By thinning out the paint thinner the poly was easy to pour on the floors. Make sure you talk with your local paint store before before thinning out poly. My Father in Law has lots experience thinning out paint and ploy and knows the ratio (poly & paint thinner). He worked well under my supervision, lol.
Again we used a thin nosed watering can to pour the poly on the floors. My Father in Law applied the poly on the floors, since he is experienced at at. He used a weighted pole, again he followed the grain of the wood floors and was very careful not to leave lap marks. Which can happen easy with poly. We waited another 24 hours before applying the second coat of poly. After the last coat of poly was applied we wait 72 + hours before returning home.
Budget Breakdown:
Floor Sander Rental: $ 32 (after 20% off discount) 24 hr Rental
Edge Sander: $ 21.75 (after 20% off discount) 24 hr Rental
Sand Paper - Gift from Father in Law
2 Gallons of Minwax Early American Stain: $ 43.88 - Used a Lowes $ 10off Coupon at Home Depot! Gotta Love Price Matching
2.5 Gallon of Minwax High Build Poly: $ 26.79 (on clearance! at Lowes)
Oil Varnish Applicator: $ 6.78
Labor for Father in Law's Help: Dinner at Sizzlers, his favorite restaurant: Priceless
Total Cost $ 131.20 to refinished our Living Room, Hallway and Three Bedrooms
While we where at Home Depot looking for stain we noticed an ad for refinishing hardwood floors, the cost $ 4.00 a sq foot. We estimate having our wood floors done though them would have cost us around $ 4000-
Savings, just a measly $ 3800- give or take a few bucks
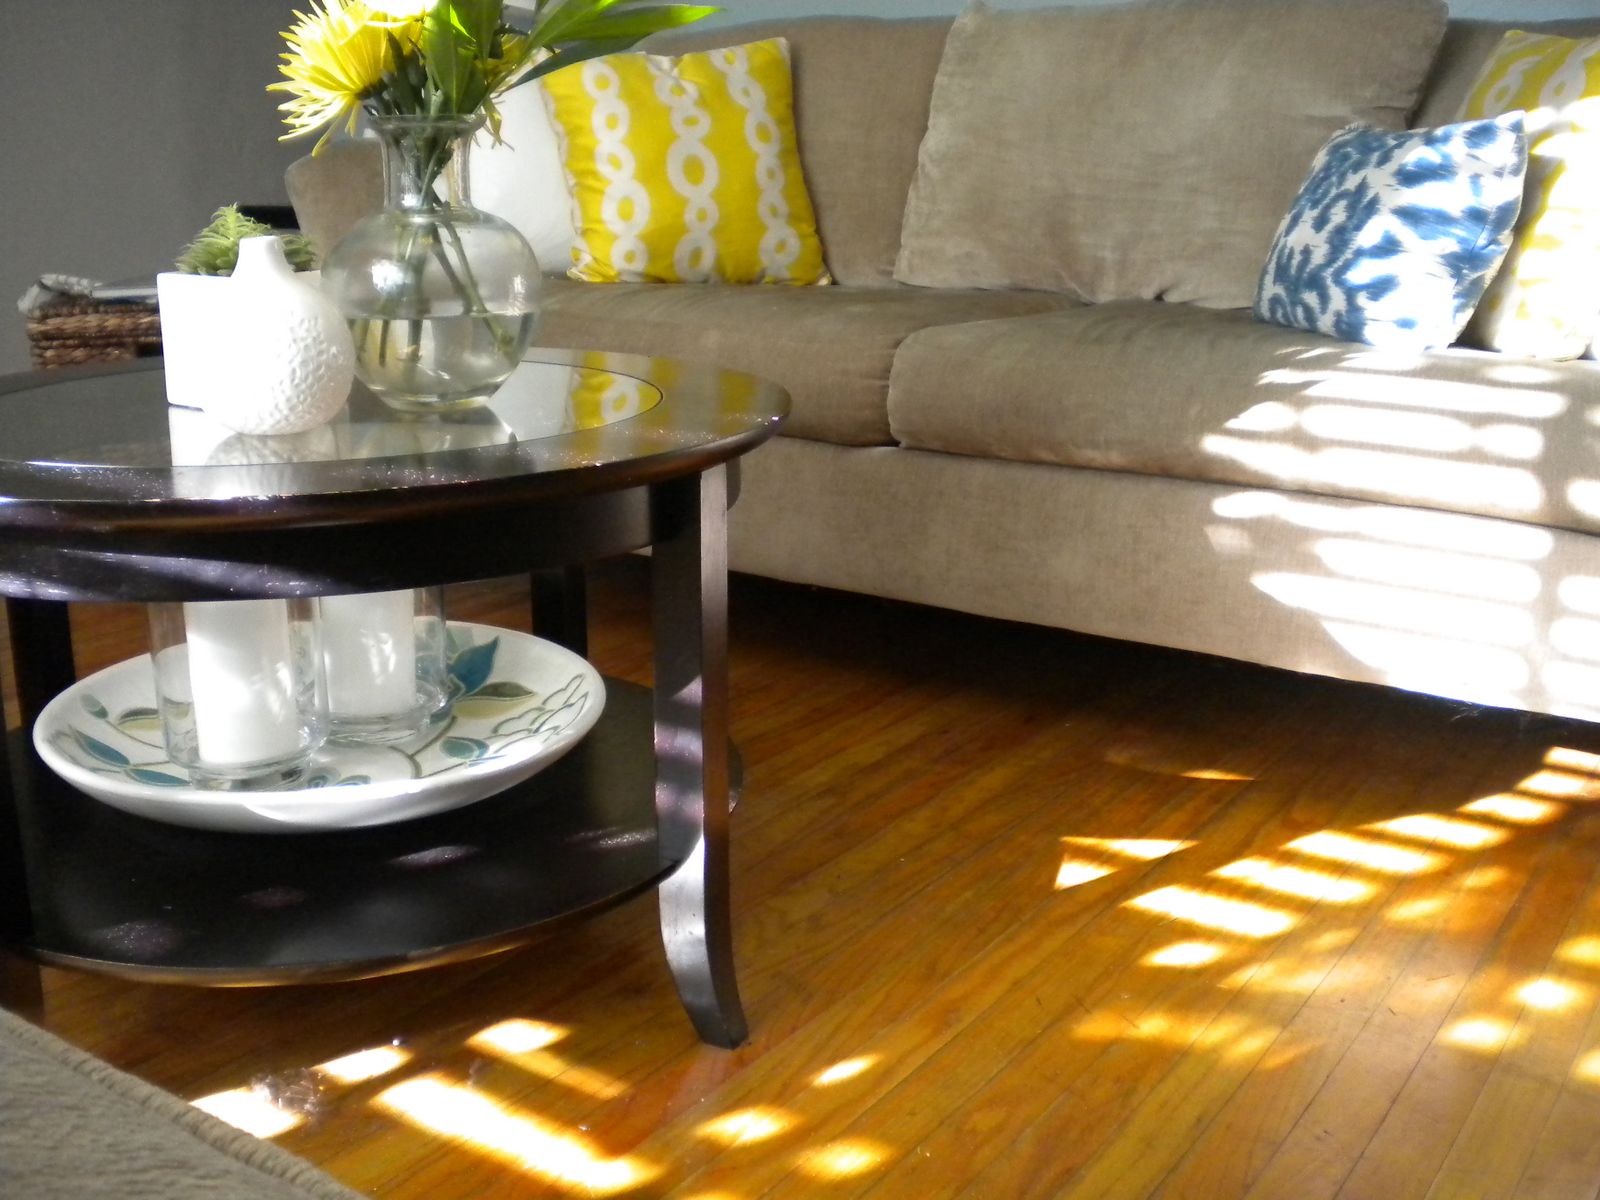
I love the new floors its dark like we originally wanted and still has natural earth tones. I also like how our wood floors have charactor and like the various shades of color. Here's our floors now (we'll share more picutres of the after, once Katrina and I finish up a few changes in the rooms)
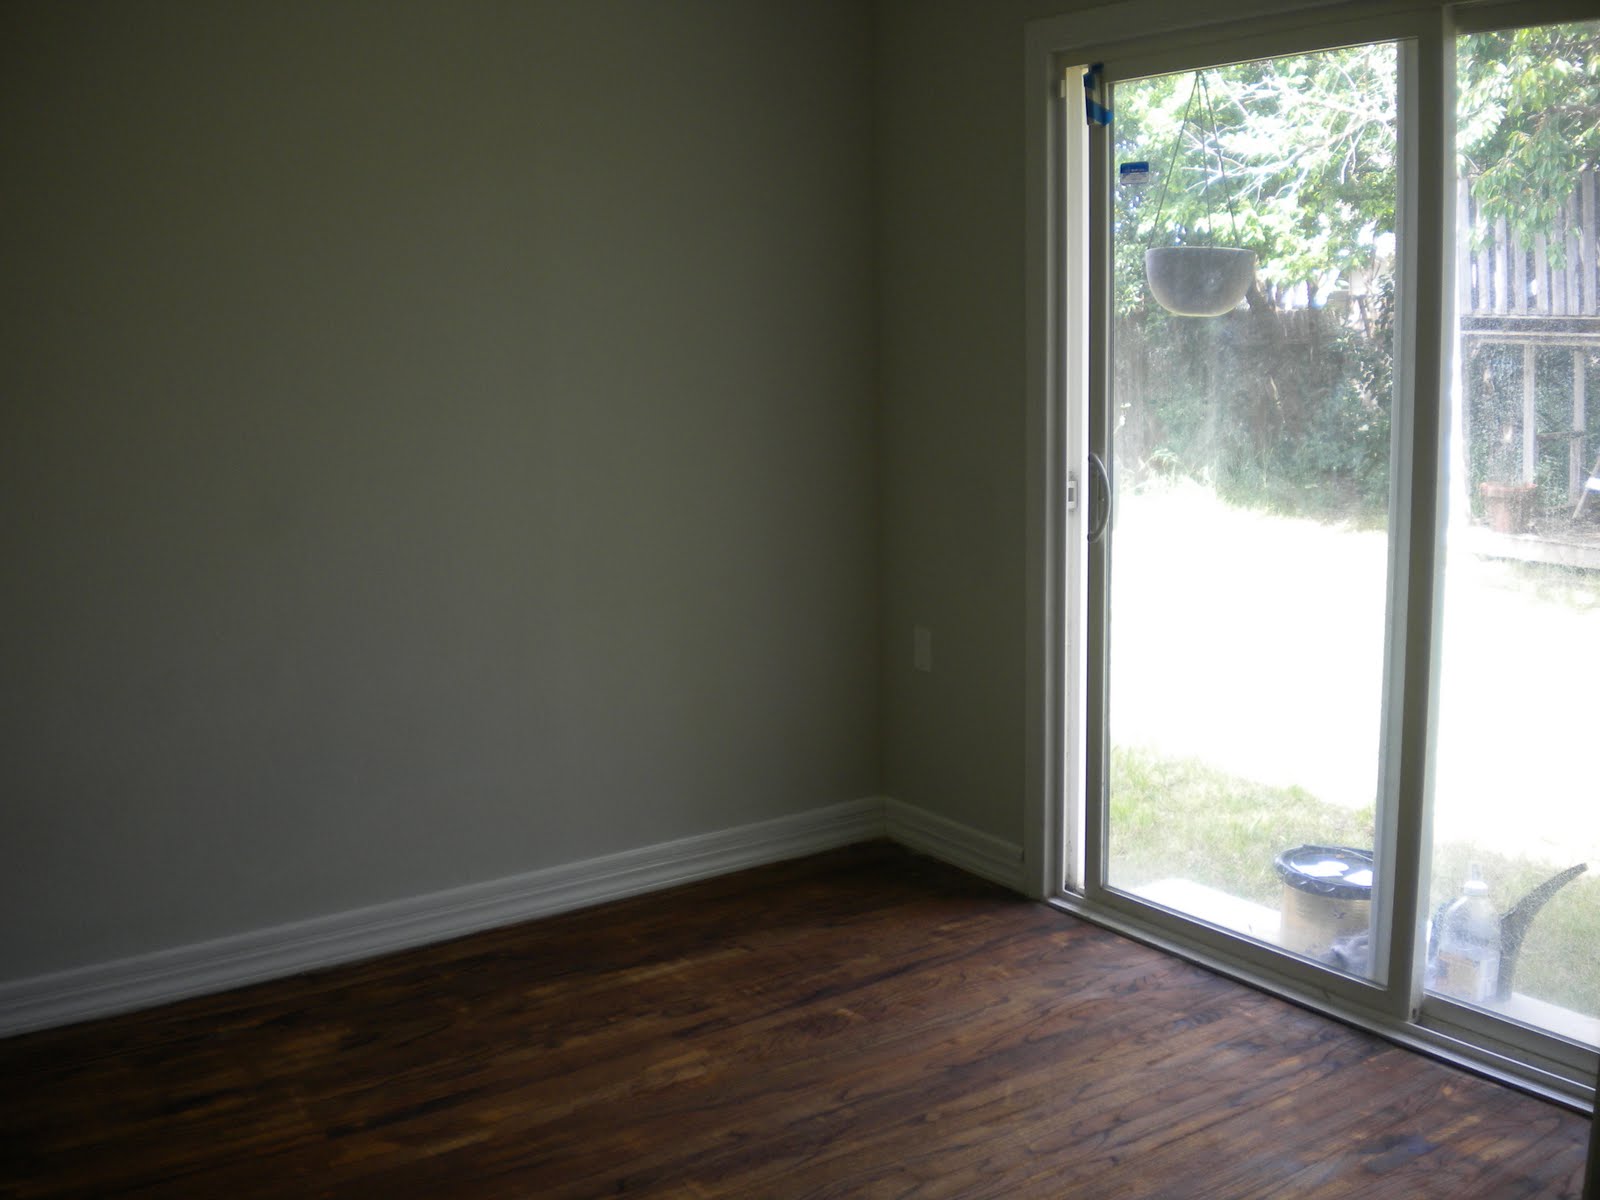
( The Nursery)
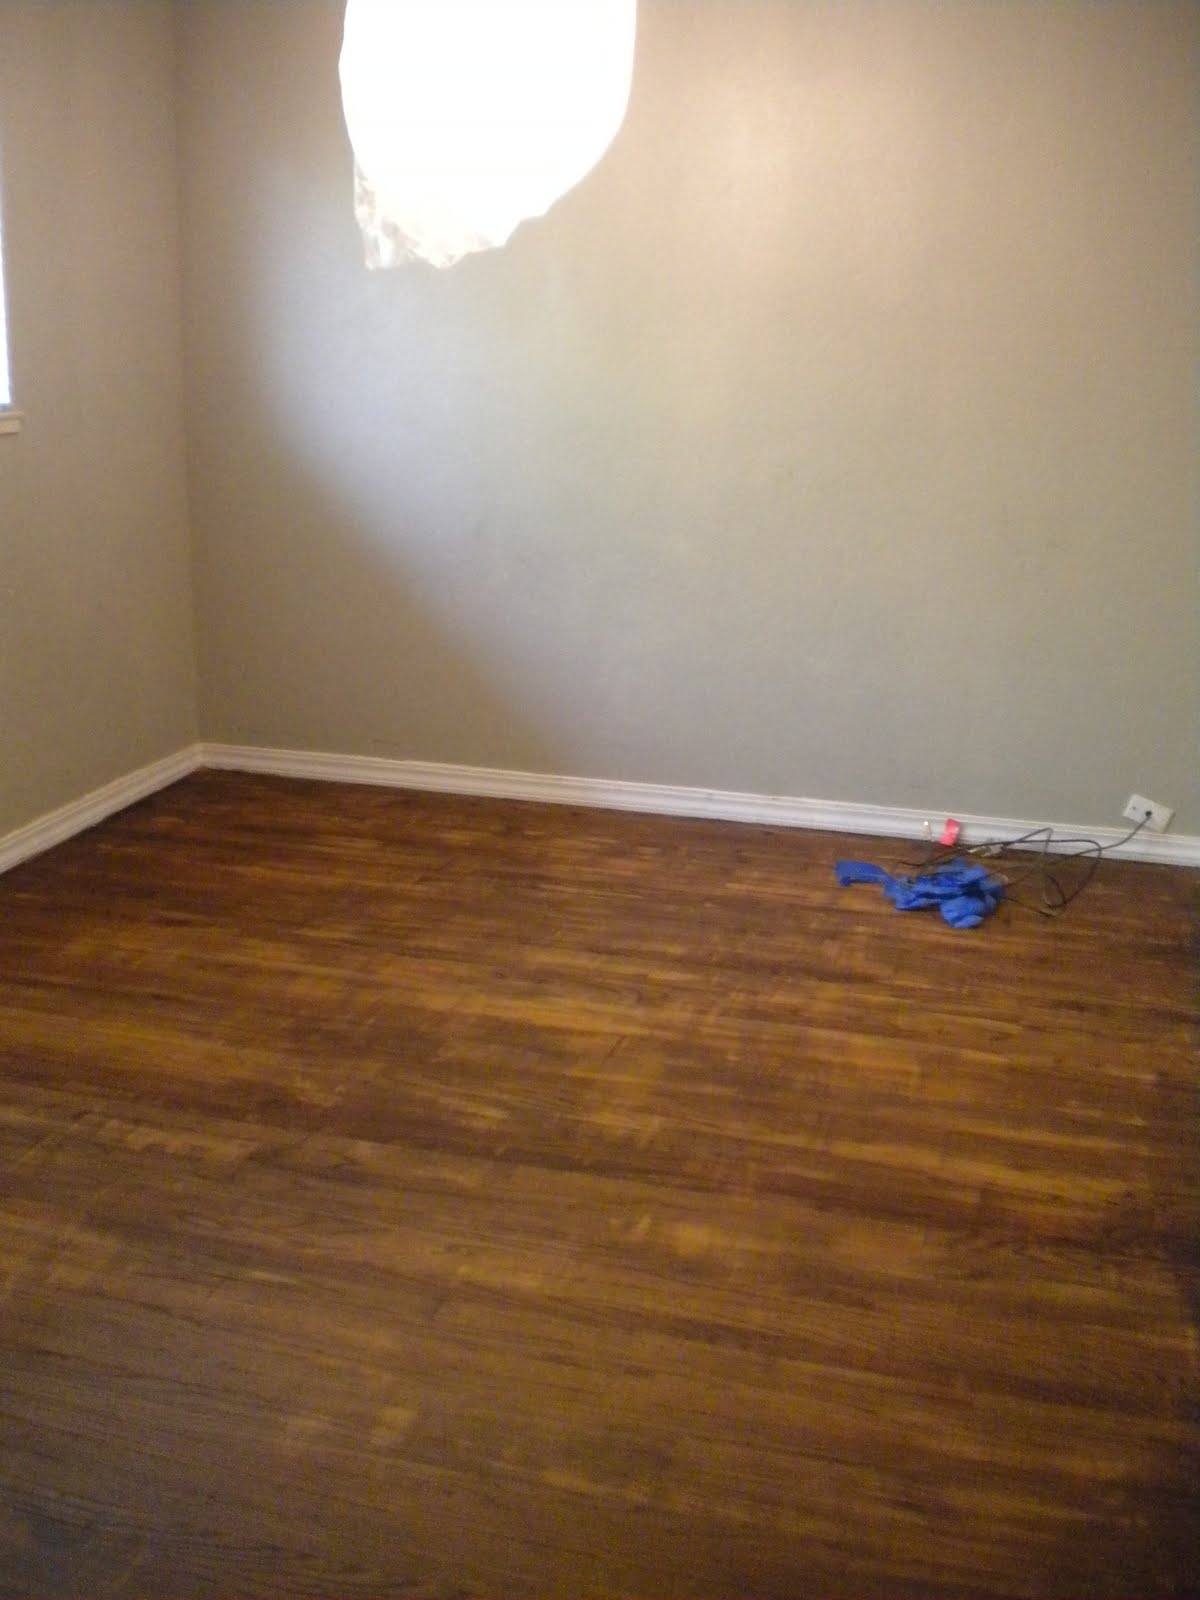
(Our Bedroom)
Thanks for reading if you have any questions feel free to ask .Good luck if you decide to take on this project its a lot of work but well worth it.
*Remember to do your the research 1st before taking on this project, prices may vary in your area the stain make take different on your floors.
Mr. CLH



Your floors look so great! I am so impressed that you did this all by yourselves... And that you saved so much money! Awesome.
ReplyDelete(Also, nice first blog Mr CLH - it's super-nice of you to step in for Mrs CLH on this one! :) )
Your floors look great! This is bringing back memories of my hardwood floors. 3000 sq ft...seem like it took me forever to complete, but the savings override the hardwork put in.
ReplyDeleteChyanne M.
theyuppielady.com
Wow! I know this is a lot of hard work. Great job! You really are worth a million for taking on these projects.
ReplyDeleteThey look wonderful. Love husbands that wear tool belts :)
ReplyDeleteI love, love, love the color of the floors. How green with envy am I!
ReplyDeleteMr. CLH ~ Great job on your floors and a wonderful post! I love the way the hardwood turned out and you two saved a bundle DIY-ing the floors. Fantastic work!
ReplyDeleteNice!
ReplyDeleteGreat job!!! They're beautiful! We received a quote of $3000 to do our 1100 sq foot house and you have just convinced me that we can do it ourselves too!
ReplyDeleteWhoo! I love how rich looking they came out. They look really nice. Hard work really does pay-off! Congrats for a job well done to both of you.
ReplyDelete@ Liz thank you .I'm so glad to hear that best of luck to you .Cant wait to hear how much you saved .
ReplyDeleteThank you all for your comments I think the hardest part of this project was the long waiting periods .One thing I did leave out is that I removed all the doors to the rooms that we were working in and I still have yet to put them back up lol .
ReplyDeleteI love seeing the process. What a transformation! You guys did great work! Can I hire you? lol.
ReplyDeleteThey look good.
ReplyDeletehttp://singaturestyle.blogspot.com/
Oh, we've been waiting for this post! WOW!!!!! It seems like so much work but I can't believe how affordable it ended up being!! This is totally inspiring. Not sure when we'll get to it, but when we do, we'll definitely try DIYing the floors.
ReplyDeleteChris
I need to get my old wooden flooring refurnished but don't have much budget can you suggest me some Hardwood Refinishing Services
ReplyDeleteBuilding owns home is a rewarding experience. It may be hard on the pocket and demanding on your time, but the joy and pride that come with it is worth all the hard work. A big part of building or rebuilding a home is the design of a floor. A favorite choice of material is hardwood.
ReplyDeleteVancouver Hardwood Refinishing
Nice Blog! Well most of your content and image is original and informative. /many thanks for sharing this, cheers.
ReplyDeleteDoors refinishing
Thanks for such a nice post,its really informational...Thanks
ReplyDeleteDoing it yourself really is not as bad it seems. I have just moved into an older house and have been trying to save money by fixing and replacing sections myself. I have received help from friends and I came across some videos that have helped me too. With videos that show you how to install wall tiles in kitchen , bathroom tiles, and hardwood floors installation , it will allow you to learn some great home improvement skills that will save you the time and money from having to hiring someone to do it for you.
ReplyDeleteYou've all worked hard on this flooring, and it resulted in something beautiful. The flooring has a country touch. It is also easy to clean, and your child can play on it safely.
ReplyDeleteI’ve done both- refinished the hardwoods downstairs and installed them upstairs, and they both look nice. The laminate doesn’t have the same authentic look, but it’s probably more durable. Long story short, it really depends on the look you want.
ReplyDeletehttp://www.aaahardwood.com/