skip to main |
skip to sidebar
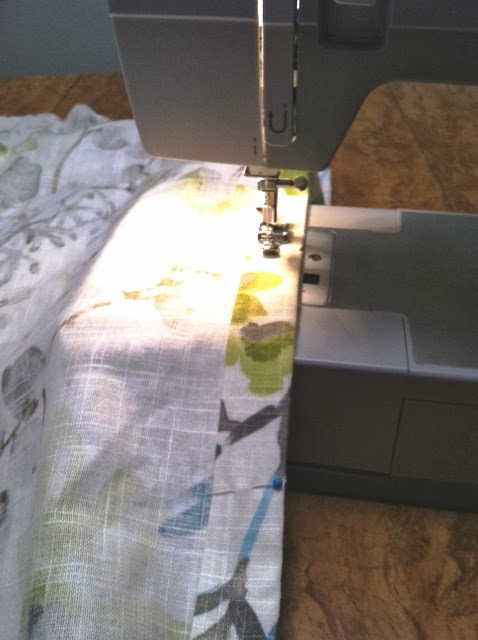
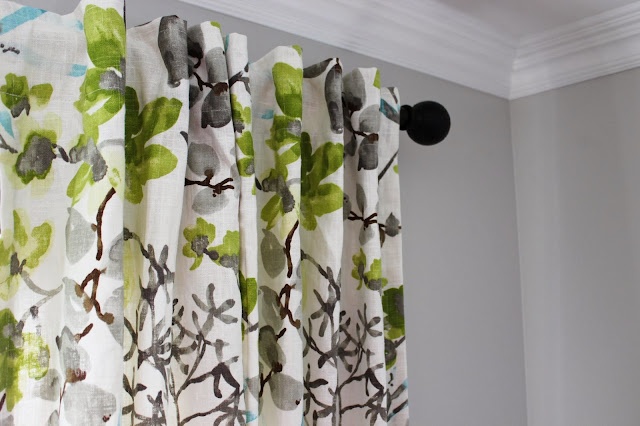
For the past few days in little sewing spurts early in the morning and late at night, I've been sewing the drapes for our dining room. If your one of my Instagram Friends then you already got a sneak peak of our new drapes. I finished them on Saturday and love how they came out, I decided to sew back tab style drapes for our dining room. I just love the look for those type of drapes they back tabs create pretty folds in the fabric, I'm sharing an updated How To on Tuesday [you may remember my original drapes in our dining room where also back tabs] I went with back hardware from Target for the curtain rod. I love how the black hardware pops against our light grey walls and crown molding.
Once I finish our painting our vintage dining room table [yup, still working on it!] we'll take off the lovely plastic on the drum shade and decided on the final height its going to hang in our dining
room.
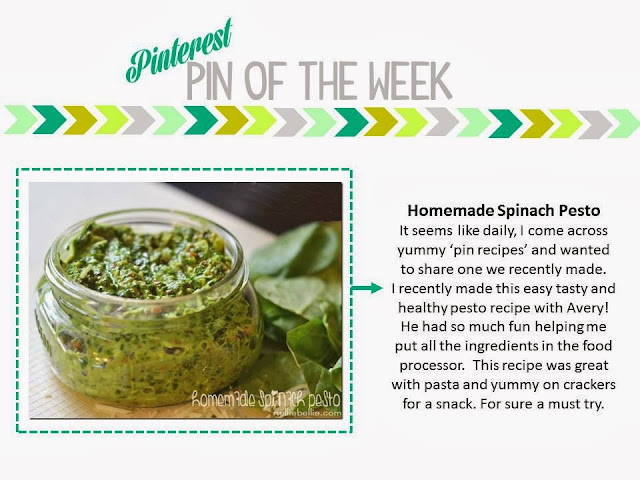
I love trying out yummy 'Pin Recipes' and came across this yummy Homemade Spinach Pesto recipe after, being encouraged to have Avery be my little helper in the kitchen. He has so much fun helping me make dinner now [stirring, blending and adding ingredients] its a great way for him to want to eat or at least taste what's for dinner. Pinterest Pin of the Week, is where I share my favorite Pin of whatever has been on my mind during the week: Decor, DIY, Gardens and Food and much more. I hope you all enjoy this easy Pin of the Week. Enjoy your Weekend!
Hi Everyone! Today, I'm over at Living Savvy today sharing how I Dress My Home for Fall. Tiffany from Living Savvy has a series on her blog features lots of bloggers all sharing the ways they dress their home for Fall, read more here. I'm all about layering in natural elements, after all nature is one of our best resources for outfitting our home for Fall. Read more about the simple ways I make my home have that cozy fall feeling on Living Savvy.
When it comes to wine glasses I love the look of stemless wine glasses so effortless and chic. However I love pretty champagne coup flutes the ones with the pretty thin log stems and wide mouths. They look so glam! I've had my eye on the Rosa Sparkling Wine Glasses from Crate & Barrel ever since I held them. They are perfection, but because there's always a but right? Ninety percent of the time I'm a thrifty girl with a few splurges here and there (mostly fabric) and couldn't get over the price tag, $10.95 per glass. Yup not going to happen. A few days later I was in Macy's in search of a Blender / Food Processor for the kitchen (I feel like such a grown-up now with a pretty blender and food processor, but that's a post for another day) when I came across pretty coup champagne glasses on clearance! The set of four were on clearance for $15.99 plus I saved an additional 20% using a coupon I found online. Such a good deal.
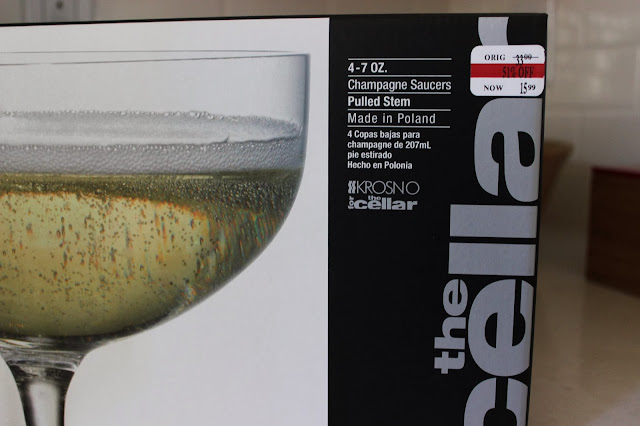
I love these champagne glasses from the Cellar, so pretty and feminine with a classic shape. I only bought one set, I know what was I thinking! I plan to go back to Macy's and see of my store has any more in stock, and will also pick up some stemless wine glasses while I'm there.
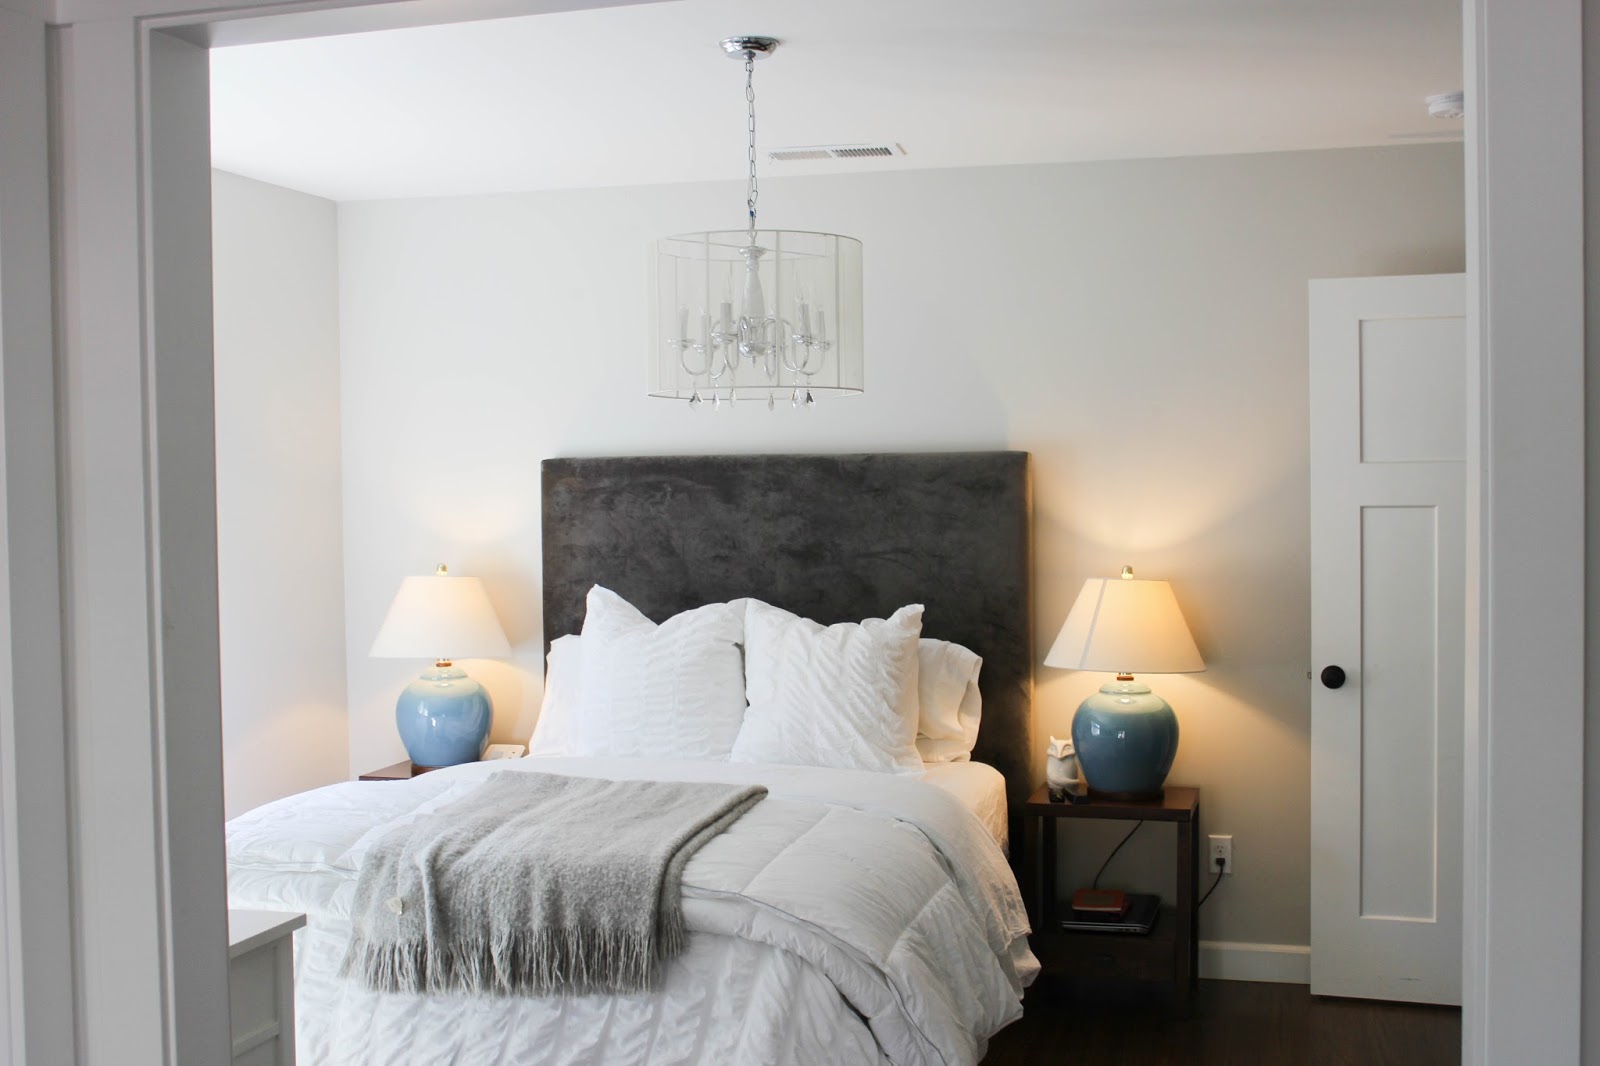
The last time I shared our bedroom on the blog, it was right before we moved back in our home and it was a blank empty slate. We decided on our bedroom layout, we love our bed facing the french doors, a portion of the bed also faces a small wall which fits our dresser perfectly.
One of my favorite thrift store buys to date is the blue lamps I bought from Salvation Army for only $8.00 each. I love how they look in our bedroom.
Here's the view of our bedroom when you walk in the room. The window is new, our old window is where the new opening to our french doors and closet and bathroom are. Right now our view outside our bedroom is the side of our neighbors garage. In the future maybe next Spring, I want to install a trellis and grow pretty flowering vines on it. Add some color to our view. I'm still deciding on drapes for the bedroom and french door.
We plan to hang the TV on the wall above our dresser soon, thankfully we have the electricians install our plug on the wall so it should go smoothly and we'll have no cords showing. I've been on the lookout for a small console table to site on the wall next to the french doors. I'm picturing a pretty mirror or artwork to go above it.
We have a little nook in our bedroom that would be perfect for either a chair or a petite settee, of course I'd love a little settee on the spot. My little fiddle fig leaf tree has been hanging in there, it was doing really well then a toddler who shall remain nameless found it irresistible and torn a few leafs off. It's slowly making a recovery now that moved it into this spot.
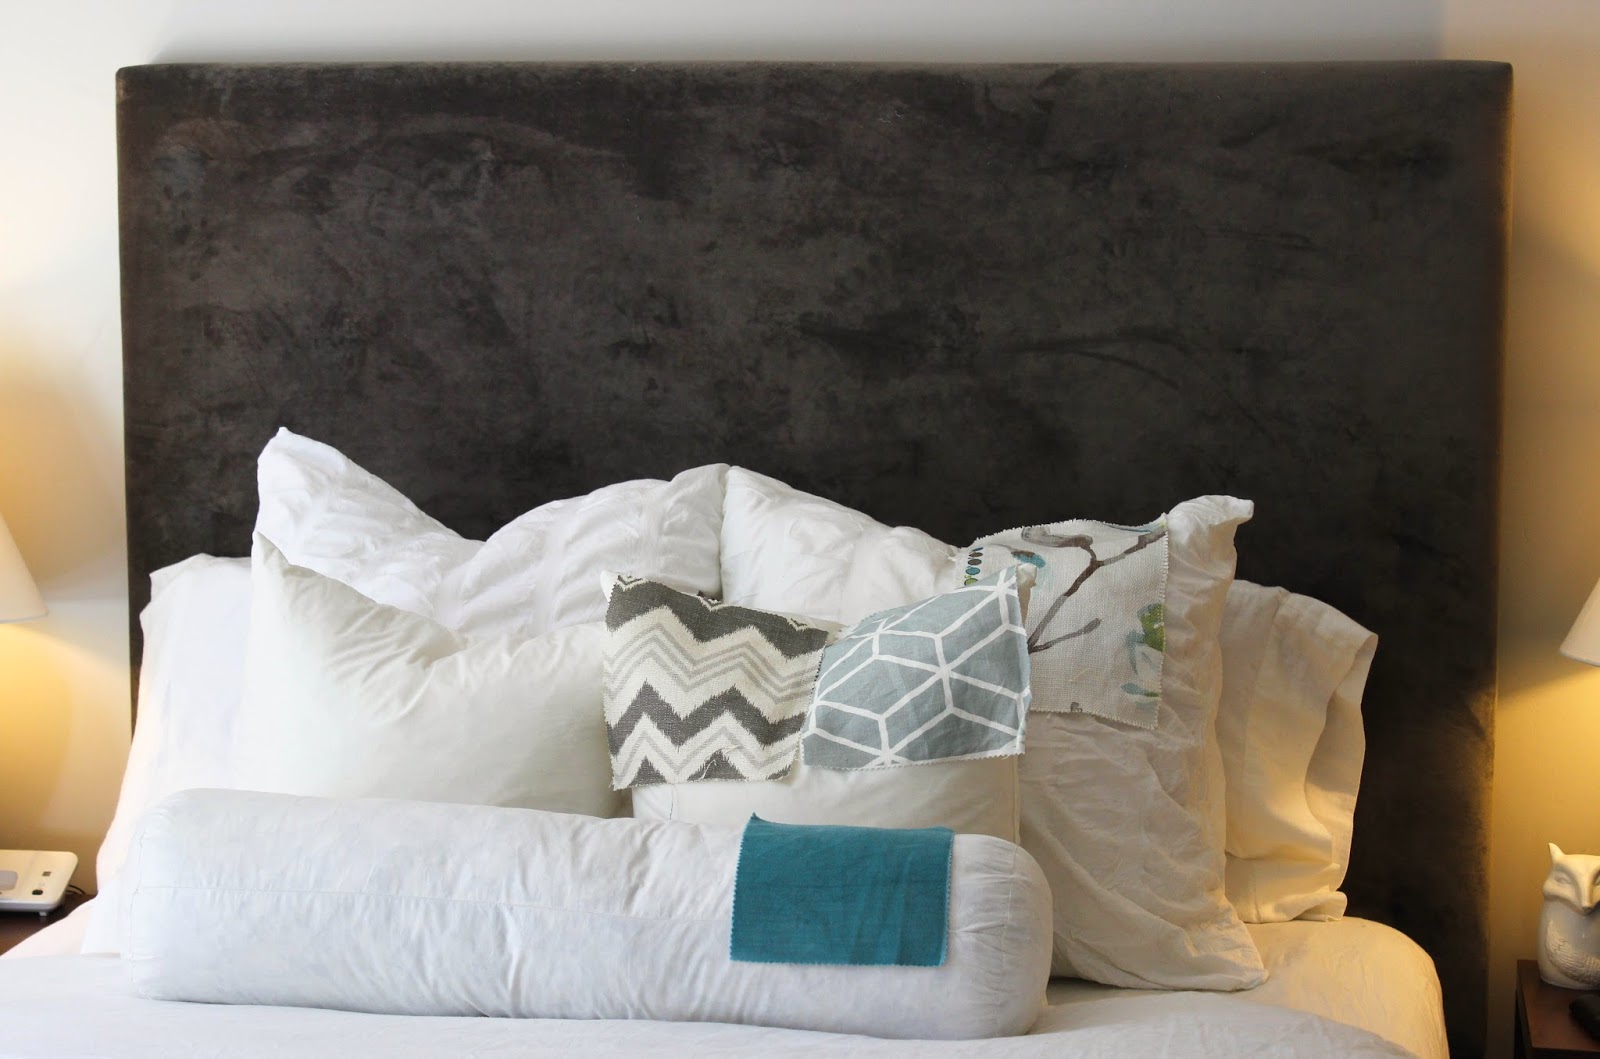
While I love our simple white bedding, I plan on mixing in some colors. Here's a reminder of the fabric I plan I using in the space.
I plan on covering the Euro pillows with the floral fabric, and the two smaller pillows either the chevron print or geometric fabric. I'm constantly reminded how amazing my friends are, my girlfriend Summer come across this large down bolster and bought it for me she knew it would be perfect for my bed. I love the size of it and plan on covering the bolster in the velvet fabric. As for our extra down alternative comforter at the foot of our bed, I plan on finding a pretty pattern duvet to bring in more color.
That's our bedroom progress so far, lots of plans to transform our bedroom into a special retreat for Hasani and I.
What do you think so far?
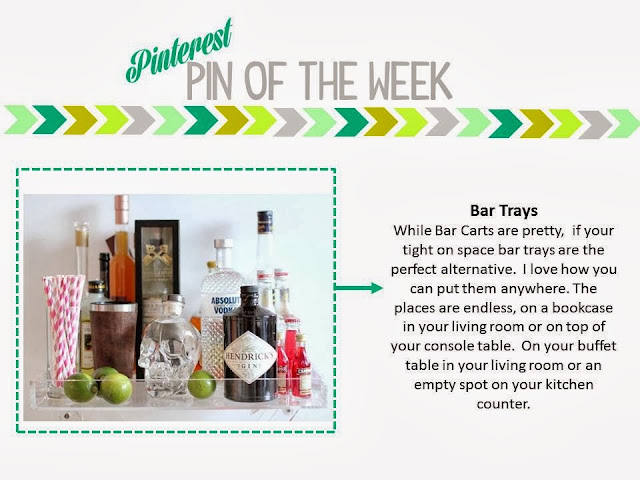
It's been a while since I shared my Pin of the Week and I've been pining ideas like crazy looking forward to sharing this pin. Pinterest Pin of the Week, is where I share my favorite Pin of whatever has been on my mind during the week: Decor, DIY, Gardens and Food and much more. On my mind this week Bar Trays are the perfect space saving alternative to Bar Carts and super cute.
During the rebuilding of our home we decided to add an indoor laundryroom / mudroom off of our kitchen and dining room. To say I love this little space is and understatement! I love ho it makes our home feel larger thanks to the pretty interior french door and I'm over the moon happy to be able to do my laundry inside! Before we did our laundry in the garage, which was fine but the space never felt defined as a laundry area plus the weather condition out there were cray cray, either super duper color or insanely hot. We recently picked up some cabinets for the area, but I'll share more details next week [read more about our laundry room ideas here]
With the weather changing its time I refocus some of my energy on creating a mudroom area in corner of our laundry room. The space is small so it just means I'll have to get more creative and use all the space wisely. For the past several months I've been on the lookout for the perfect small bench for the mudroom, I wanted free standing bench with a cushion. I first thought a duet piano bench would be the perfect solution, I even redid one years ago for our bedroom [read about more about the piano bench makeover] However, the ones I came across where just a smidge too big.
Finally I came across the perfect bench at Target and it was on clearance! I love the fact the bench is upholstered, has hidden storage spot [one of the reasons I was looking at piano benches] and has a bottom shelf of extra storage. I bought the Kinfine Sky Storage Bench for only $ 83.98 plus tax plus saved an additional 5% off and free shipping for using my Target Red Card. Here's our new Storage Bench in our mudroom area.
Since moving back into our home, I've been spending time in each room of our Rancher slowly getting things put together and its starting to feel more like home. I know its going to take a while to get our house just so, since I love to work on several rooms and projects at the same time. I have ideas constantly spinning around in my head, thank goodness for interest where ideas can sit for a while lol. Over the past few months I've been slowing putting Avery's toddler room together, and its starting to take shape and thought it was time to share the progress.
I really love toddler rooms that focus on play, creating and imagination all the elements I hope to incorporate in Avery's space. Most of all, I want his bedroom to reflect his curious playful personalty. Love this shot of Avery's bedroom that show a clear picture of DIY Customized Roman shades.
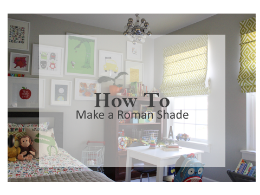
I recently shared Avery's DIY Customized Roman Shades, didn't they turn out amazing! I planned to share the How To earlier, but wanted to make sure my instructions were clear with lots of pictures so I waited a few more days to put together a more clear How To. I put together a How To for those of you that want to create custom roman shades for your home without the cost, did also I mention they are no sew?
I purchased Avery's Savannah II Roman Shades in cool white sale at JCP for super cheap, only $18.99 each (right now they're on sale, only buy them on sale, or check out Overstock for a similar look) The roman shades are ready made and come in standard window sizes, I ordered 39x64 and opted for a outside wall mount read here on how to measure for window blinds for an inside and outside mount. The roman shades I purchased from JCP have the boning on the outside, some roman shades have interior boning (so when Avery's roman shades are down which is only at night you can see the boning, the boning doesn't bother me, one thing I should add is roman shades with exterior boning require more fabric) I used about 3.5 yards of fabric for each Roman Shade.
On Measuring for Fabric [updated]
I received a good question in the comments about how much fabric is needed and wanted to go into more detail about. When I made the first Roman Shade, my friend and I measured and pinned all the fabric on the Roman Shade allowing for the exterior boning & cut the fabric. However when it can time to work on the second shade, I didn't have enough fabric, yikes! I had ordered 4 yards of fabric for both shades thinking that was more than plenty...When I worked on the second shade my new fabric order was 3.5 yards I didn't use that much fabric on the second, but had enough fabric left over for both Valances & lumbar pillow [for Avery's bed] Taking in consideration I was working with a geometric pattern and took more fabric to align the fabric properly on both valances and when starting the second Roman shade to make sure they matched perfectly, from left to right both of them match like identical twins.
The best way to estimate how much fabric you'll need for your shade is measuring your roman shade using a fabric tape, and measure the the exterior boning if you have it, then add in all your allowances and then give your self extra cushion for yardage & your valance (if you have one) The exterior boning really adds to the amount of fabric needed. For me it was trial and error [running out of fabric & ordering more]