The Importance of Primer

Wednesday, August 27, 2014

I love painting furniture, my favorite is transforming vintage furniture into an updated pieces for my home. Regardless of many paint makeovers I've done or will do, I'm always amazing by the power of primer and paint! In my experience when your refinishing vintage furniture its so important to use primer before painting. I was asked by KILZ® to   review their KILZ® Premium Primer along with sharing my thoughts on why its important to prime. I've been blogging for a while and really looked forward to putting together this post sharing my thoughts why I think its important to use a primer. 


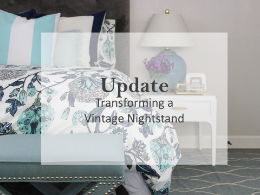
I'm currently in the process of refinishing a pair of vintage solid wood nightstands for my bedroom. The nightstands had a prior paint job that was in bad shape with uneven paint and chipping plus they were pretty dirty. The KILZ® Premium Primer is perfect to use when working on older furniture, its stain-blocking and requires little to no sanding between coats. KILZ® offers several types of primers to help you achieve a professional finished after, click here for a list of their primers that will work best with your project. Here's a reminder of our vintage nightstands before priming. Like I said, dirty and scuffed up. 


Before priming the nightstands, I removed the hardware and cleaned the nightstands with warm soapy and water. Next, I gave the nightstands a good sanding and wiped away any dust with a lint free cloth. The KILZ® Premium Primer went on nice and smooth. Once the primer dried it created a nice smooth surface and covered up the stains. When priming or painting, I always keep an extra lint free cloth on hand to wipe away any drips, just a quick painting tip. 

Since the nightstands were previously painted off white, I only applied one coat primer which still gave full coverage. I'm really impressed by the full coverage the KILZ® Premium Primer with only one coat. The primer also help cover help the previous wonky paint job. Often times while working on older furniture that's full of blemishes, old stains can bleed though the painted finish when you use the wrong primer or none at all. I feel that using a primer helps create a great foundation for a stunning after. Here's my nightstand after one coat of primer, already looking amazing.


Now that our nightstands are primed, they now have a nice smooth foundation for paint. I picked out a pretty soft white for the nightstands and will be painting this weekend. Already looking forward to sharing the after next week! 

What are you thoughts on using a primer? Is primer also a must for you when it comes to refinishing vintage furniture? 

Giveaway: Stanley Hardware Door Knocker

Tuesday, August 26, 2014

Morning friends! I've teamed up with Stanley Hardware to add some eye candy to your front door. Stanley Hardware is Giving one lucky reader of Chic Little House a solid Brass Door Knocker in your choice of finish (antique brass, antique bronze, pewter, satin nickel and solid brass) Door knockers are of those fun decorative and practical elements that dress up your front door and add visual interest. 


The Stanley Hardware Door Knocker Giveaway is open to all US Residents, starts 8/26 ends 9/2/14. Leave a comment below and earn an extra entry by following me on Twitter & Tweeting about the giveaway. Good luck!! 

a Rafflecopter giveaway

Installing Surface Bolts on French Doors

Monday, August 25, 2014

Little over a year later, we're still in love with our decision to add french doors onto our bedroom along with adding a back entrance from our laundry room to our backyard. Read more hear about floor plan changes. We love all the light our french doors & cottage door (laundry room door) add into our spaces. Even though we have a security system (that beeps when any doors or windows in our home our opened) I wanted a extra piece of mind when it comes to life with a curious toddler. As I said our little one is curious and smart, I've been nervous he'd unlock our french doors or cottage doors (during the daytime) and get out into the backyard! Total mommy fear #momfear101 

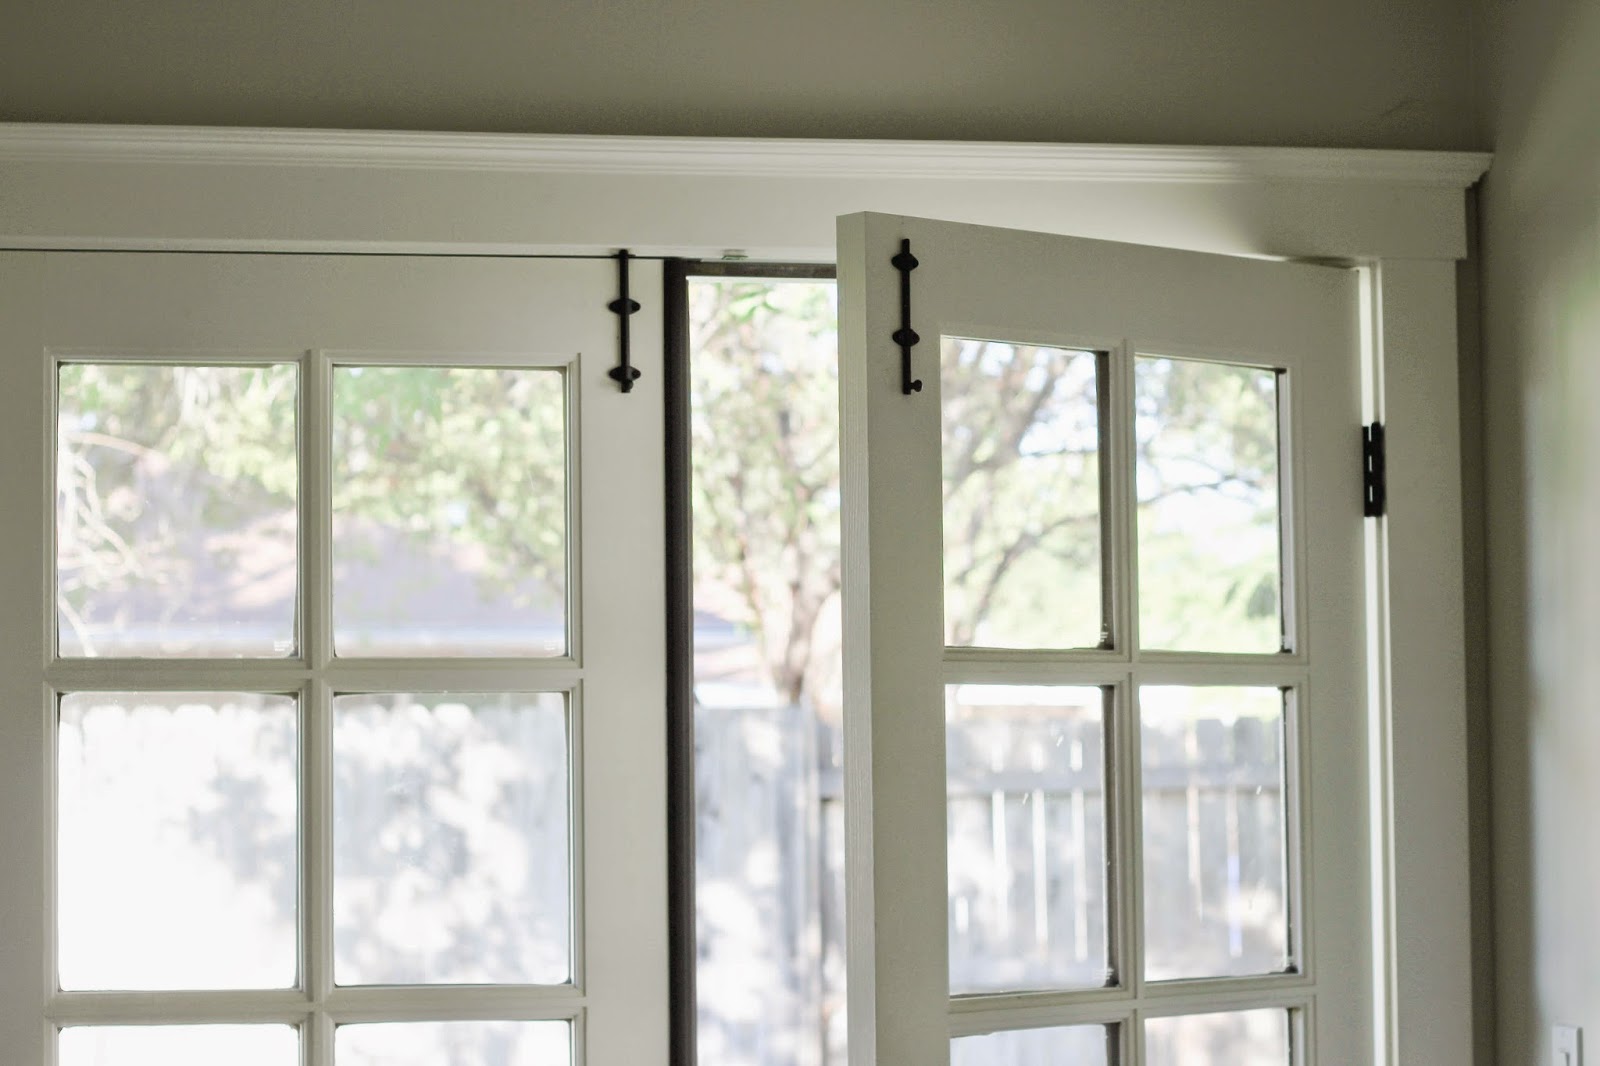
I've partnered with Stanley Hardware to add some additional security to our doors. I love the decorative touch and added security of Surface Bolts. They've add so much charm to our french doors, giving them a 'been apart of the house forever vibe', like this image. Stanley Hardware offers several difference surface bolt styles from classic to modern. For our home, we selected the classic style, which goes perfectly with our french doors and cottage door. The great thing about surface bolts is they can be installed on any door type or even gates. 


The Surface Bolt style we choose, comes in two sizes 4in and 6in, we liked the larger size for our door. They classic style bolts come in Satin Brass, while I love mixing metals I wanted to keep the hardware consistent, so we decided to spray paint the hardware black. 


To install the hardware we used a tape measure, drill and pencil to make the position of the brackets on our door and inside frame. 


To install the Surface Bolt, we decided on the position of the bolt on the door and then marked it. Hasani installed the bolt upper plate inside the door jam. Next we marked the bolt position of the brackets on the doors. The installation was super fast and took about five minutes on each door.


Totally in love with the look and peace of mind we have now that the Surface Bolts have been installed. 


Here's how the 6in classic style Stanley Surface Bolt looks on our cottage door. The black hardware pops so much off our paint Bali Blue door, such a pretty practical addition. 


Thanks Stanley Hardware for partnering with Chic Little House to add functional decorative hardware to our doors! Huge sigh of relief from this mom with a curious child. Be sure and stop by my blog Tuesday for a giveaway from Stanley Hardware, we'll be giving away a Sold Brass Door Knocker. Details on Tuesday. 

What's your thoughts on our new hardware for our doors? 


Tour Though Blogland

Monday, August 18, 2014

Happy Monday! I was recently invited by Ursula of Home Made by Carmona to participate in a blogland tour, giving a little more insight into what makes me tick. Ursula, is such a sweetie and one of the first new friends I made at the Haven Conference. Here's how it works, I answer four questions and then introduce you to another blogger and she'll do the same next week.


What am I working on?

I'm always working on 4-5 projects at time, I just like to have my hands on everything! Here's a quick rundown of the projects: refinishing our vintage nightstands, staining our wood and marble console table, framing artwork, working on our linen cabinets and planting flowers in our backyard. 


How does my work differ from others in my DIY genre?

We have a small home, which I've totally embraced its size, and try and use every square inch in a thoughtful and creative way and did I mention we're on a budget! Being on a budget forces you to get creative and resourceful (shopping CL, Thrift Stores, Stocking items until they go on clearance and getting your hands dirty with DIY)

Why do I write and create what I do?

By nature, I'm a sharing and creative at heart, that's one reason I love blogging sharing ideas and sharing what I'm working on. Since I was little I've always loved to draw, paint and rearrange my bedroom. I've loved interior design, before I even knew there was a name for it.

 I love this quote from Maya Angelou, 'You can't use creativity up, the more you use, the more you have.' 

That's exactly how I feel! Last year when we were working on on re-building our home, even though it was a very hard time emotionally. I loved entire process or creating the vision and feel I had for our home, I'm totally in love with how everything has been coming together thus far.

How does my writing and creative process work?

When I'm working on a project, I start brainstorming new projects and get inspired to create the next project. I carry a notebook in my purse, I can write down my ideas all the time. For me, creating for my home and enjoying it is my creative outlet. 

Now its time to introduce my friend, fellow blogger and recent Haven roomie Darnetha from ChippaSunshine. Not only is Darnetha a fellow small house homeowner (which makes me adore her even more) she's creative, funny she's full of spunk! 


Here's a little bit about her. 

Hi Chic Little House readers! I’m Darnetha from ChippaSunshine. Most days you will find me with my three kids wearing a top-knot and sipping sweet tea. In my pastime I design, sew, cook, and organize. I love to create. It is and will forever be my passion. My home is my canvas and that canvas is always evolving. My goal is to create a beautiful home that is comfortable and makes life as simple as possible.

I love her recent DIY Homework Caddy she made to help contain the kid clutter, isn't it the cutest!


Thanks again Ursula for tagging me in the Tour Though Blogland. Be sure and stop by ChippaSunshine next Monday to get some insight into Darnetha's creative process. 

Vintage Lane Nightstands

Friday, August 15, 2014

For the past year, I've been looking for a pair of vintage nightstands to replace our existing too small nightstands, ever since I found a pair of large Ralph Lauren lamps at a thrift store. Right now we can barely put a drinking glass on our nightstand, so I've been on the hunt. I love mixing vintage furniture with new in my home. For me its a more thoughtful approach than buying everything from a 'one stop shop.' As luck would have I came across the perfect vintage pair of Lane nightstands for our bedroom on Craigslist. I love the classic lines of the nightstands and they're the perfect size to hold our lamps along with glasses of water and pretty things. Because, being able to hold pretty things was on my list! Here's are pretty new to us vintage dressers, I picked up for $50 bucks for the pair! 


While checking out the drawers in the nightstands before buying them, I was happy to see that their made from Lane and loved their dovetail drawers. The nightstands are made from solid wood and very well built. 


The current state of the nightstands are pretty good, drawers open and close nice and smooth. They just need a very good cleaning sanding and new paint job. Once they all prettied up, I just have a very good feeling they'll look amazing in our bedroom. I love the pretty curves on these pair of nightstands, perfect mixture of vintage and modern. 


When I first brought the nightstands home, I was considering replacing the hardware and right now I'm totally love with keeping the original hardware as is. Of course Anthropologie & Restoration Hardware has some pretty handles I've been eyeing, so I might go that route instead. 


This weekend, I'm hitting hitting the beach to visit one of my besties and squeezing in the cleaning, priming process! I'll share progress pictures Tuesday. 

What do you think of our new nightstands? Any recent scores from Craigslist?

Color Crush Orange

Thursday, August 14, 2014

Let's chat about color crushes today, I get them bad! I'm currently crushing on the color orange in a major way! It's one of those vibrant colors I've totally ignored ignored using in my home until recently. Now I'm totally smitten with it and looking for ways to layer in a bit of orange in our living room. I love how well it goes with shades of aquas and chartreuse. I rounded up seven ways to add the color in your own space.


1. Add a pair of fun bright lamps to perk up a room 2. Frame a large abstract print or frame a photograph highlighting the color orange, I love this image of Chinese Lanterns in San Francisco art via Etsy. 3. Add a punch or color with a Diamond Lumbar pillow via Serena & Lily, this the name fabric I plan on recovering our mudroom bench with. 4. Pretty orange lanterns are always a happy addition and better they're currently on sale from World Market. 5. These orange throws are another happy colorful addition, in a living room place them in baskets for a burst of color, or hung over a back or a sofa or the arm of a sofa added the perfect amount of color via Serena & Lily and West Elm, also check Marshall's for the same look for less  6. Dress up a coffee table or bookcase with a bright orange tray via CB2 7. A stack of orange decorative boxes look perfect on a bookcase or side table, boxes via Gramercy & Co

Completely in crushing on the way orange is used in the rooms below. Using the orange in sprinkles and in blod ways. 


(via Pinterest)

(via Pinterest)

(via Pinterest)

Are you totally crushing on the color orange? What's your current color crush? 

Fences & Borders

Wednesday, August 6, 2014

For me fences + borders = perfection! Right now the fence around of backyard is super open, which I like but I prefer the look of fences with a layer of vines and then flowers. Here's a current backyard with our fence. Pretty vines and shrubs mixed with flowering shrubs help make a suburban backyard feel more private and special, at least in my mind that's how it works. 


The back our of fence is in really good shape and I totally want to keep it that way. My plan is to tackle a small section of fence line at a time with a mixture of freestanding privacy screens, wood planters and large flowering shrubs. I love the idea of building large wood planters connected to a modern trellis for vines. 

 via Pinterest

I also love the idea of growing tress, espalier style which means to train a tree to grow flat. Which would be an excellent source of additional privacy and such a lovely addition in to our backyard. 


A more affordable option for our backyard fence line is to build modern trellises. I'm so in love with the ones below!! That look so elegant and honestly pretty simple to build, I think the most difficult part of the project would be digging holes for the post (unless we rented a post hold digger) 


image via Pinterest

For the flower portions of our fence line, I'd love to add mixture of various flowers and flowering shrubs. 


We're going to start tackling small sections of then fence line in the upcoming months. I can't wait to fill our entire fence line up with pretty. 

Do you prefer your fence line free and clear, or filled with flowering shrubs and trellises ?

Framed Petty Paper

Monday, August 4, 2014

One of the things I loved in our living room before our home re-build was the framing the numbers of our wedding date. I loved its simplicity and the meaning behind the date. I wanted to do something similar, that reminded me of our wedding date. This time, I wanted to doing something else. Recently I was looking though all the pretty paper at Paper Source and saw hydrangea wrapping paper. I instantly felt connected to the wrapping paper, since our wedding flowers are hydrangeas and knew they paper would make a pretty addition to our home. I instantly felt connected to the pretty paper because our wedding flowers were hydrangeas and the lovely shades of chartreuse represented in the paper. As most of you know, I'm smitten with shades of chartreuse so the paper just felt right. I ordered the paper online along with a few other paper pretties (envelopes and paper liner templates, love!)


 I decided to frame the paper in the Ikea Ribba frame I picked up months ago. I used the matte to trace the paper then cut the paper to the correct size. 


I love how framing a pretty paper can transform it into artwork (at least in my mind) and better yet the 20x30 wrapping paper was super affordable only $ 3.50. Making framing this paper super affordable and inexpensive allowing me to splurge elsewhere. 


Along with framing the paper, I also framed an Etsy print I purchased from Printable Wisdom. I love how the framed artwork looks in our living room. 


Now, whenever I see the hydrangea print blooms in our home, I'll instantly think of our wedding. I like that. It's a very special day and I love simple reminders. Next time you come across some pretty paper, consider framing it. 

What's the last piece of artwork you framed in your house?

Related Posts Plugin for WordPress, Blogger...