DIY Raised Garden Bed with Irregation

Wednesday, March 26, 2014

Last week, I shared our plans to build raised garden bed in large empty space directly off our patio. The space we planned on using for our garden bed is is 8ft wide x 24ft long. We considered building two raised garden beds, but decided one 4x8 raised bed would look nicer. We bought our lumber and screws, came home made some cuts to the 2 of the boards and decided to work on the project later in the week. My dad stopped by one evening last week, he was in town (he lives about 2+ hrs away) and I showed him our progress of cleaning out the area plus our a little of our building progress. My Dad glanced over and without even asking what type of wood we bought knew instantly, we bought he wrong wood and if we went ahead with our plans, the wood would eventually rot. 

I was so bummed, I knew we went a little cheaper on the wood but didn't think it would be that big of an issue. My Dads a contractor and civil engineer so I trust his judgement, and with defeat decided we'd return the wood and go with Redwood or Cedar like we should have in the first place. While I was talking with my Dad he also suggested we consider going with a 4x12 garden bed instead of a 4x8 to balance the area out nicely. On Saturday morning we loaded up the truck and returned the wood and bought redwood. Now that I shared our mishap lets talk building our raised garden bed. 

Garden Bed 

On Sunday we built a 4ft wide by 12ft long raised garden bed using Redwood lumber, I'll share our shopping list below. As a reminder we used the raised garden bed plans I found on Sunset magazine, its a really simple plan that can easily be modified for your space. 

Shopping List 4X12 Raised Garden Bed 

1 - 6 foot 4x4 fence post (use cedar or pressure treated posts) cut into 16 inch pieces 
2 - 8 foot long 2x6 redwood boards
4 - 12 foot long 2 x 6 redwood boards
20 galvanized 16 inch screws 

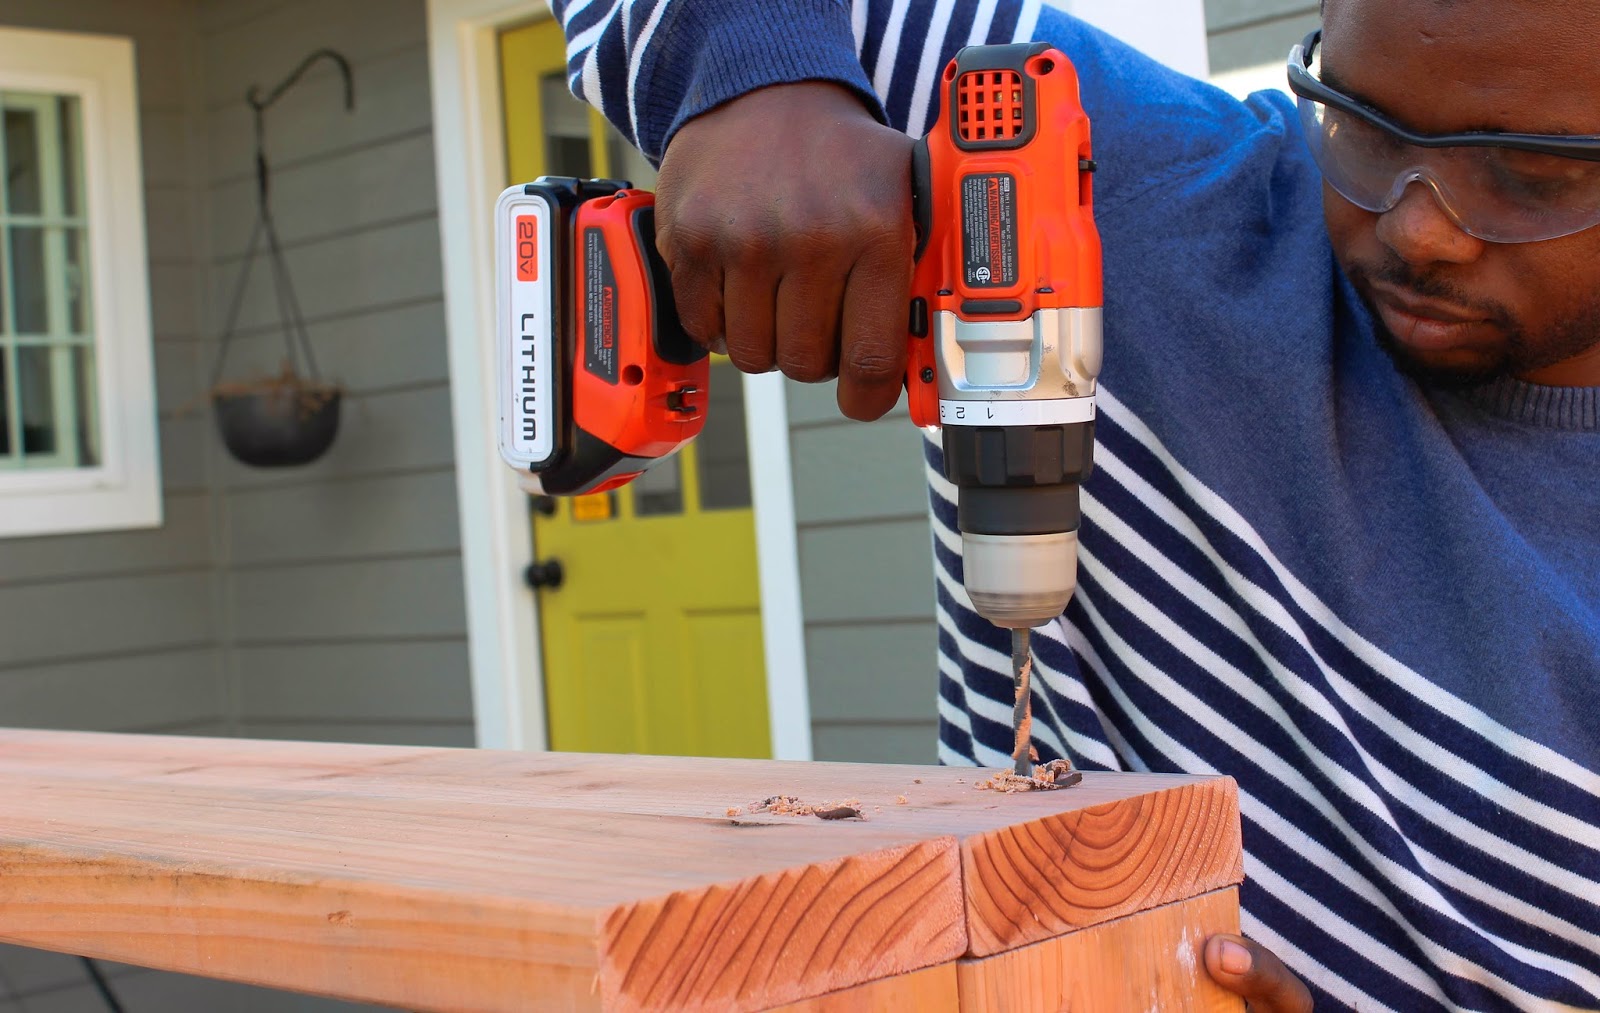
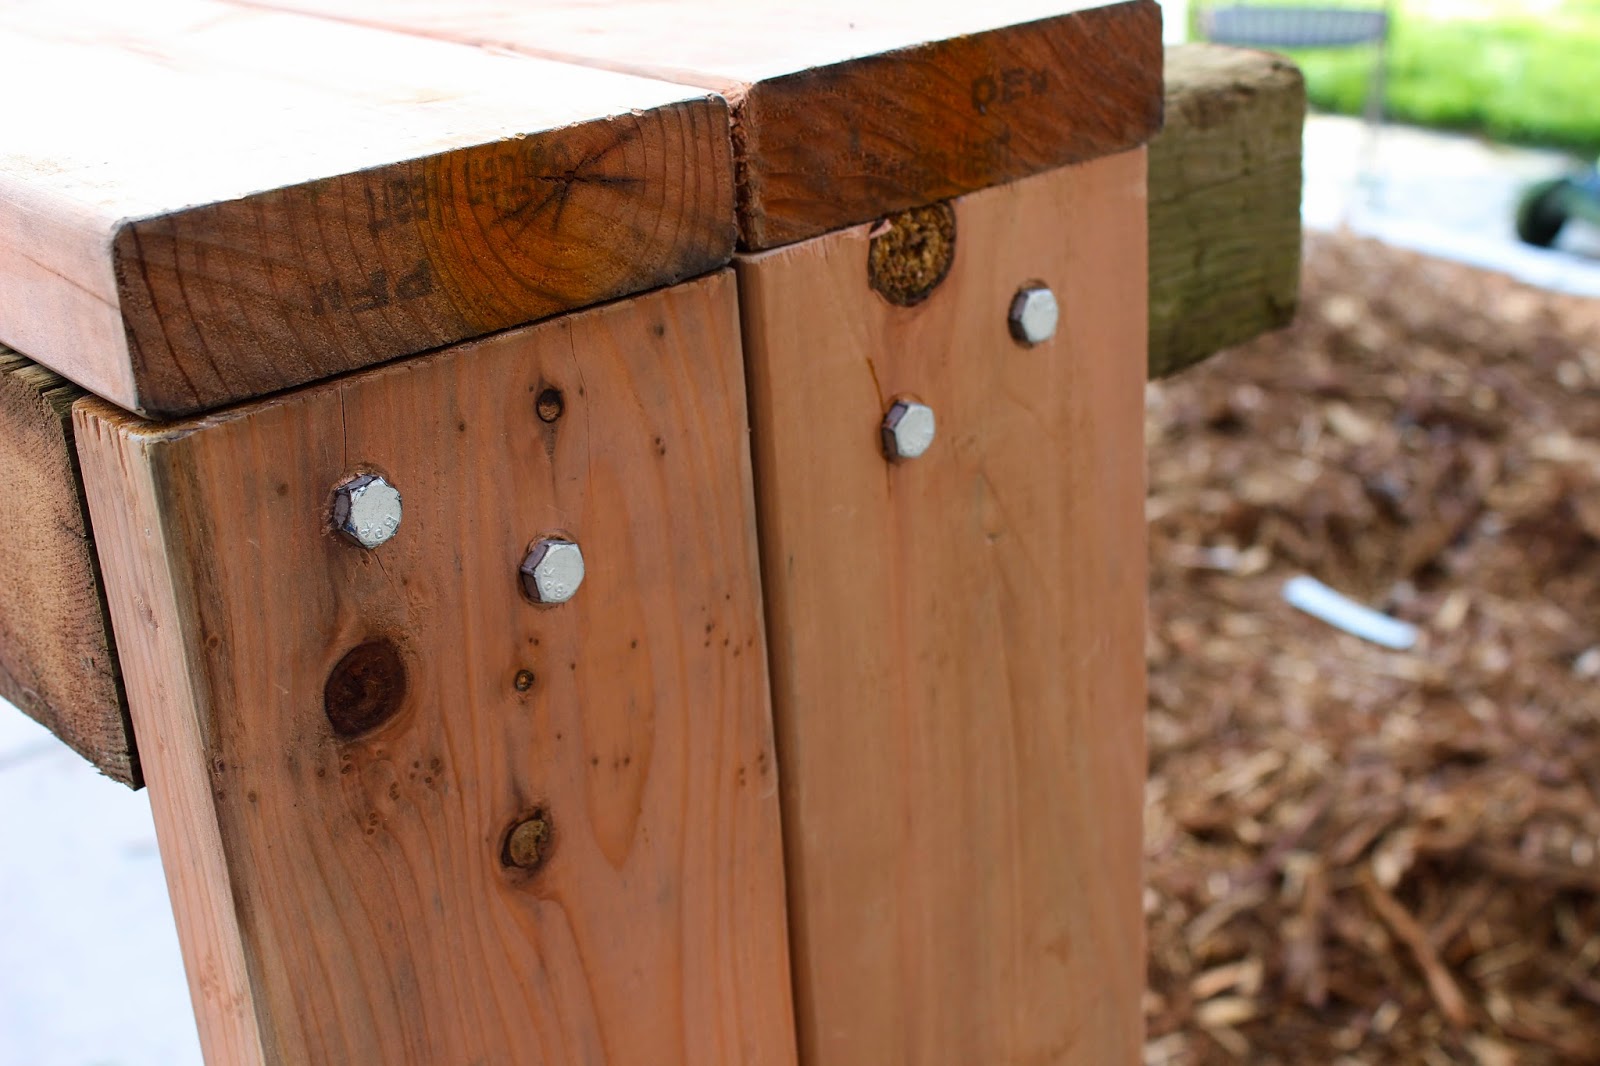
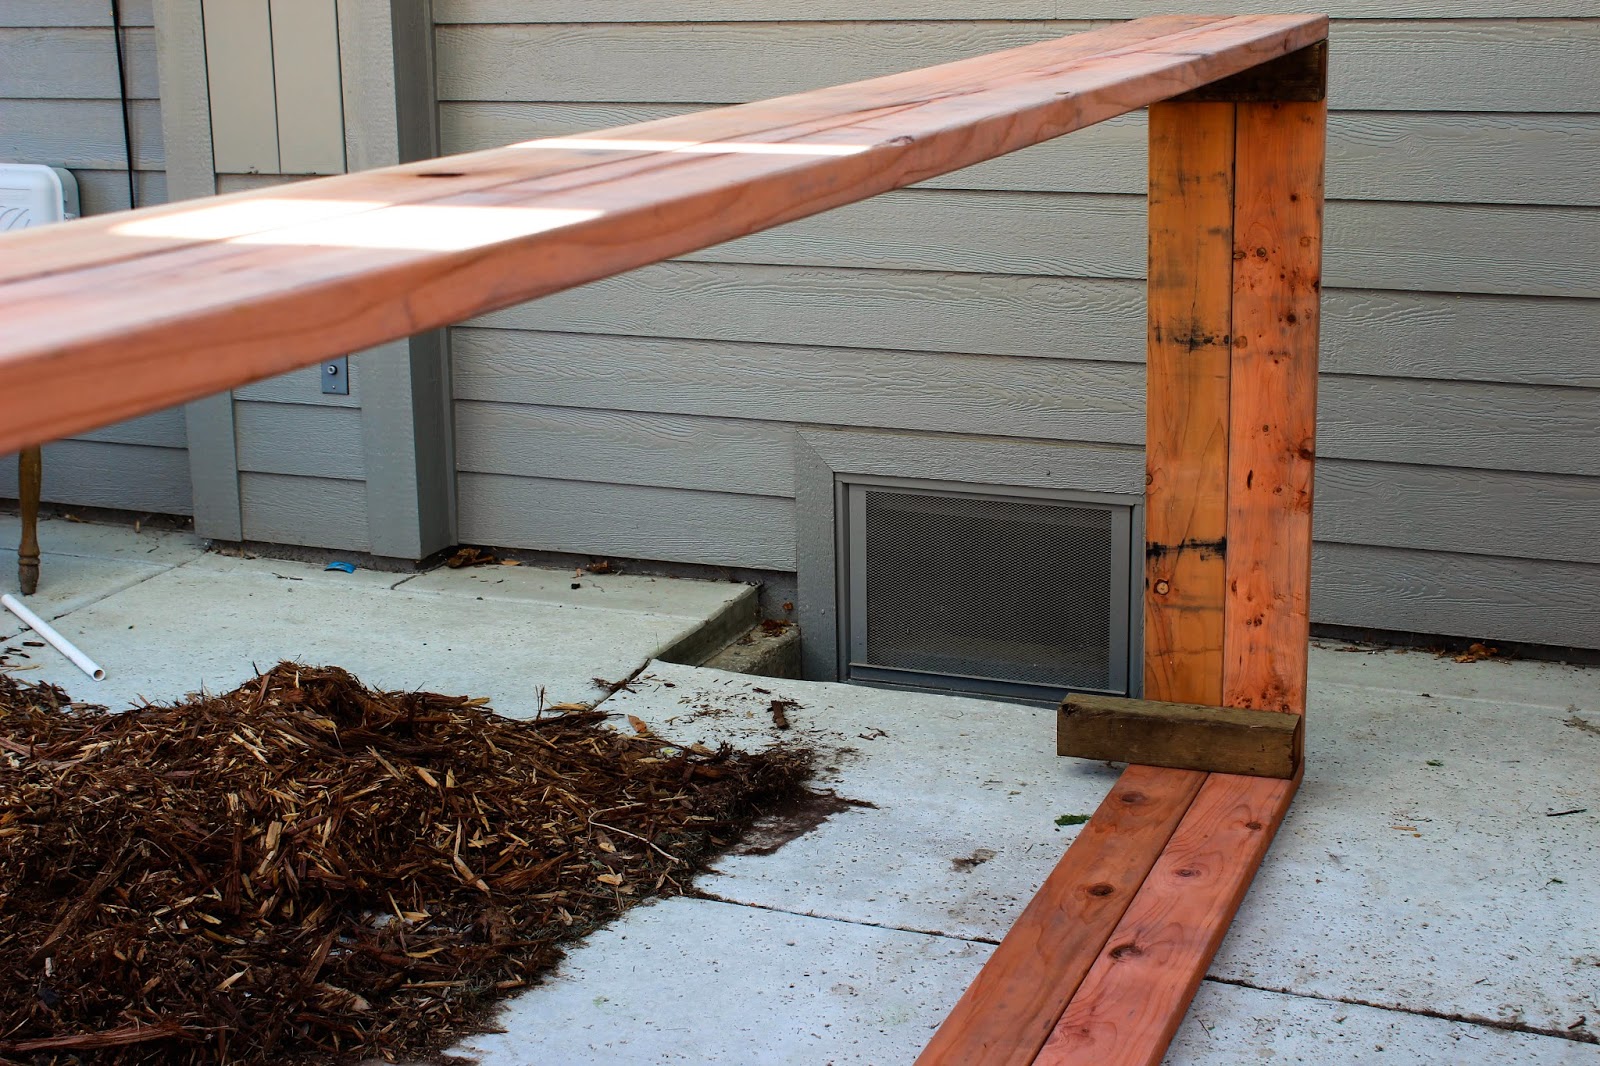
We did the 4 feet sides first attaching them to our 16 inch cut pressure treat posts. Since Hasani was drilling long screws into the boards and posts, he opted to pre-drill the holes and then screw them in. 
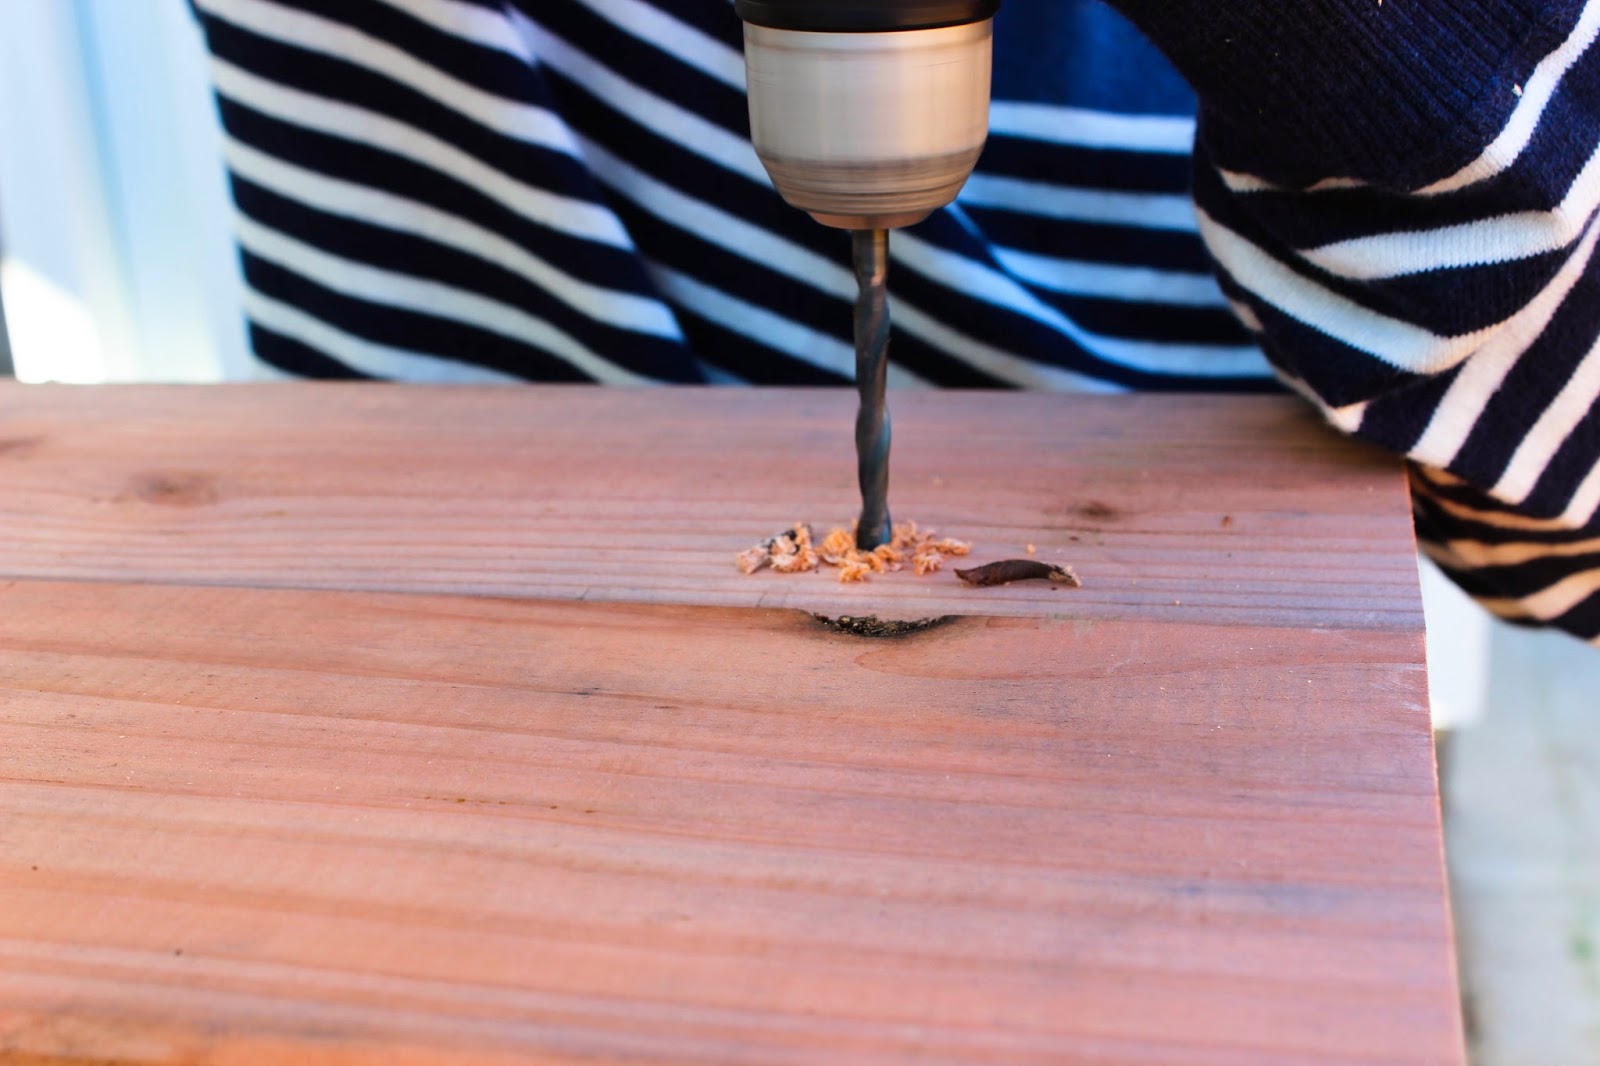


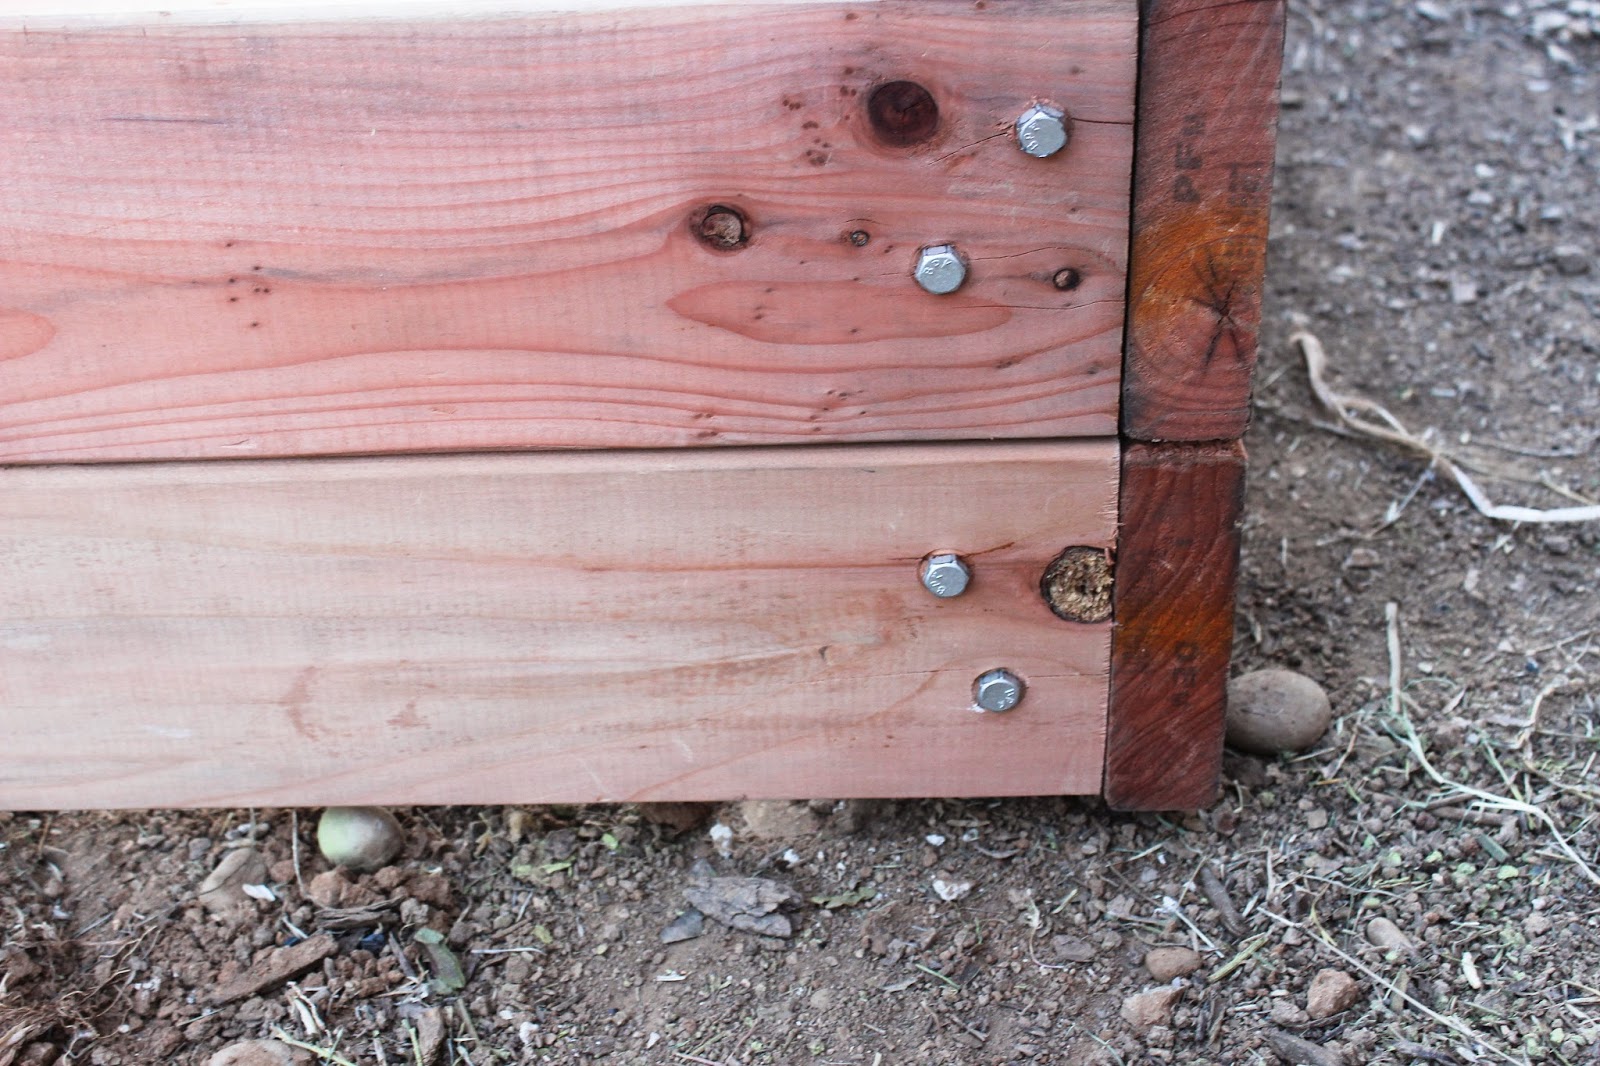
In retrospect since the wood was o long, I would do the long side first then the four feet sizes. Next we attached the 12 foot long boards to each 4ft end. Once all four sides of the garden bed were attached we opted to add two more middle posts to the middle of the garden bed for added support. 

Next we placed the raised garden bed in place, decided on the where we wanted it placed in our area and then using spray paint marked the areas that need to be dug out for the posts to sit into. Digging holes went fast and smooth, we had the frame of the raised garden bed leaning our fence. What was not easy, moving that heavy sucker into place! 


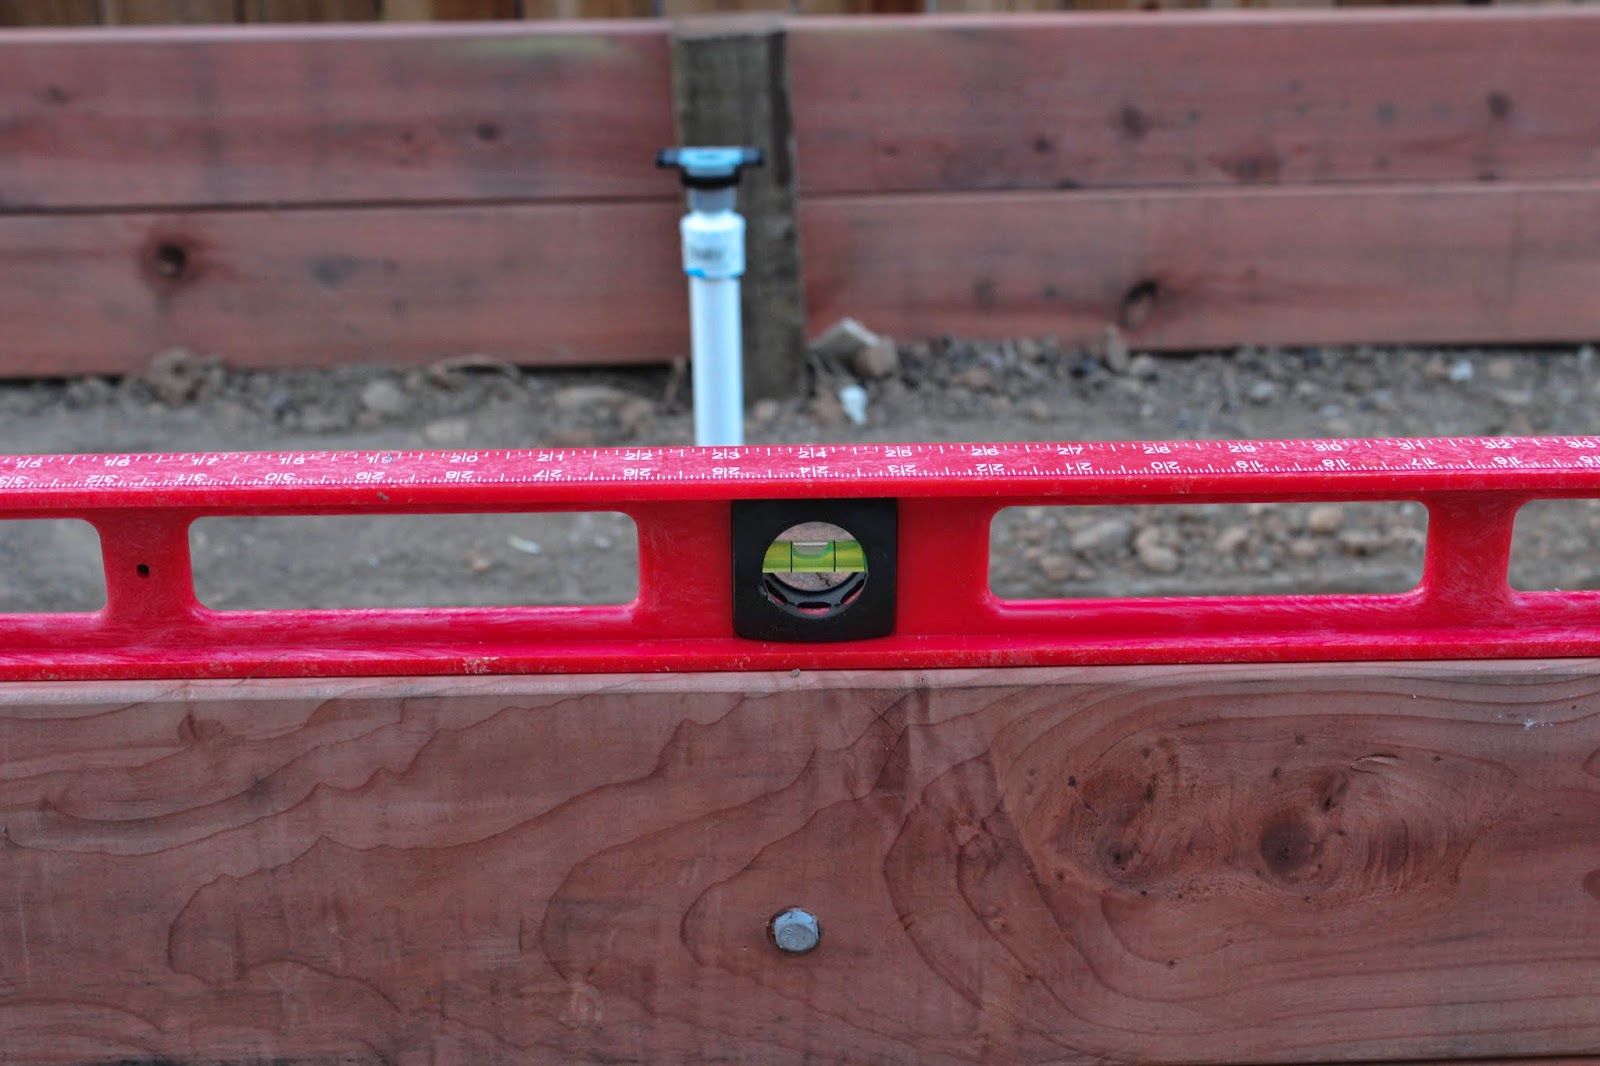
Once the our newly built raised garden bed was in place, Hasani checked to confirm it was level. To me it looked crooked it, but the level confirmed it was perfectly level on all four sides! 


Irrigation

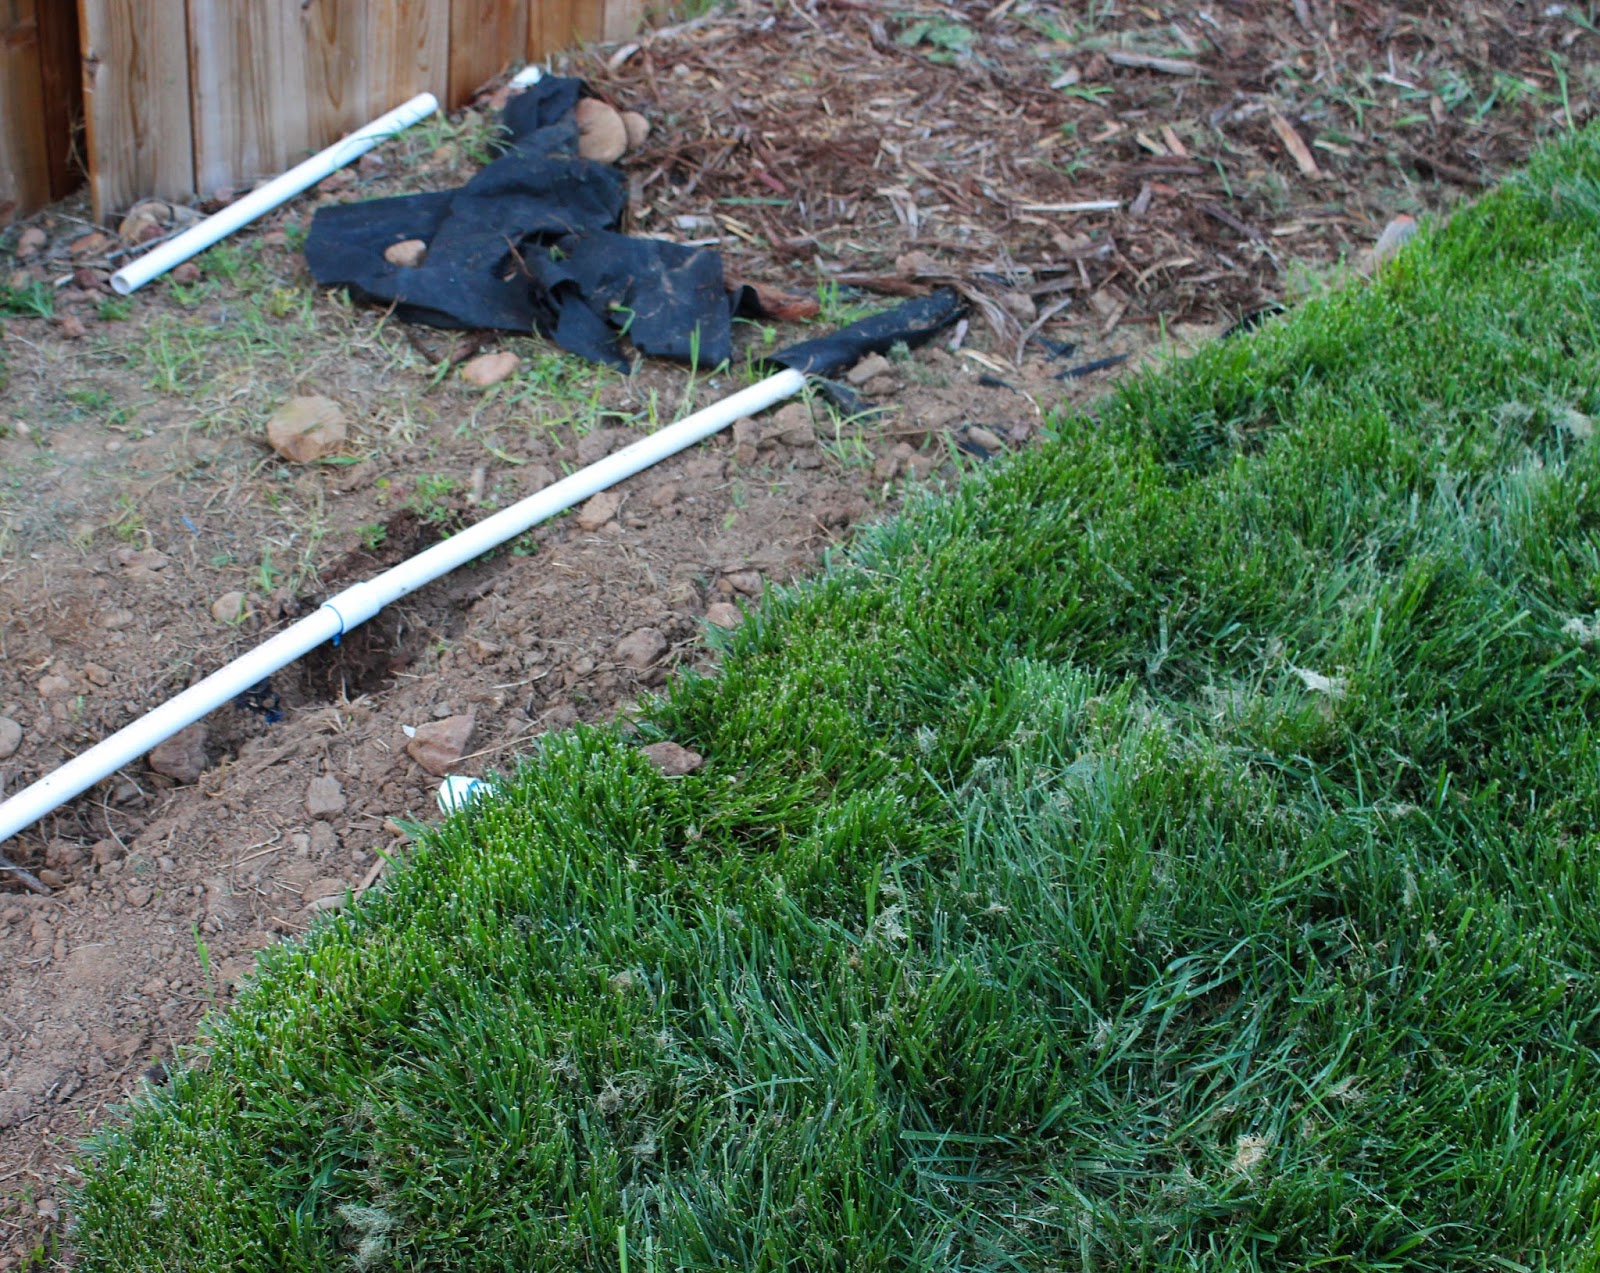
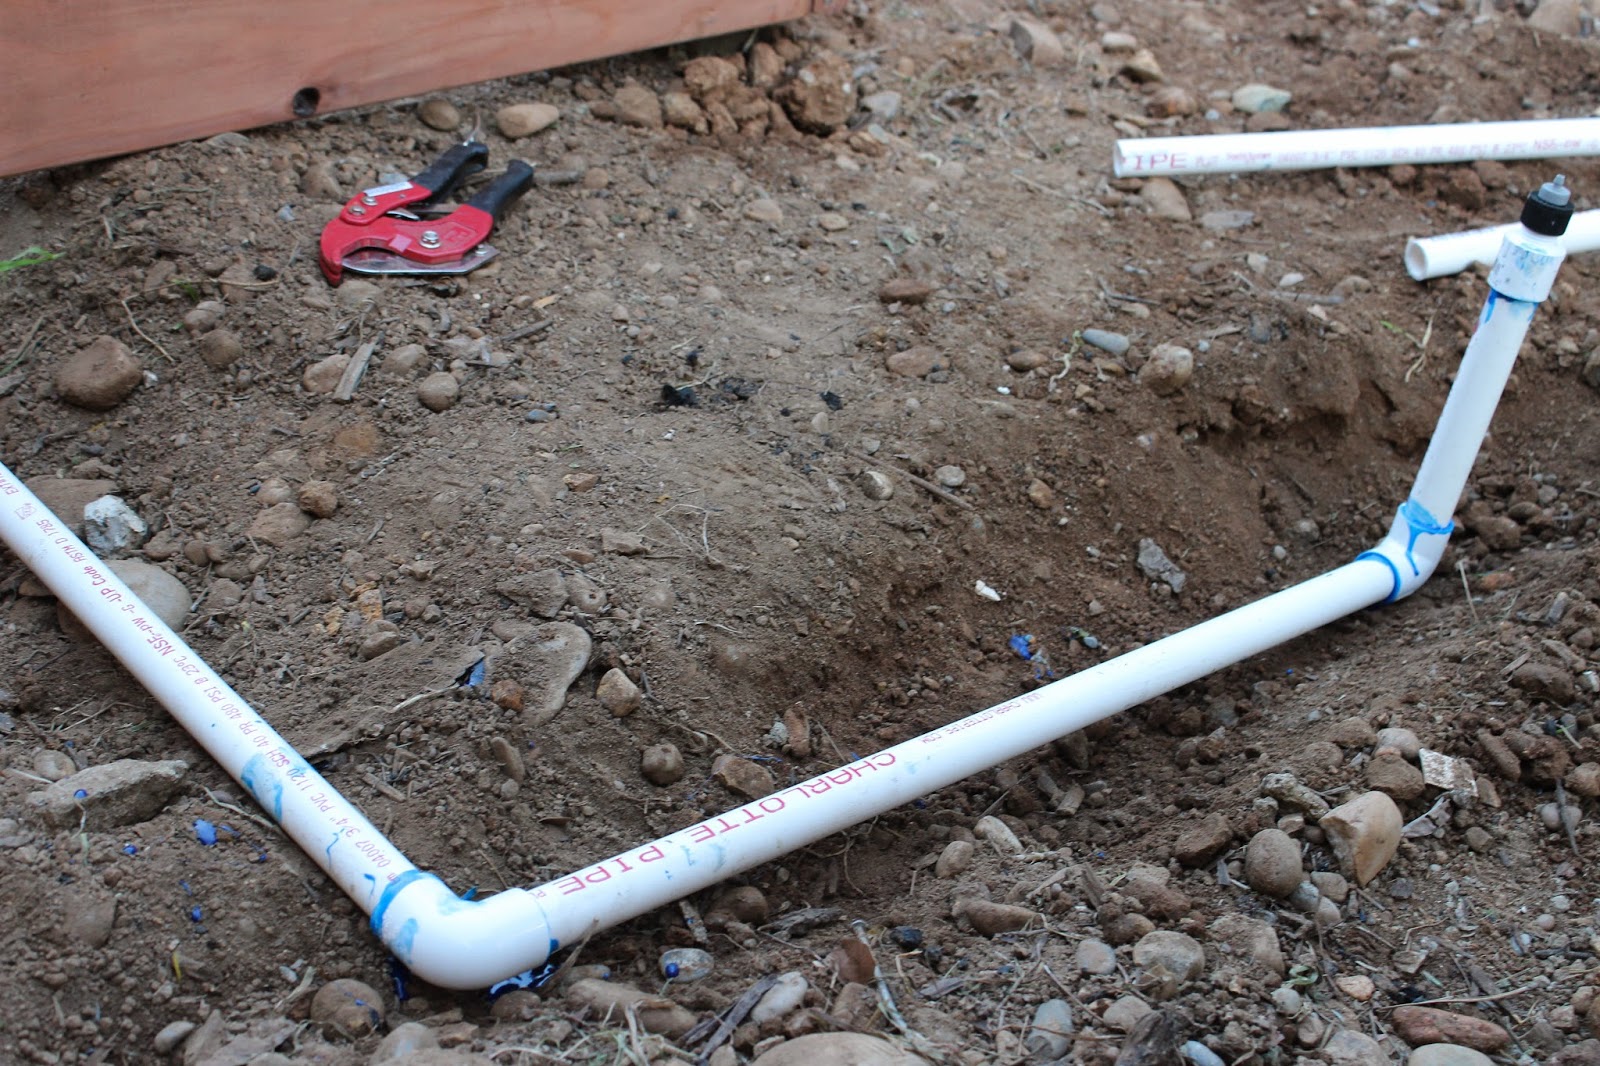
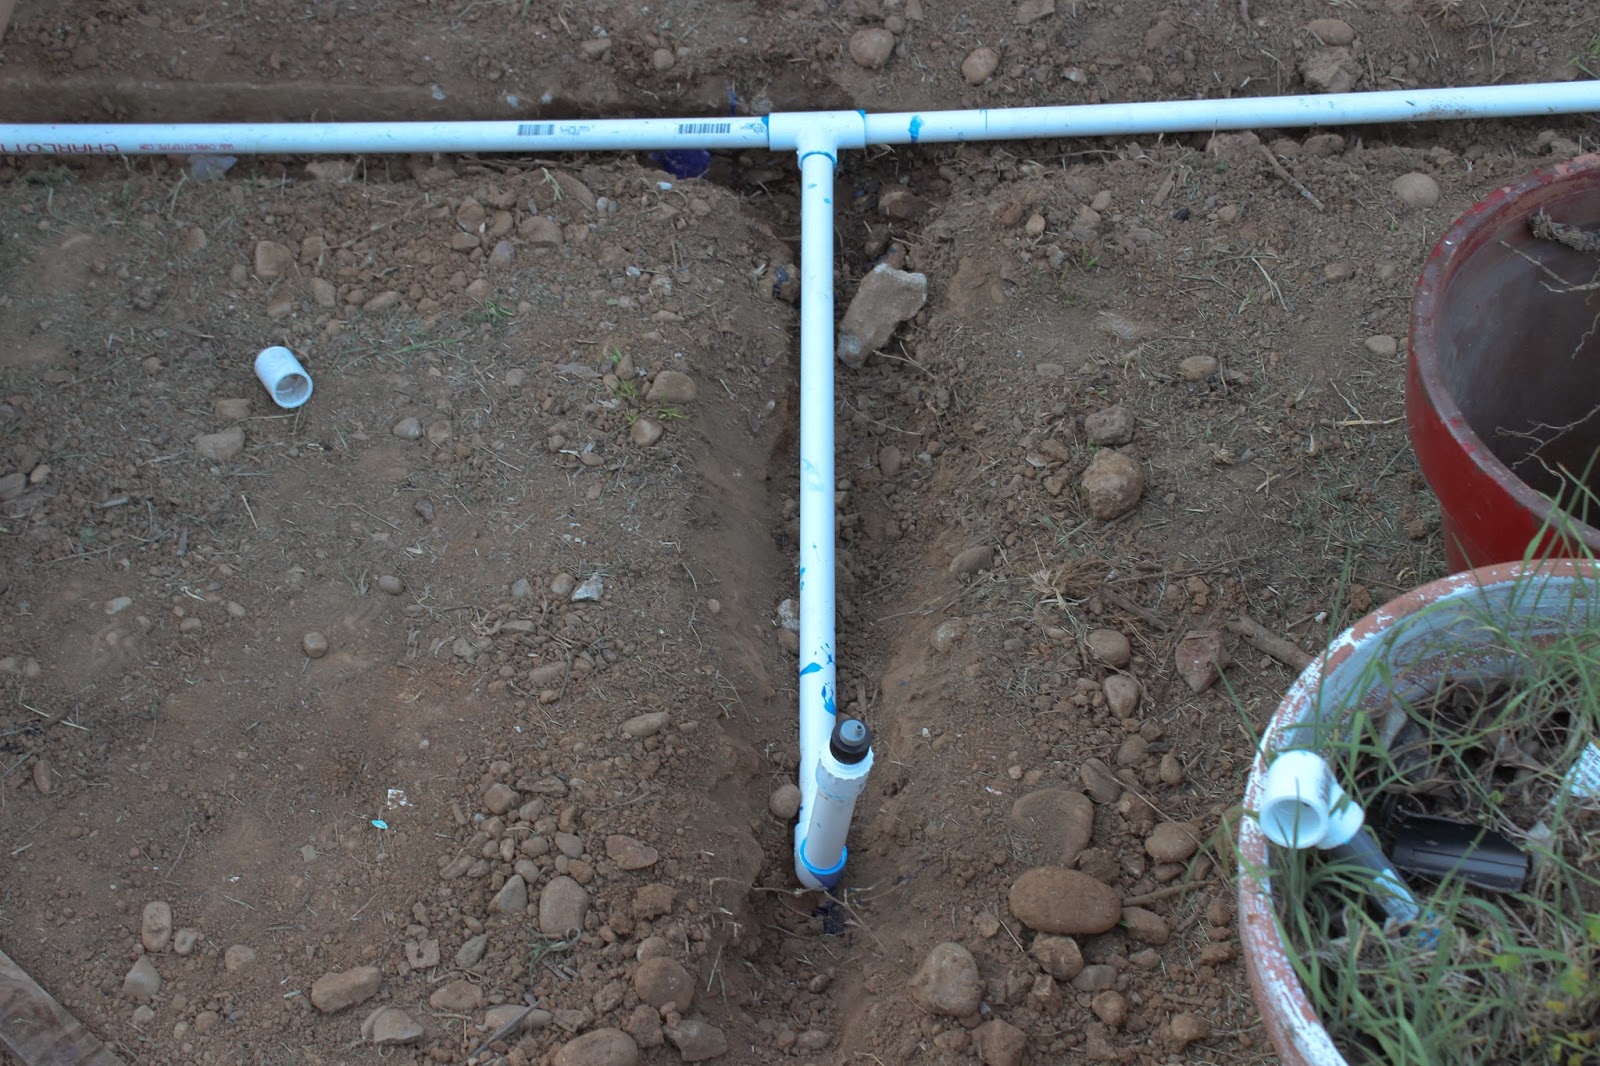
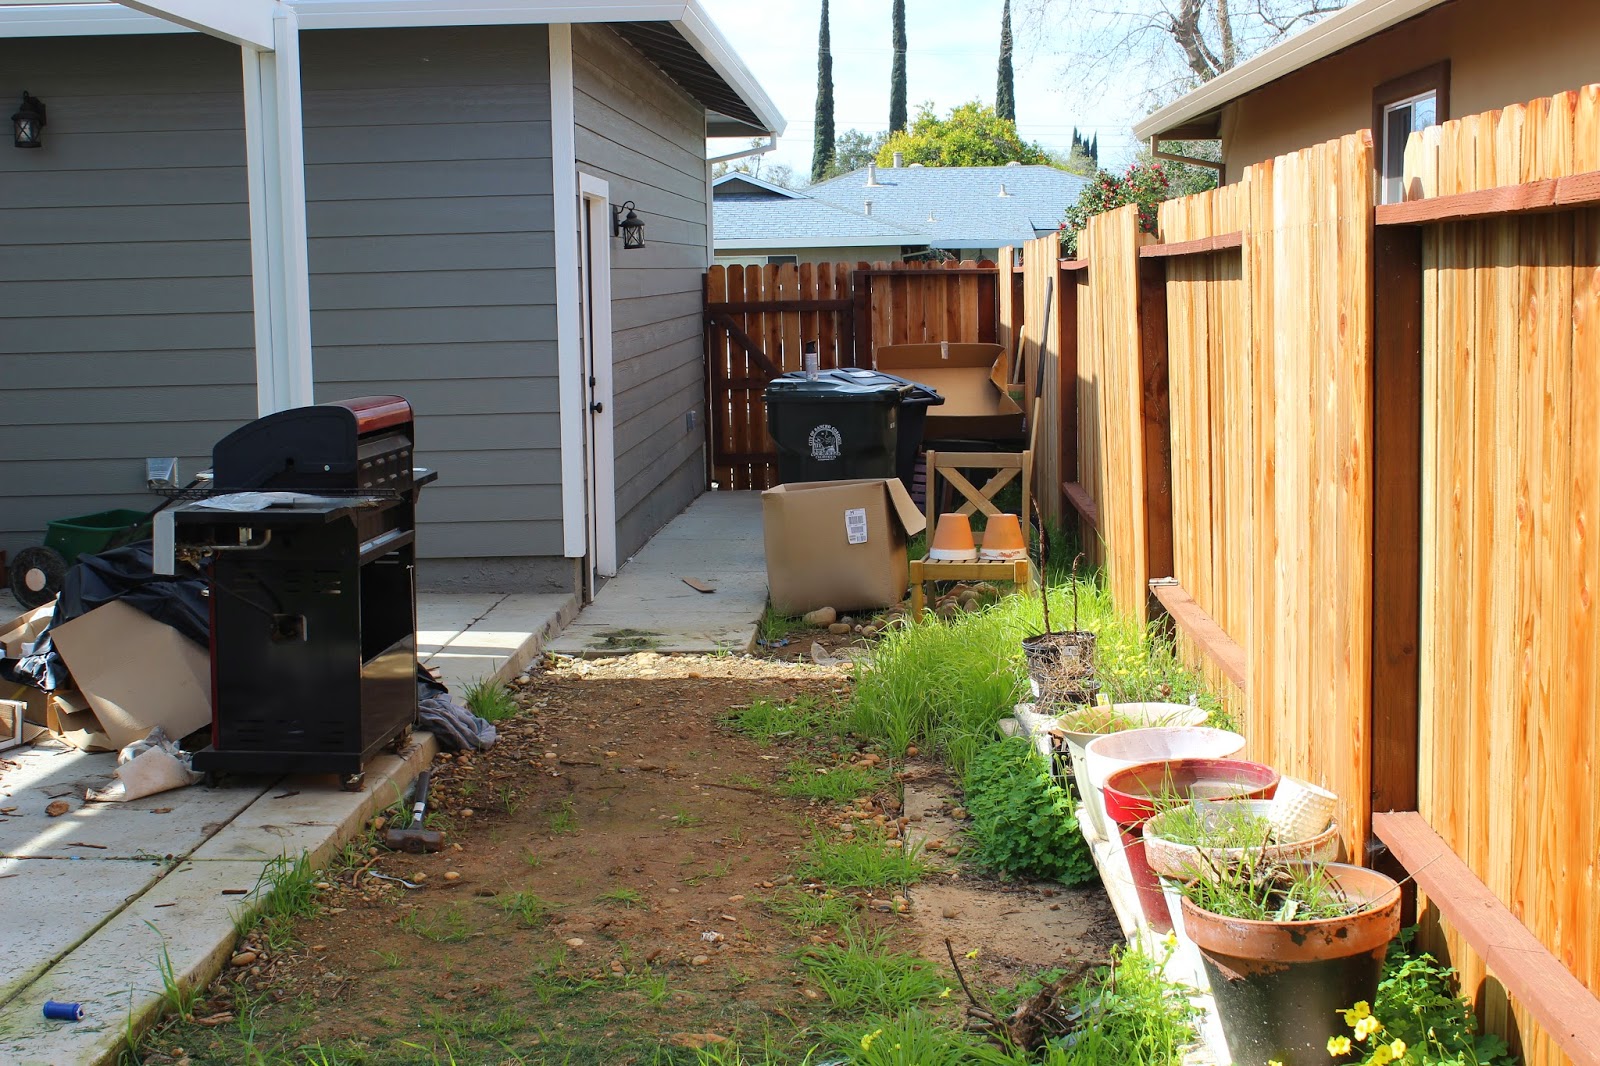
We have have irrigation along the perimeter of our fence, and decided to tap into the PVC pipe that had been capped and extend the PVC pipe to our garden bed. Hasani dug a small trench from the existing line to our garden bed, as you can see in the picture below the area this part of our side garden bed near our lawn area was left untouched until we decided what to do with the area.  To connect the existing PVC pipe with the new PVC pipe with used a connector piece and Christy's PVC Pipe Cement


My Dad taught me how to do irrigation and its honestly really simple once you determine the layout and what pieces you need. So for this portion of the project I took over and finished the irrigation, while Hasani assisted me. Its kind of fun we both got to be each others assistants on this project. I want to plant flowers on either side of the raised garden bed so I both sides of the garden bed I ran a small section of PVC pipe off the main line. On the top of my PVC pipe is a one port irrigation manifold, which I might upgrade to a 2 port manifold down the line depending on the number of plants we plant in the areas. Soon I'll run a piece of tubing off the connection port and place a emitter on it to water the area. I'll share updated pictures once this area is complete. .  


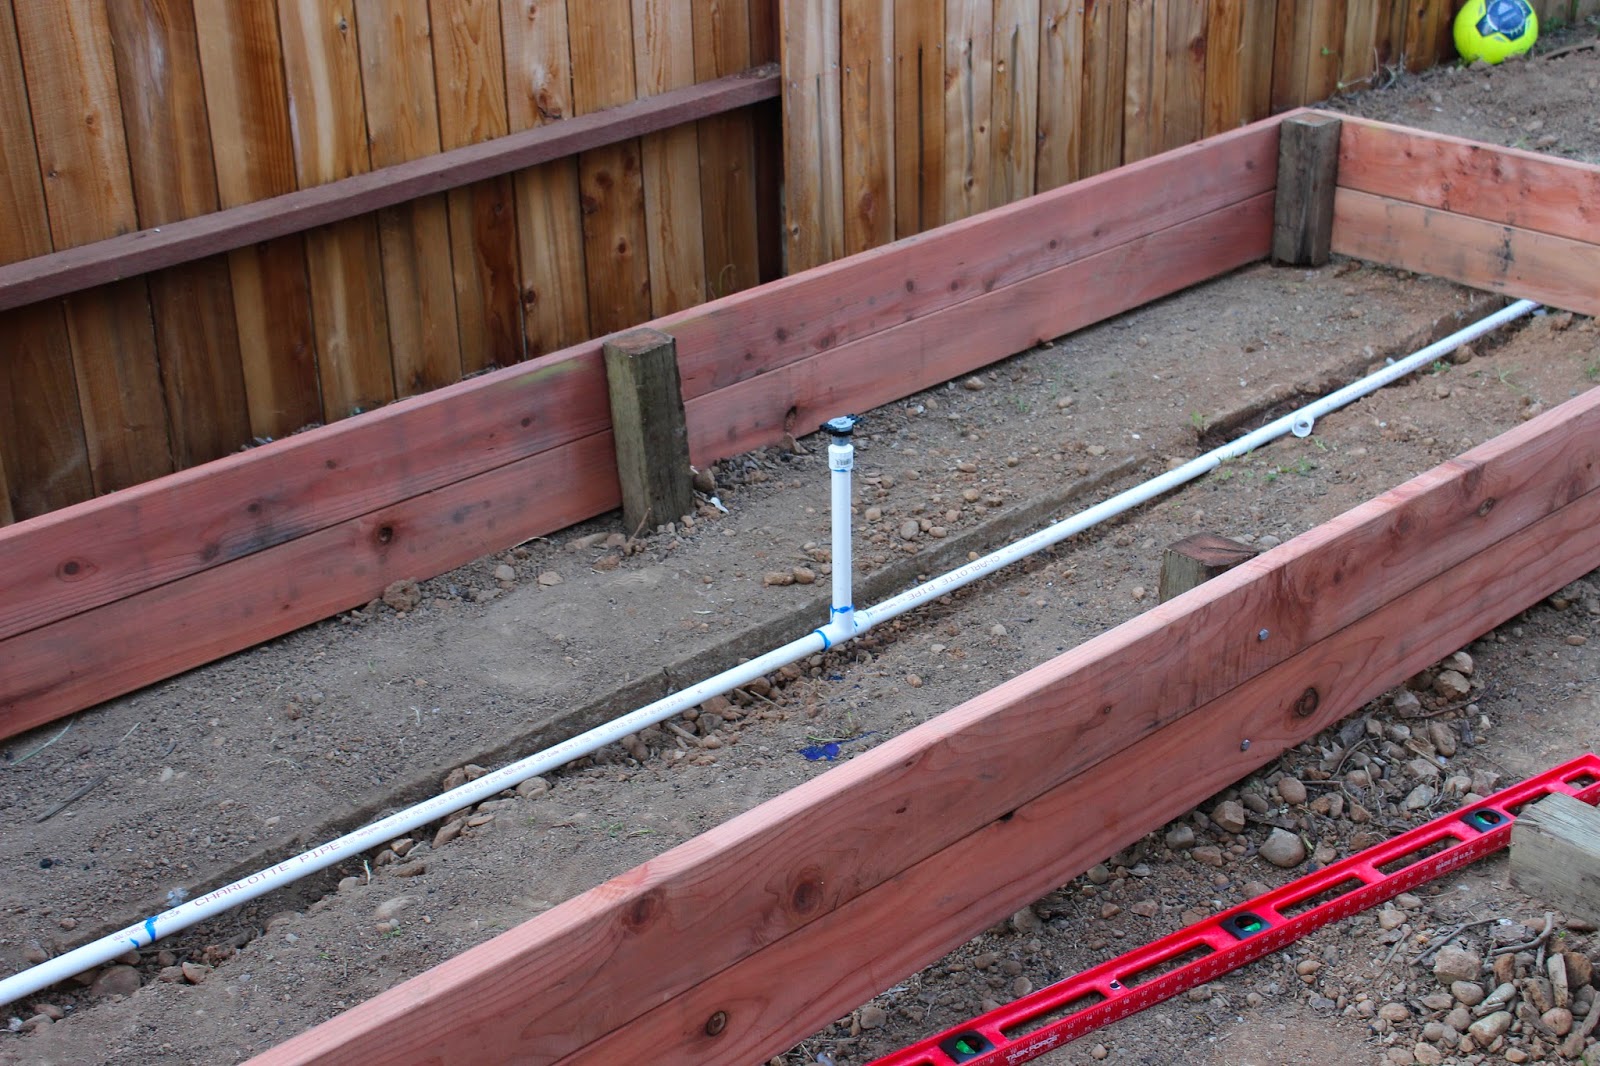
As you can see in the photo below. the PVC pipe sits in a shallow mini tench that goes under the raised garden bed. I used another T PVC pipe to install a 6 port manifold to run three 360 degree emitters into the garden bed once the garden bed has been filled with dirt. 
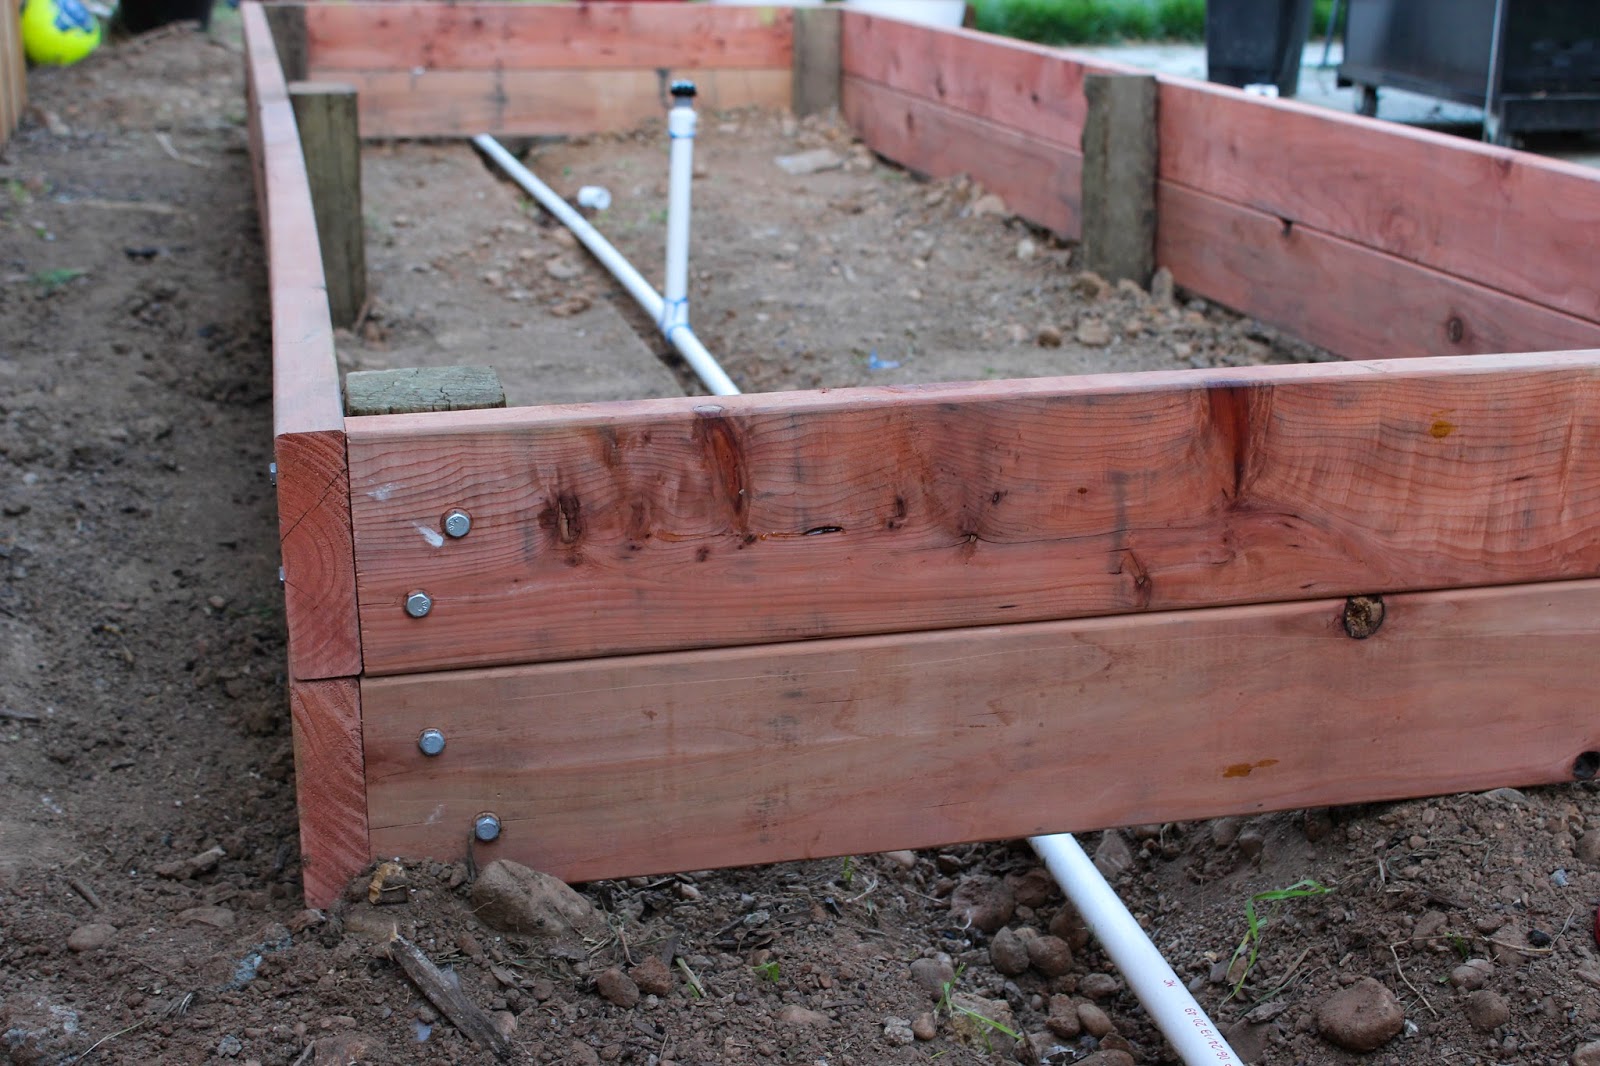


Here's our finished DIY Garden bed with Irrigation. 
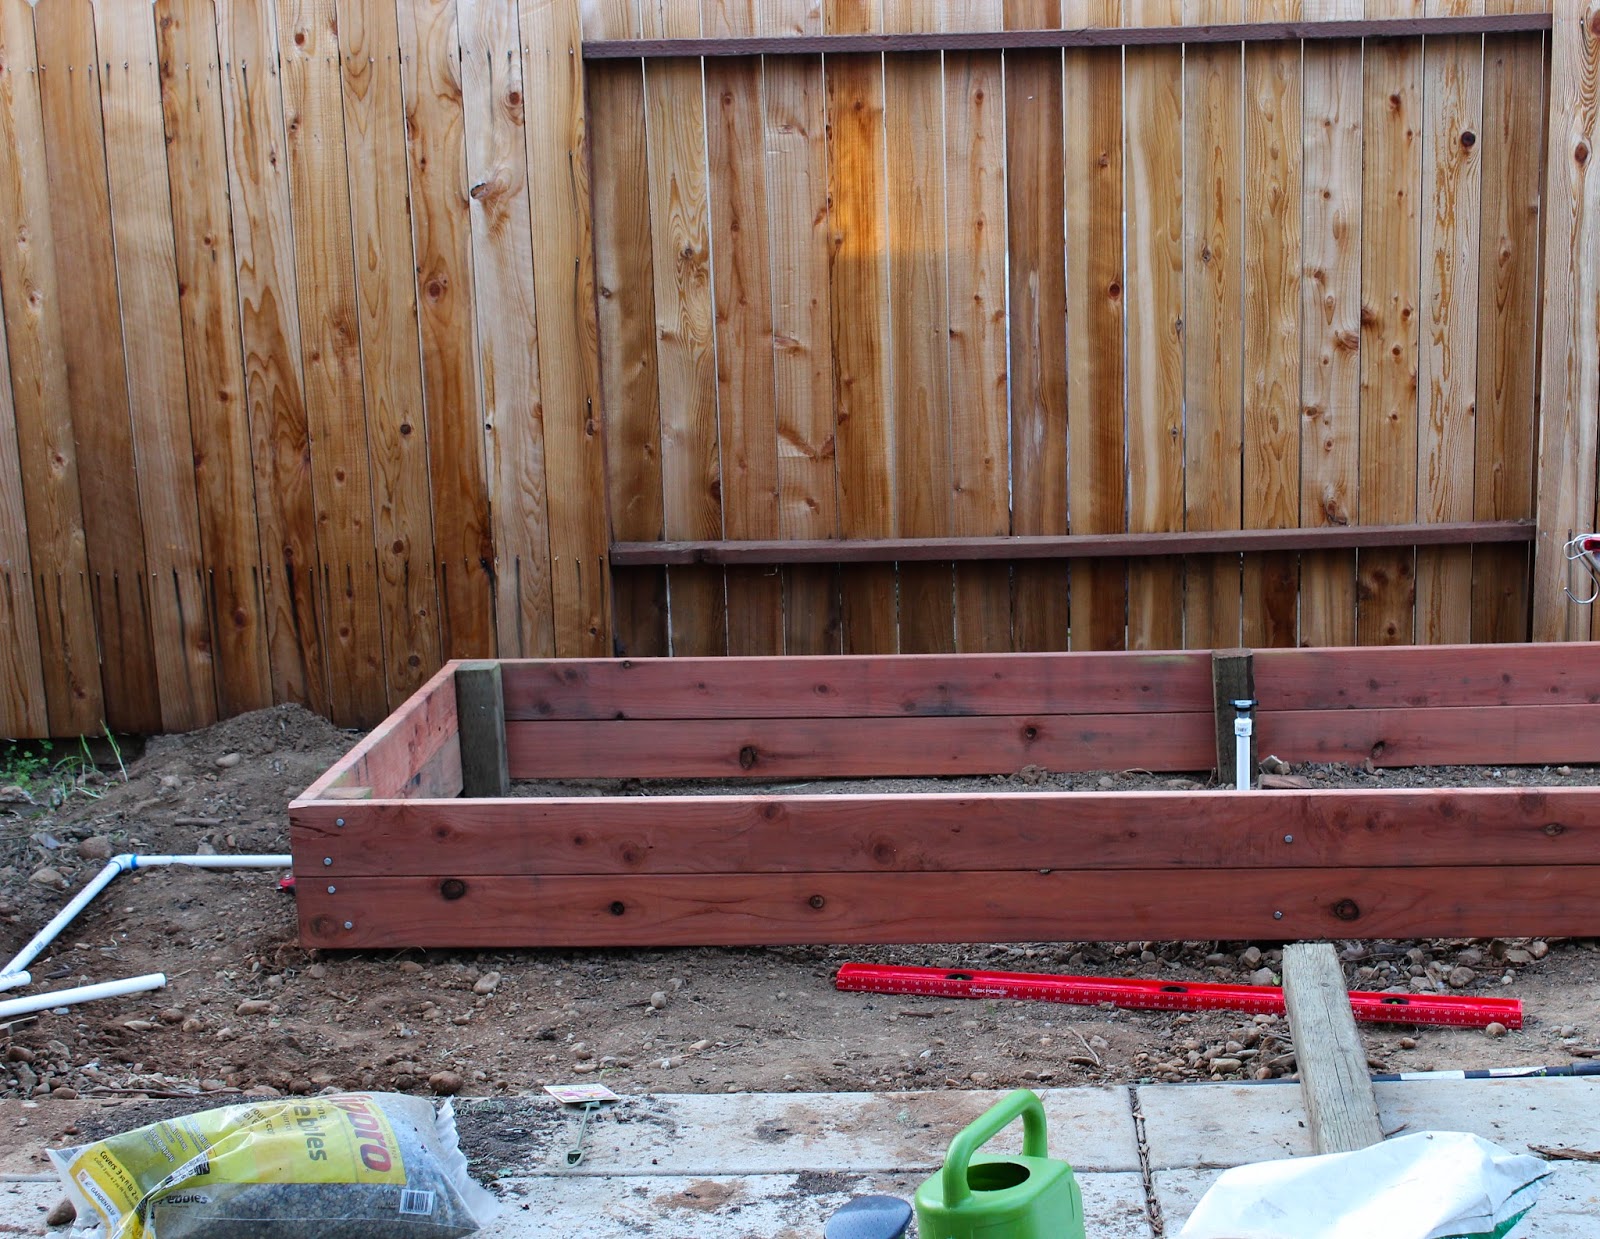


Even thought the area is still in rough shape it looks a lot better than it did a few weeks ago, progress is always a good feeling, 


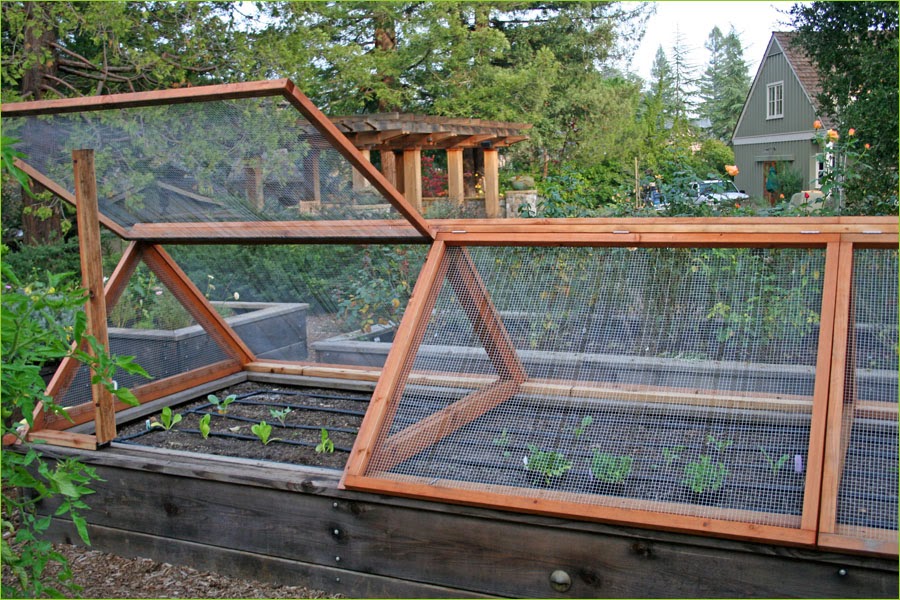
The Sunset magazine plans we used for our garden bed, suggest adding a bird cover for the garden bed. We decided to skip the one they suggest, because I'm mildly obsessed with building a screen A frame for ours. I love how the one below looks! 


Next up we'll be filling our garden bed up with soil, we'll buy a yard of gardening soil from a local company and wait. We planned to plant our veggies this weekend, but after talking with a local garden Blogger Bill from www.sacaramentogardening,blogspot.com about the pros and cons of planting early, we've decided to wait until the end of April when the rainy season in Sacramento starts to pass us by. It's so hard to wait to plant, but it does give us more time to keep tweaking our garden list and decide what we really want to plant etc. 

Plus this also gives more time to plant flowers and small shrubs around our raised garden bed and decided on patio furniture. I'm itching to start dining outside in the evenings. As you all know, one of my 'big goals,' is to really use our outdoor space as an extension on our indoor space and really use every square inch of it with purpose.  

Even though we had a few hiccups along the way, I loved that was a learning experience. For me that's what DIY is all about learning and growing your skill set and pushing your self out of your comfort zone. 

What are one of your Spring goals for your home? 

Spring into Cleaning

Friday, March 21, 2014

Yay! I'm so happy its Friday and Spring is officially here, although we've been experiencing great weather in Sacramento for months so no complaints here. This weekend we'll be finishing up our raised vegetable garden bed (didn't have to much time to work on it during the week) adding a drip system to both the vegetable garden bed and raised bed and hopefully adding a bunch of good soil! In addition to getting our hands dirty outside with yard work, I'm also itching to get some Spring cleaning done on inside of our house. Nothings better then giving your house a good deep clean with Spring starts! Check out this cute info-graphic from About.com, oh how I love About.com, they always have such useful tips. 


I'll be putting some of their tips to good use around more home! One of my goals this year is be more green when it comes to cleaning products I use to clean our house with, call me crazy but I actually like being able to pronounce the ingredients. 

Are you Spring cleaning this weekend or already getting a jump on things? 

The Last Fiddle I Buy?

Wednesday, March 19, 2014

Right after we moved back in our home I came across a blogger favorite the Fiddle Leaf Fig at my local Home Depot. I was instantly smitten by have sculptural each leaf looked and brought home one for $15.99. About a month later I spotted another Fiddle Leaf Fig at Ikea and happily brought it home. Whelp, the one from Ikea sadly died. I blame it on my oh so curios little toddler who can't resist pulling leafs off my pants. My original Fiddle I brought home from Home Depot, is hanging in there, she too has been the victim of my oh so curious toddler. Click here to see how my original FLF is holding up. 

Fast forward a few weeks ago and I spotted a huge fiddle at my Home Depot, I decided to give it more try and bring one more home. This time at home depot, I found two Fiddle Leaf Figs in one pot, plus this one has huge leaves. Like jumbo sized. 


Bringing this beauty home was a challenge, I ended up sitting in the back seat with Avery while Hasani drove home. The pretty fiddle took up my whole front passenger seat and then some! I bought the FLF for $20.00, they had $15 dollar ones, but I thought the pot it this one was in was pretty and would be perfect to use once I re-pot this one in a few weeks. I'm going to wait a few weeks and re-pot once she's used to our home (sunlight and temperature etc) 


I've had this FLF for about two weeks, and so far so good, it sees to be loving this corner in our living room and bright sunlight it gets in this spot. I've been watering once a week, carefully clean each leaf and make sure they're dust free. As for Avery, he's only touched 'her' once and left her alone once I reminded him, the plant is not a toy. I told myself if this Fiddle 'doesn't make it,' while living with us it maybe the last one I buy? But if I happen upon a mini fiddle perfect to sit on-top of my bedroom dresser, how can I resist? 

Have you found a Fiddle Leaf Fig and bought one home? 

Vegetable Garden Planning

Monday, March 17, 2014

I hope everyone had a nice relaxing weekend or a productive DIY weekend! Our weekend was filled with pulling weeds in our garden beds and starting our our vegetable garden plans. I just started using Preen Garden and Weed Preventer plus plant food, so I'm hoping this cuts down on the amount of weeds we get, its amazing how pesky weeds are even with so called 'weed barrier' down. On Friday I shared the current state of our backyard and I'm so happy with the progress and super excited to finally get started on our vegetable garden.  

Now that we have a large grassy lawn in our backyard, we decided the best location our our vegetable garden would be the large empty space we have directly in front our patio. The area we mapped out for our garden is 8ft wide and 24ft long, which is gives us plenty of room for one or two 4ft wide by 8ft garden bed sections. I love this spot our our vegetable garden, the space gets lots of sunlight, its super convenient for picking veggies and I'll be able to see our veggies from our kitchen window. This location also allow us to extend our current drip system on the perimeter of our fence line and place emitters directly into our garden beds. This wil cut down on my watering the veggies and be more water savvy, yay! 

Hasani and I love the look and ease of raised garden beds, and have decided to build raised garden beds for the space. Not going to lie, the space needs a lot of work before we can get to the planting phase of this project. We have boards, old planters and lots of weeds to clear out of the area before we can bring in raised planters. The entire side area where we keep our trash, recycle and green waste containers also needs some love and concealment, but we'll get to that down the line. 


Behind the raised garden beds, we'd love to build a large privacy trellis and grow some pretty flowering vines. Maybe Carolina jasmine, love how pretty they are!


We're using these plans for Sunset.com to build our raised garden beds. Yesterday we brought materials to build one raised garden bed. We want to build one and see how we like the size in our space before we build the second one. I'm tempted to add a little border ledge around the top of the garden frame, like this it just makes it feel 'finished.' I can already picture the raised garden beds in place. 


The thought of growing our own food makes me so happy! I'm hoping we grown an abundance of food for our home and also to share with family and friends. Our list of what we plan to grow changes daily, our goal is to grow a salad / salsa garden. We want to grow a few varieties of tomatoes, chili peppers, lettuce, spinach, and a variety of herbs. Each time we stop in Home Depot or Lowes our list of veggies keep changing. Yesterday, I saw mint and peppermint chocolate, I just have to grow both! In addition to grow lots of veggies, I want to grow strawberries in a large pot and maybe blueberries. I plan on doing lots of research and even buy a beginner gardening book before we decided on exactly what to plant for crop, I'll for sure do an update and share what we end up planting. 


via www.ehow.com 


Wishing I could fast forward thought my 9-5 day and get started building our first raised garden bed. I can't wait until I can spend a little time tending to our little garden and picking fresh tomatoes to enjoy at home. For this garden project we are taking a weekend by weekend approach, so hopefully by the end of the month we'll have our plants planted. 

Are you working on garden this year? 

Our Backyard Progress & Plans

Friday, March 14, 2014

It's always been a dream of mine to have an amazing backyard. I've always wanted a backyard we can play with the kids, entertain our friends, watch movies under the stars, grill amazing food and grow our own veggies. I want our backyard to feel like an extension of the inside our home. Since our home sat empty for almost an entire year and was a construction zone, our backyard was thrashed (trashed is probably a more accurate word) just like our front yard. We had several trees in our backyard, after much debate decided to remove many of them. Most of the trees were unhealthy or too close to our phone lines (hello old home with low hanging phone & cable lines) We decided we wanted to start with a clean slate and bring more shrubs and a tree of two over time, but I'll get to more of that in a few.

Progress pictures are always most fun we you see where we started right? I looked though my phone and computer and sadly was unable to find pictures of our backyard with the trees in place after moving back home, anyways in the pictures below clearly shows the sad state of our backyard. Here's a wide shot of our backyard taken with my iPhone, the french doors on the left lead to our master bedroom, to the right of the french doors are Avery's twin windows (so happy we went that route!) and the door off our patio leads into our mudroom / laundry room area. 


After removing those trees, we decided we want and expanse of lush green grass with a border along our fences for shrubs and possibly another tree in the future. The backyard underwent major prep work: grinding tree stumps, soil prep and sprinkler system overhaul and finally sod went down. We went thought a local company called Delta Bluegrass for our sod and bought over 2400 sq feet of sod for our front and backyard, we also had them do the installation. The installation of the sod was seamless and quick, when we installed sod last time Hasani did the installation, but since we had so much sod to install this go time, it only made back breaking sense to get the job done quick. 

Here's our backyard now (some of the pictures are recent and a few, a few weeks after the sod was installed) Our sod has grown in nice and thick, and so so green! We planted shrubs in the garden bed in front of Avery's bedroom windows. Ideally I'd like to add even more flowering shrubs this Spring. 


I love hydrangeas, in the past I've planted a few only to watch them die days later. I decided I'd try one last time and planted two hydrangeas on either side our our french doors. I planted them in October, they looked dead over the winter and now are growing back, and getting bigger each day! I fell in love with Limelight Hydrangeas after Pinning these pretties, I want to plant some Limelight Hydrangeas along the left side of our back fence. I love the size of those hydrangeas and think once they take off and grow, they would add so much color and privacy. If they do well, I'll be planting more and more! 


This Spring, we'd love to add a vegetable garden (more details & location coming next week) along with making a trellis for vines and added privacy. We bought a fire pit and not need to select a perfect location in our backyard. We also want to add patio furniture for outdoor dining and lounging along with potted plants. 

This weekend Hasani and I  are taking advantage of our Spring weather will be doing lots of yard work: pulling weeds, planting flowers, shrubs and prepping for our vegetable garden beds.

What do you think our backyard transformation? Are you working on any yard related projects this weekend? 


Our Home: Then & Now

Monday, March 10, 2014

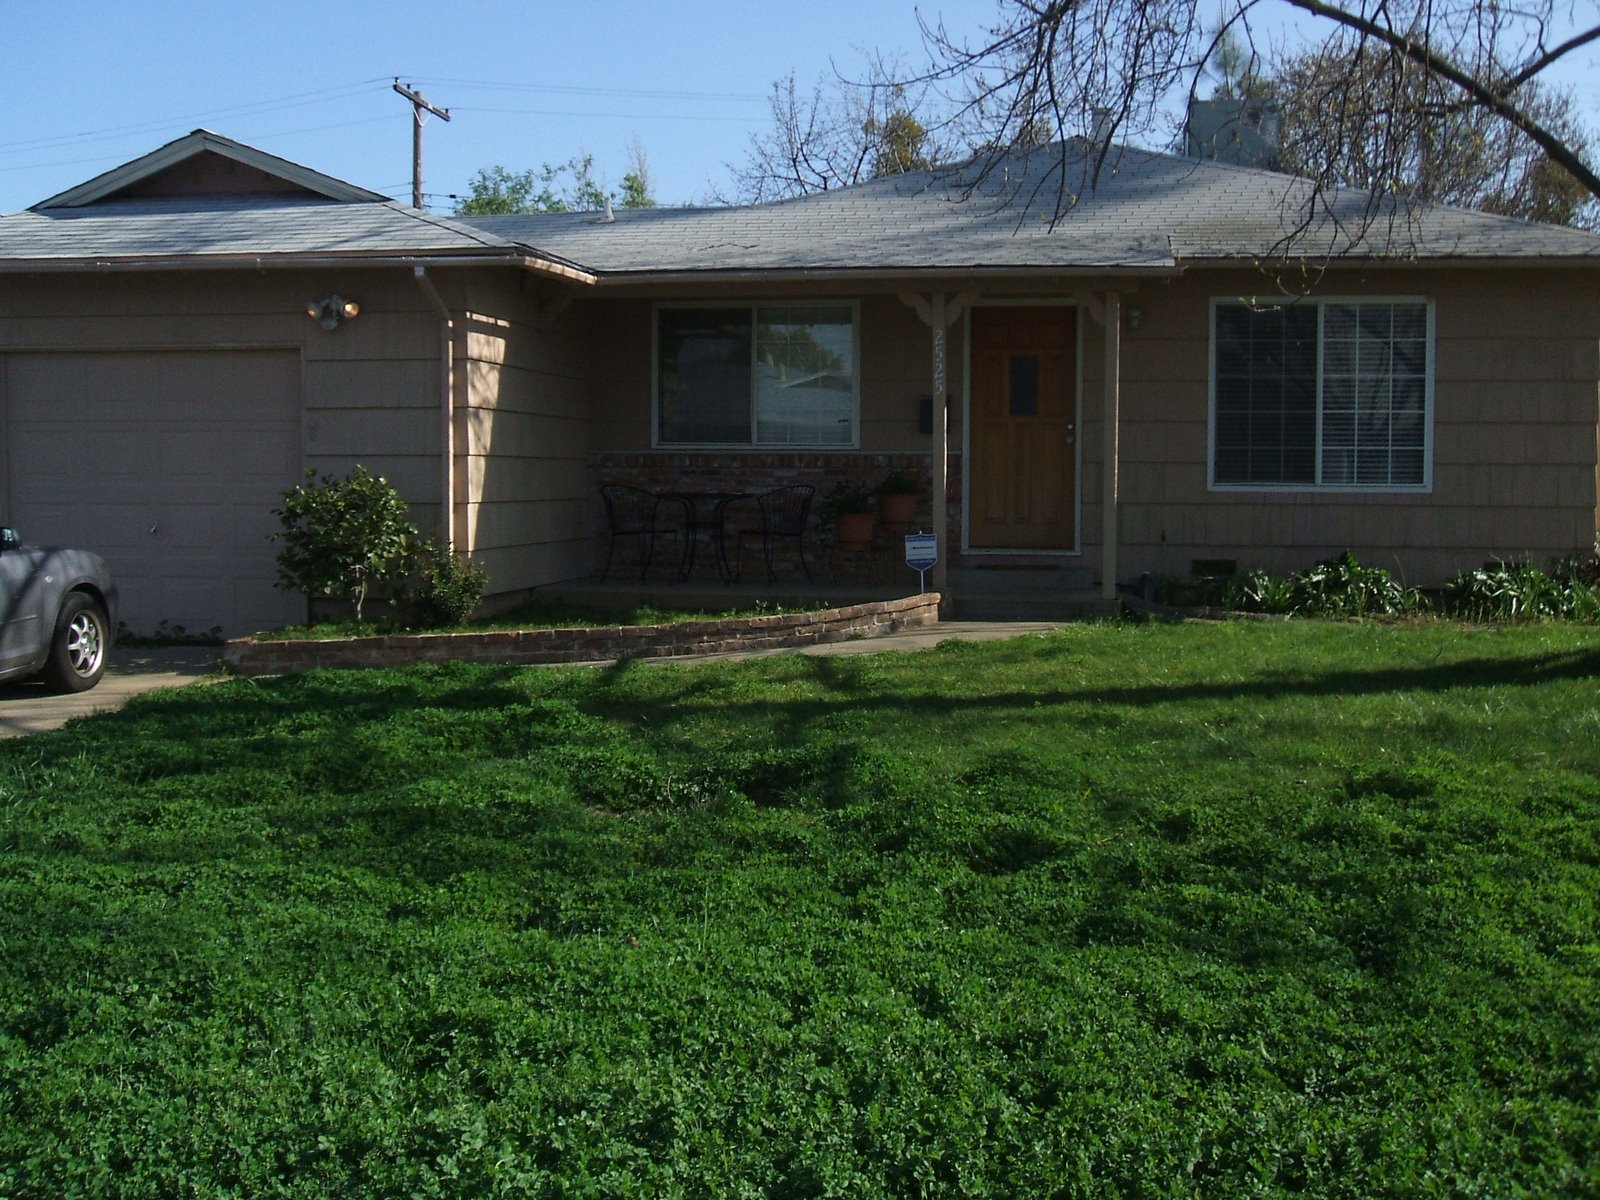
I mentioned last Thursday, that I have yet to share a proper updated photo of our home now that we've moved back in July 2013. I've shared little snippets here and there on the blog, but not a full current shot of our home. Looking at old pictures of our home when we first bought our all peach rancher in 2009 compared to now its crazy! So much has changed its hard to believe its the same house we saw so much potential in.  I just knew back then it was our little diamond that needed to be cleaned up and shown some love.

I haven't shared these pictures of our house back then in a while, so here's a reminder of where we started. The house was literary all one color peach, including the trim and garage door. All peach everywhere. they're must of have a clearance sale on peach paint! The 'grass' was full of weeds and have no sprinkler system, which honestly is a must for the 100+ degree weather in the Summer and early Fall months in Sacramento. The brick around the garden bed was falling over and the front door was badly in need of a paint job, it even had colored pen scribbles on it. Here's our home way back in 2009 just a few weeks after buying it. 


2009

After buying our home we quickly went to work on transforming the outside of our home. We painted the outside of our home ourselves a medium light grey painted the trim white, added black shutters, new mail box and painted our front door a pretty shade of red. I think the biggest bang for our buck was deciding to paint the exterior of our house, the fresh paint instantly made our home feel more modern and fresh. Just like paint is a game changer inside your house, its also a huge game changer to the outside of your home. We also killed the weeds and what little grass existed in our front yard and had a sprinkler system installed, we also added shrubs and flowers. Below is how our home looked in 2012. 

2012


In July 2012 the unthinkable happened, our home caught on fire (read more about the house fire here) For several months our home set in vacant mode, while my husband and I met with various contractors, dealt with our insurance company and waited on permits to be approved. Finally in January of 2013 our home began the rebuilding process, here's a look at our home a few weeks after construction began. The garage was a complete tear down, and looking at those pictures remind me of how far we've come and thankful we're back in our little rancher again, making it our home.  

January 2013


We moved back in our home in June 2013, the outside our home still felt very unfinished. Our pretty lawn was & sprinkler system was thrashed from construction and debris and months of being unable to water it (system heads etc were broken and for safety reasons our water remained shut-off) Even though our lawn was a hot mess for months, I loved coming home! For our siding we choose to do a combination of shingle siding and lap siding and paint our home dark grey. I love this shade of grey depending on the light it goes darker or light. We also painted our new front door a pretty shade of chartreuse. I swear this go around in our house, every room is getting a little sprinkle of chartreuse, but that's a post for another day. 

July 2013


Now finally here's how our home currently looks! Our sprinkler system has been repaired and sod has been rolled out, if you follow me on Instagram then you may have seen little peeks here and there. 

March 2014

Sadly since the picture below was taken, my sweet lemon tree slowly died and dried out, the little lime tree we brought for our master bedroom patio is alive and well and sprouting new buds. I took advantage of Home Depots return policy and bought a new lemon tree on Sunday. 


We still have list of projects we plan to tackle slowly to the front our house this year and next. We've been debating on adding shutters to our windows, we plan on upgrading our basic house numbers to more modern ones and moving the location. And of course we need to add more shrubs and flowers to our garden beds! I'd also love to build a small pergola over our garage, which I think would add to the charm of our little rancher. I've pinned my fair share or pretty pergolas above garages, so we'll see. I also want to bring in some simple seating to our small front porch area again. 

My family and I are so happy to be home! 

What outdoor projects to do have planned for Spring / Summer?

This and That

Thursday, March 6, 2014

It's been a quiet two weeks on the blog side of things, I haven't had a quiet moment lately to sit and blog about current projects that we've been slowly working on and planning. Spring is just around the corner and I'm so excited to start tackling some projects both indoor and outdoor. A few outdoor projects include: Vegetable Garden, Building a Trellis for Vines, Creating a relaxing outdoor space and plant flowers and bushes in the front of our house etc. Over the past few months our backyard has been completely transformed, can't wait to share progress pictures next week and share what are next phase of our plans are. I realized the other day and I have yet to share a proper picture of how our the front of our home looks now, I'll be sharing that next week along with additional plans we have for the front our house. 

On the inside of our house, I've been working on Avery's gallery wall I mentioned I wanted to complete a few weeks ago. I've also been working on sprucing up our 'plain slate' master bathroom, I'll share a in progress picture next week. In addition, I've been ordering fabrics, sewing pillows and finally getting some order in my kitchen cabinets more on that next week. 

For the past few months, I've been dreaming of creating a similar outdoor space on our patio. I scanned and saved this image from Crate & Barrel fall of 2013 catalog. I love how relaxed and the outdoor dining and seating area feels. I also love the mixture of the natural wood finish outdoor furniture tied in with the grey outdoor dining table. I can already picture dining outside Spring though the falls months. One of my goals is to create and living and dining areas outside our home, so it feels like and extension of our the inside of our home. 


So much to share next week! Have you been planing or working on any Spring projects for your home? 

You Make Also Like

Related Posts Plugin for WordPress, Blogger...