Pink Champagne Cake

Tuesday, December 30, 2014

I've been looking for champagne cake recipe for a while, and I kept coming across ones that where made with box cake mix or just sounded so so. My plan was to make a Pink Champagne Cake for New Years Eve, I totally think you should you should ring in the New Year with a slice of champagne cake and glass of blubby toasting to the good life and promising of the year ahead! Life is about celebrating the moments and Pink Champagne Cake is a perfect celebratory cake. 

I found a fantastic recipe on a Half-BakedBaker  her recipe is from the cake book Brooze Hounds. I recently shared the Pink Champagne Cake on Instagram and wanted to share the the actual recipe here. This cake is super easy and fun to make, while your making your cake, I can guarantee you'll be smelling the cake batter and saying yummy!

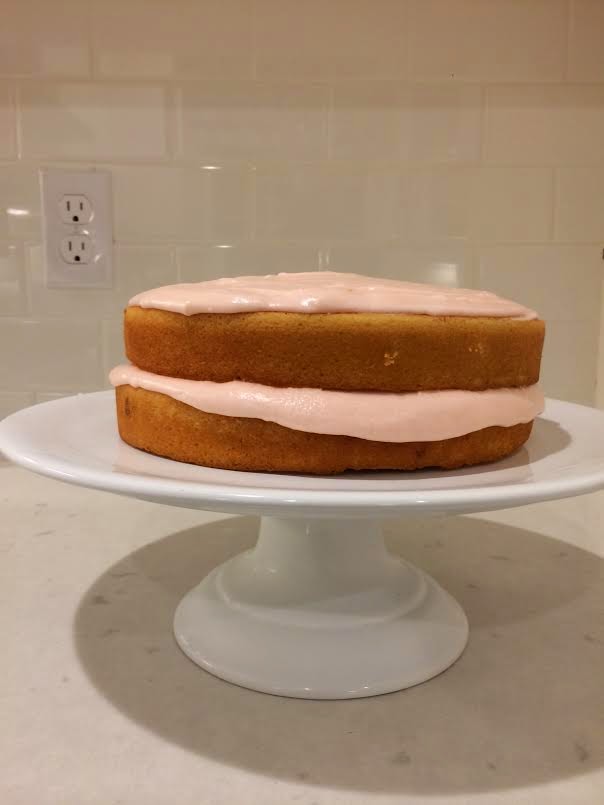
The cake turned out amazing and super moist! The cake is such a pretty pale blush pink and the frosting a pretty ballerina pink. My husband isn't huge on frosting, so I decided to only frost the middle layer and top of my cake and used only half of the recipe for the frosting. The frosting is super yummy and once set has this pretty glaze look, that reminds me of glazed surgery doughnut. 
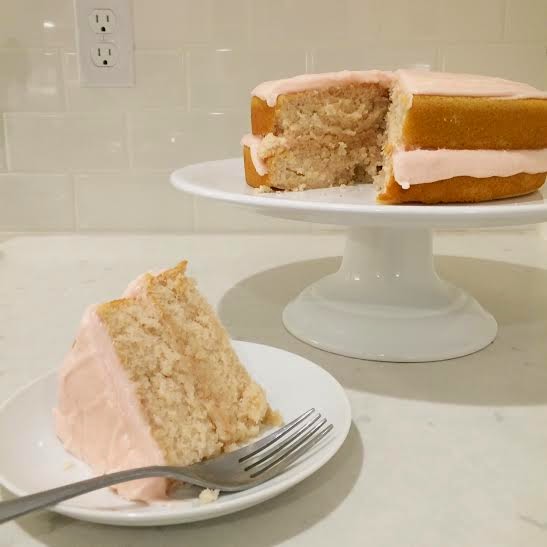

Pink Champagne Cake

3 cups all-purpose flour
3 tsp. baking powder
1/2 teaspoon of salt
1 cup unsalted butter at room temperature 
2 cups sugar
1 tablespoon of vanilla extract
6 egg whites
2 cups pink Champagne at room temperature

2-3 drops of red gel food coloring 

For the Champagne / Sparkling Wine, I used a sweet one. I used a inexpensive bottle of Pink Blush from Andre and would totally do that again! Martini & Ross Asti is also a good choice for this cake. 
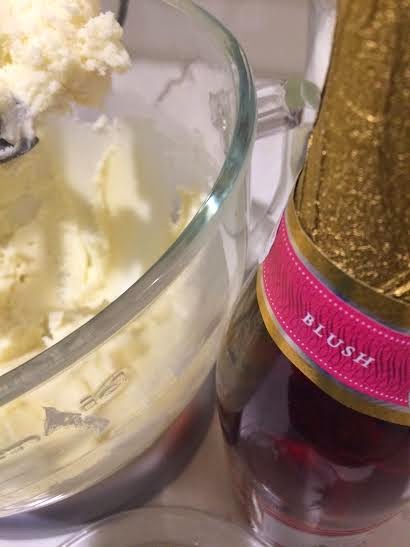

Pink Champagne Vanilla Frosting

1 cup  unsalted butter
8 cups confectioners sugar
2 -3 Tablespoons pink Champagne
1/4 cup whole milk, or enough to get the proper consistency
1 teaspoons vanilla extract
1-2 drops of red gel food coloring. I thought one drop was perfect to create a pretty ballerina pink shade. 


Baking the Cake

Pre-heat your oven to 350 degrees and grease two 9 inch round cake pans, you can also slightly dust the inside with flour for ease of removing the cake from the pan. In a large mixing bowl add flour, baking powder and salt, then set aside. In a large mixing bowl, beat butter and sugar 5 minutes together for or until light and fluffy. Add your egg whites in one at a time. Next mix in your vanilla. Start adding in your flour mixture, then champagne and alternate between the two. Make sure you start with flour and end with flour. Next scrape the sides of the bowl done and then add in your food coloring. I used 2-3 drops of coloring for my cake batter. 


Next, evenly pour batter into pans and bake 30-35 minutes, or until a toothpick when inserted in the center comes out clean. Let your cake cool on a rack before removing from pan. The cake should remove very easliy from the cake pan, if not try these suggestions from Better Homes and Gardens, How to Remove a Cake from a Pan.

Making the Frosting

In a mixing bowl, beat butter 1 minute. Gradually add the confectioners' sugar, Champagne, milk, vanilla, and 1 drop of food coloring; beat until smooth and spreadable. Make sure you fully mix in the food coloring into the frostingThis frosting is super pretty and has a sheen like appearance thank looks even prettier in a shade of pink. As I mentioned above, I halved the frosting recipe and only put frosting in the middle and on top, the cake is sweet enough, rich that you don't miss the frosting on the sides. 
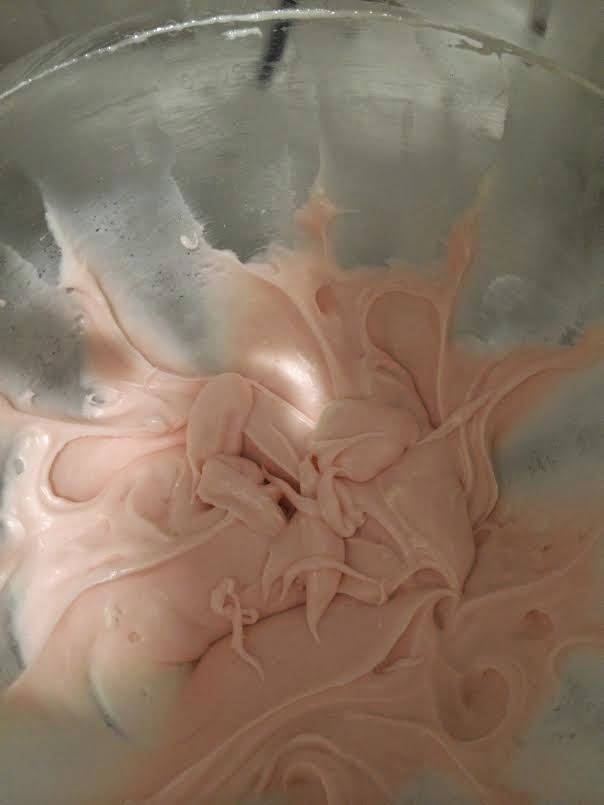


Lastly cut your cake and enjoy! I'm making this cake tonight to celebrate the New Year with our friends and can't wait to make it again!! This time, I won't be so impatient and I'll cool the cake layers in the fridge before frosting! If you make this cake, I'd love to hear your thoughts , enjoy! 

Decking Our Halls in Chartreuse and Gold

Wednesday, December 17, 2014

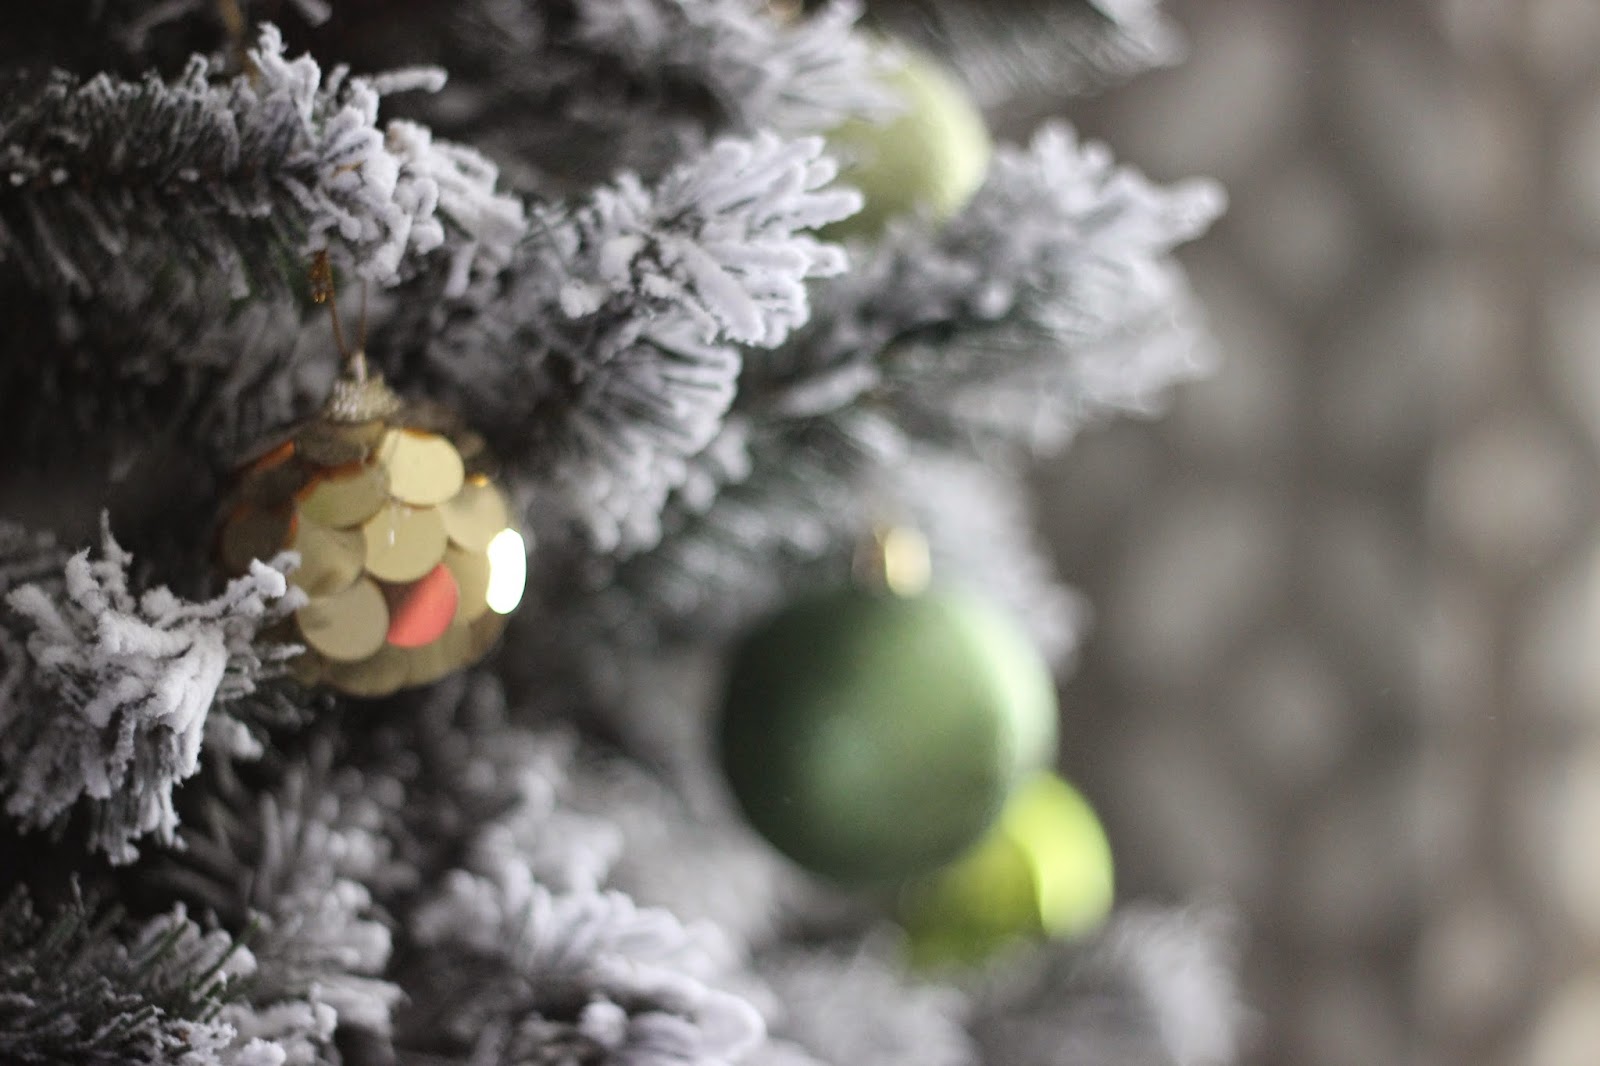
I planned on sharing this post this morning, sadly due to connectivity issues with our internet I wasn't able to. Rejoice, my internet is working again! I'ts hard to believe that Christmas is just right around the corner and I couldn't be more thrilled. Last year we Decked Our Halls in Color, this year I took a nod from our interior and thoughts shades or chartreuse mixed with gold would be so pretty. I shared our Christmas tree a few weeks ago, I'm so thrilled this year we went with a pretty flocked tree from Treetopia. In other fun news, I was in the LA Times last Thursday! They asked my opinions on Real vs. Artificial Christmas trees, you can read th article here (in the paper edition, they shared a picture of my son Tabari decorating our tree) When you have a chance stop by the Treetopia blog, I'm sharing my tips on decorating for the Holidays. I love evenings in our home during Christmastime and decided to take pictures of our home then. 

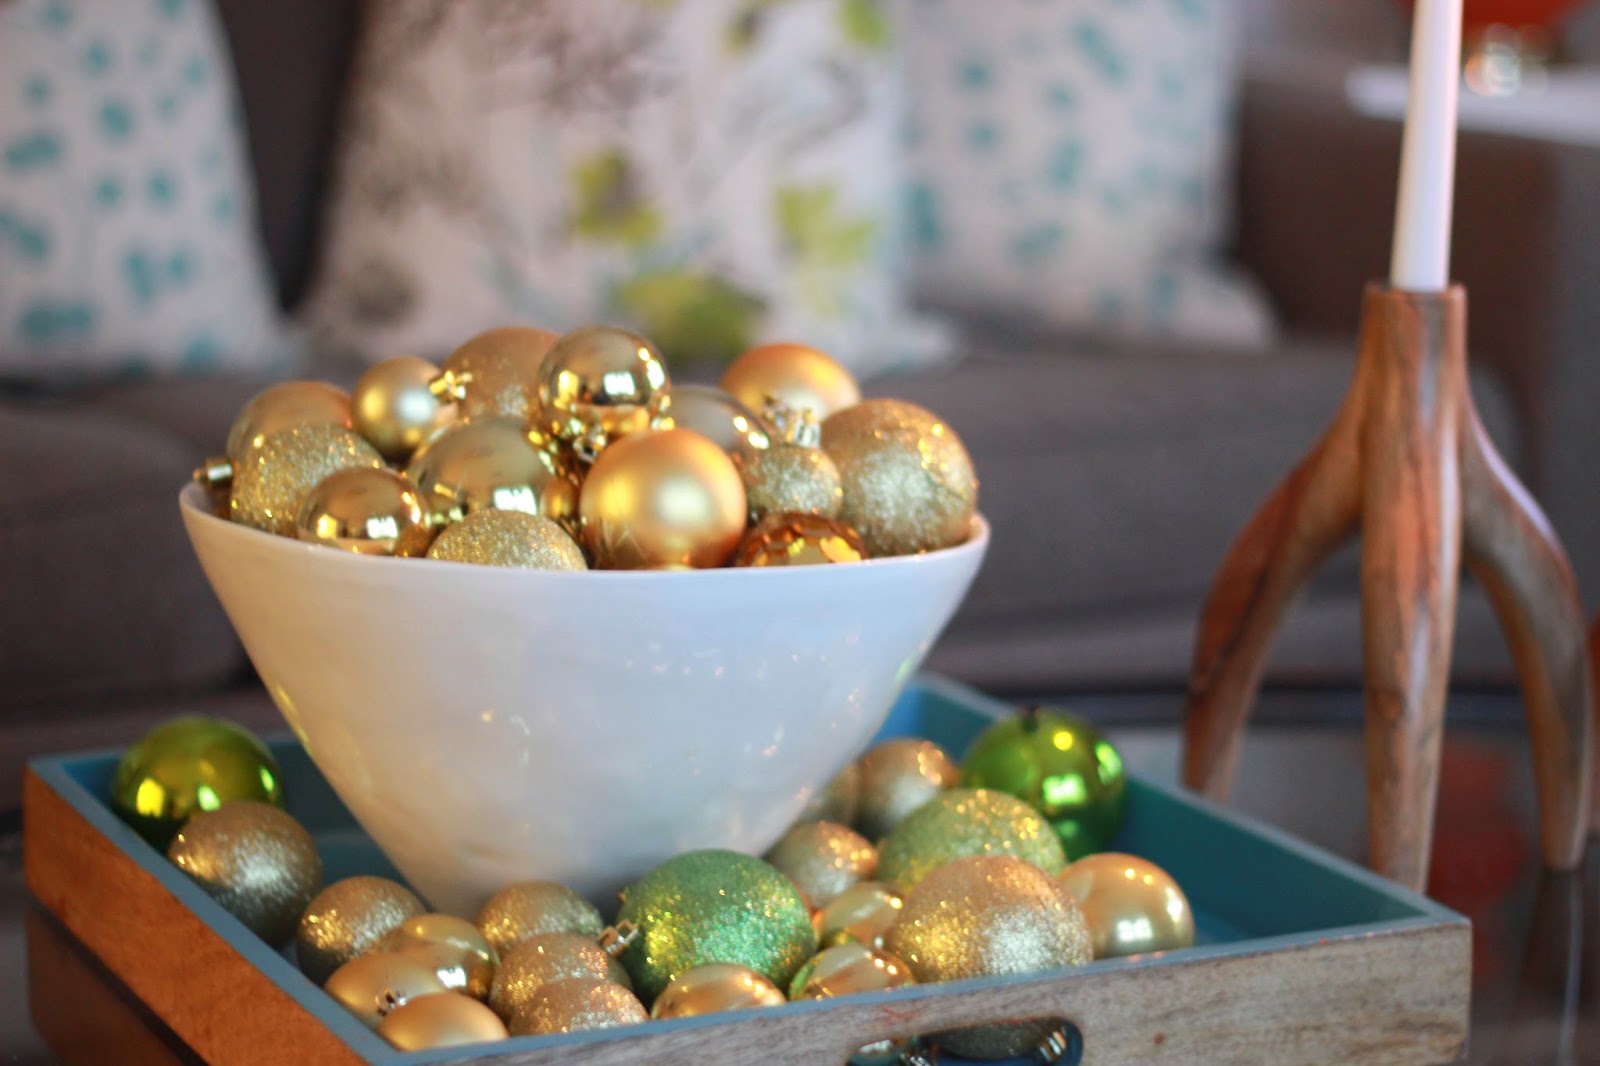
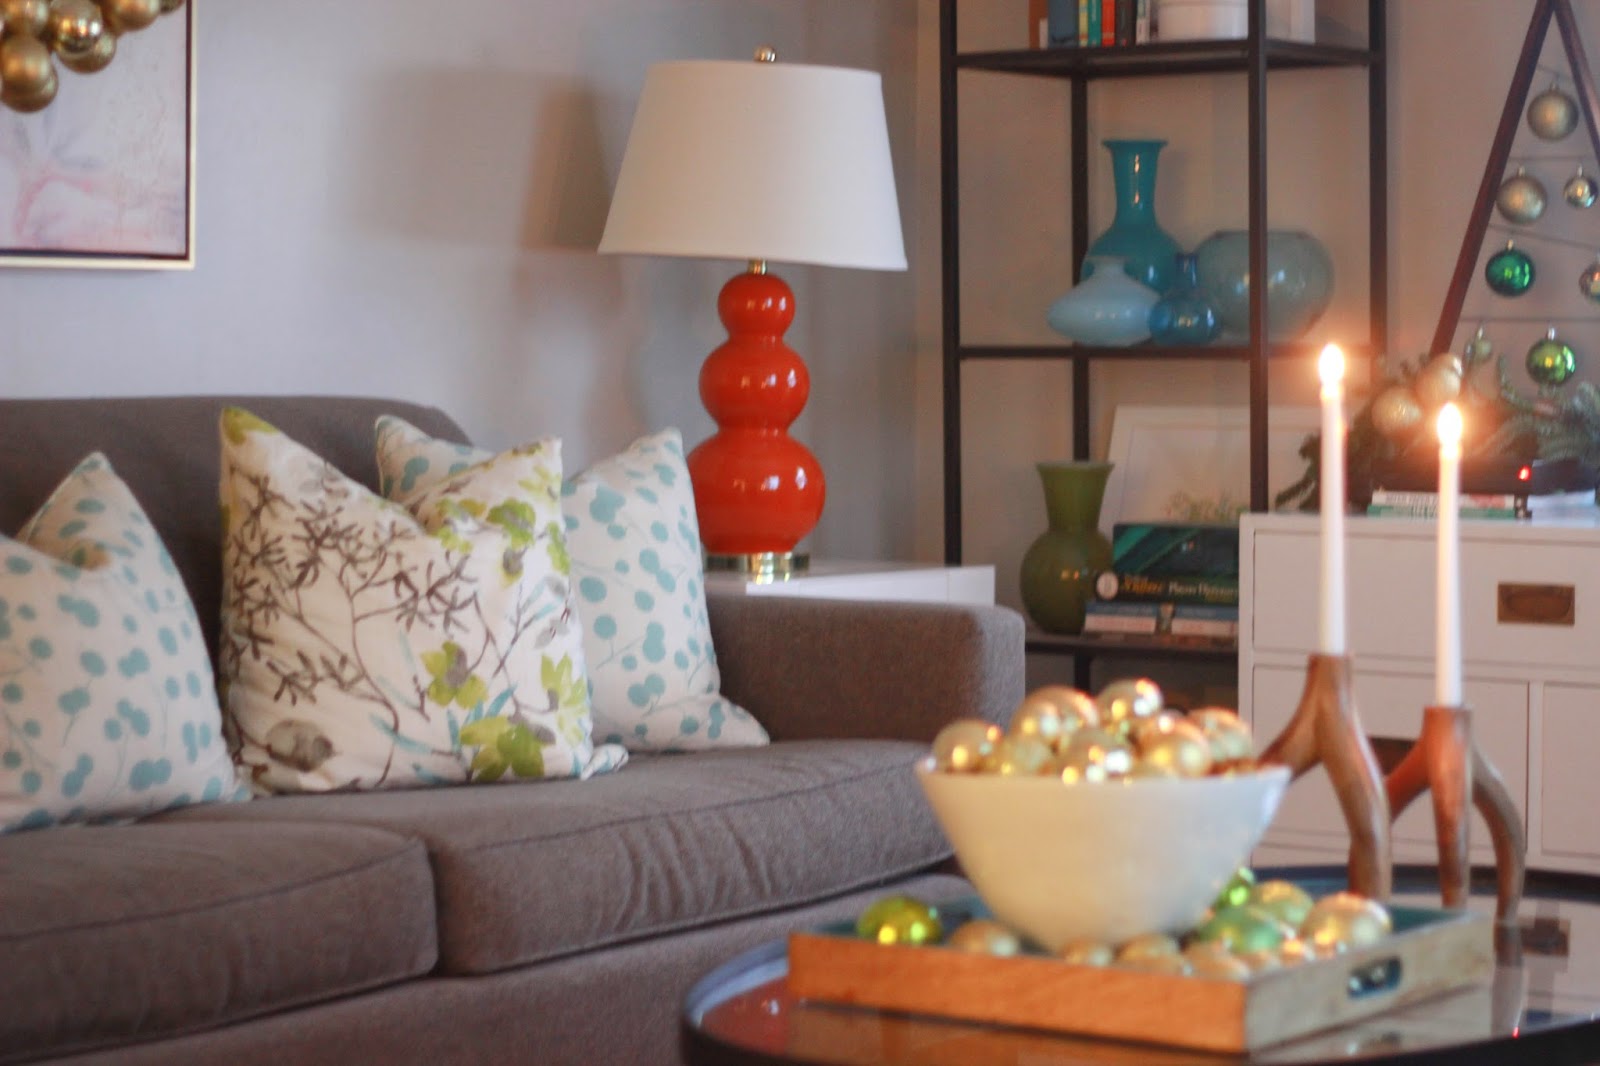
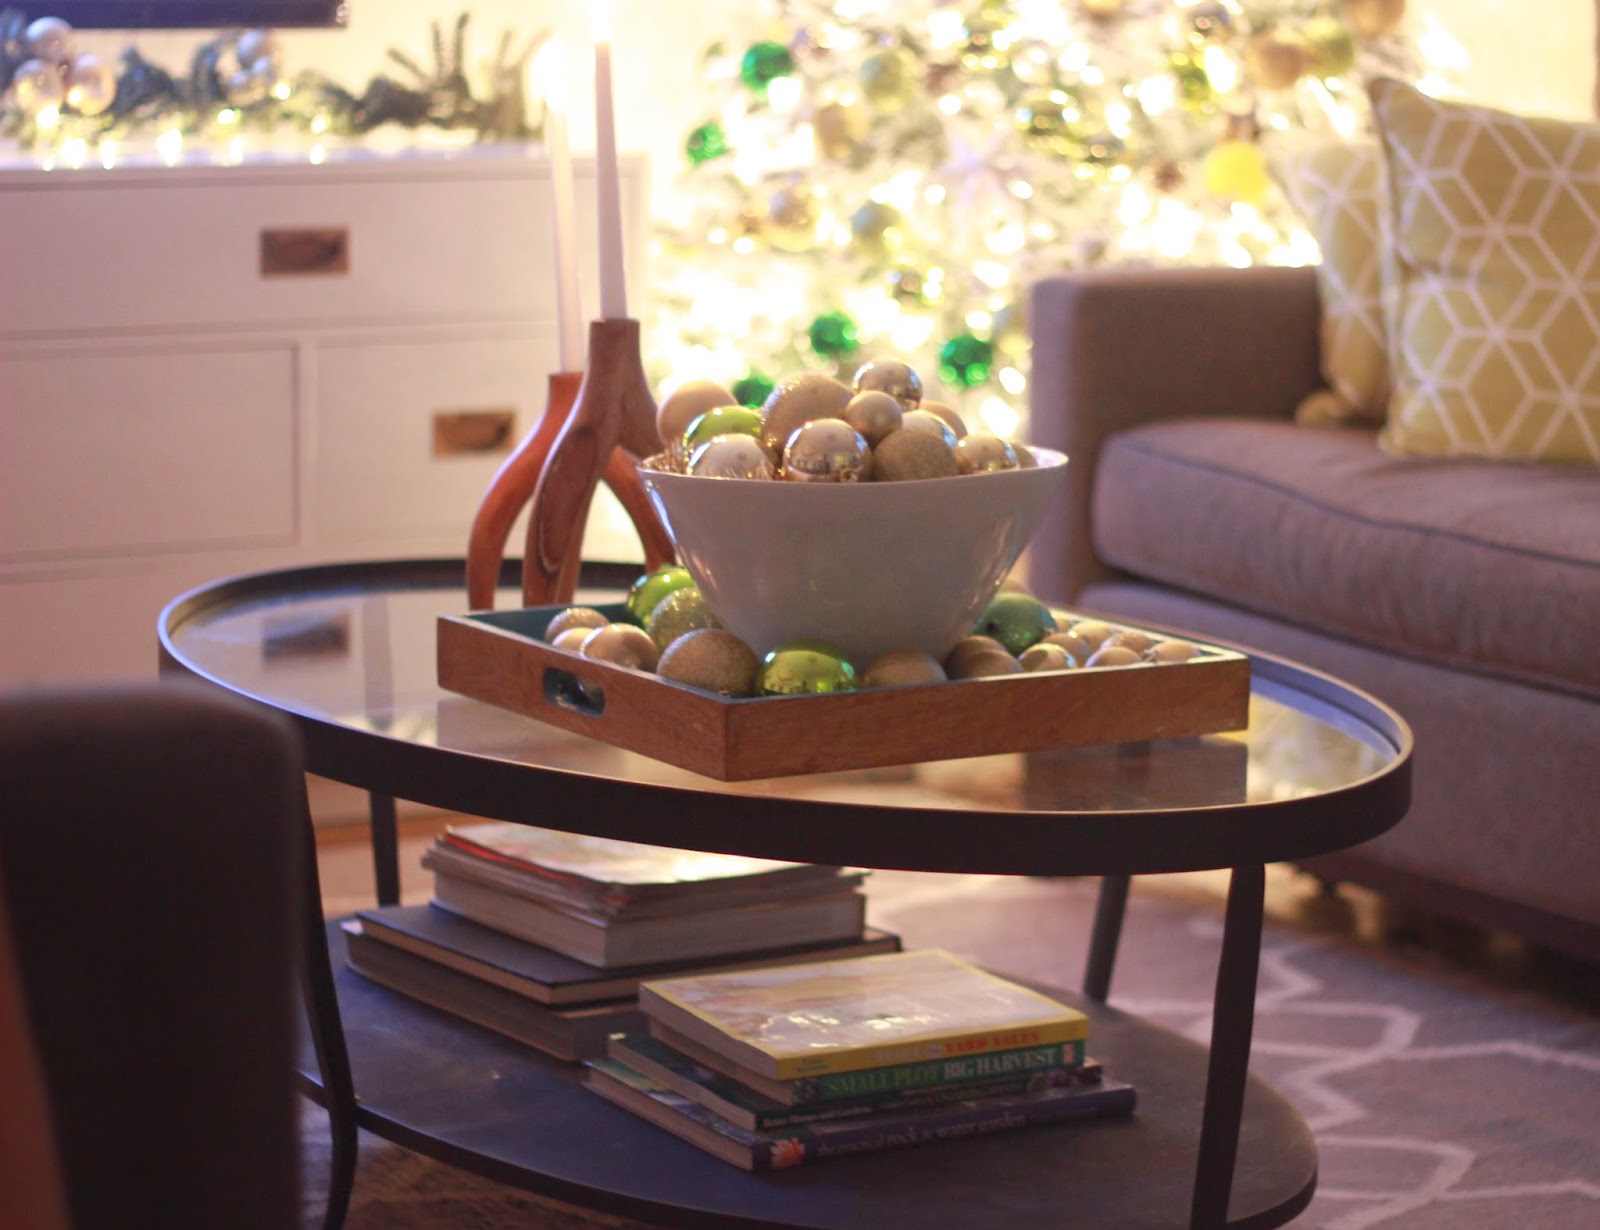
I kept our Christmas decorations pretty simple, filing a ceramic bowl with lots of ornaments and gold garland, During the holidays, can't get enough of tinsel garland! Our chartreuse and green ornaments are from Big Lots! I bought almost all the gold ornaments from Target [make sure you use your cartwheel app to score extra deals while shopping there]


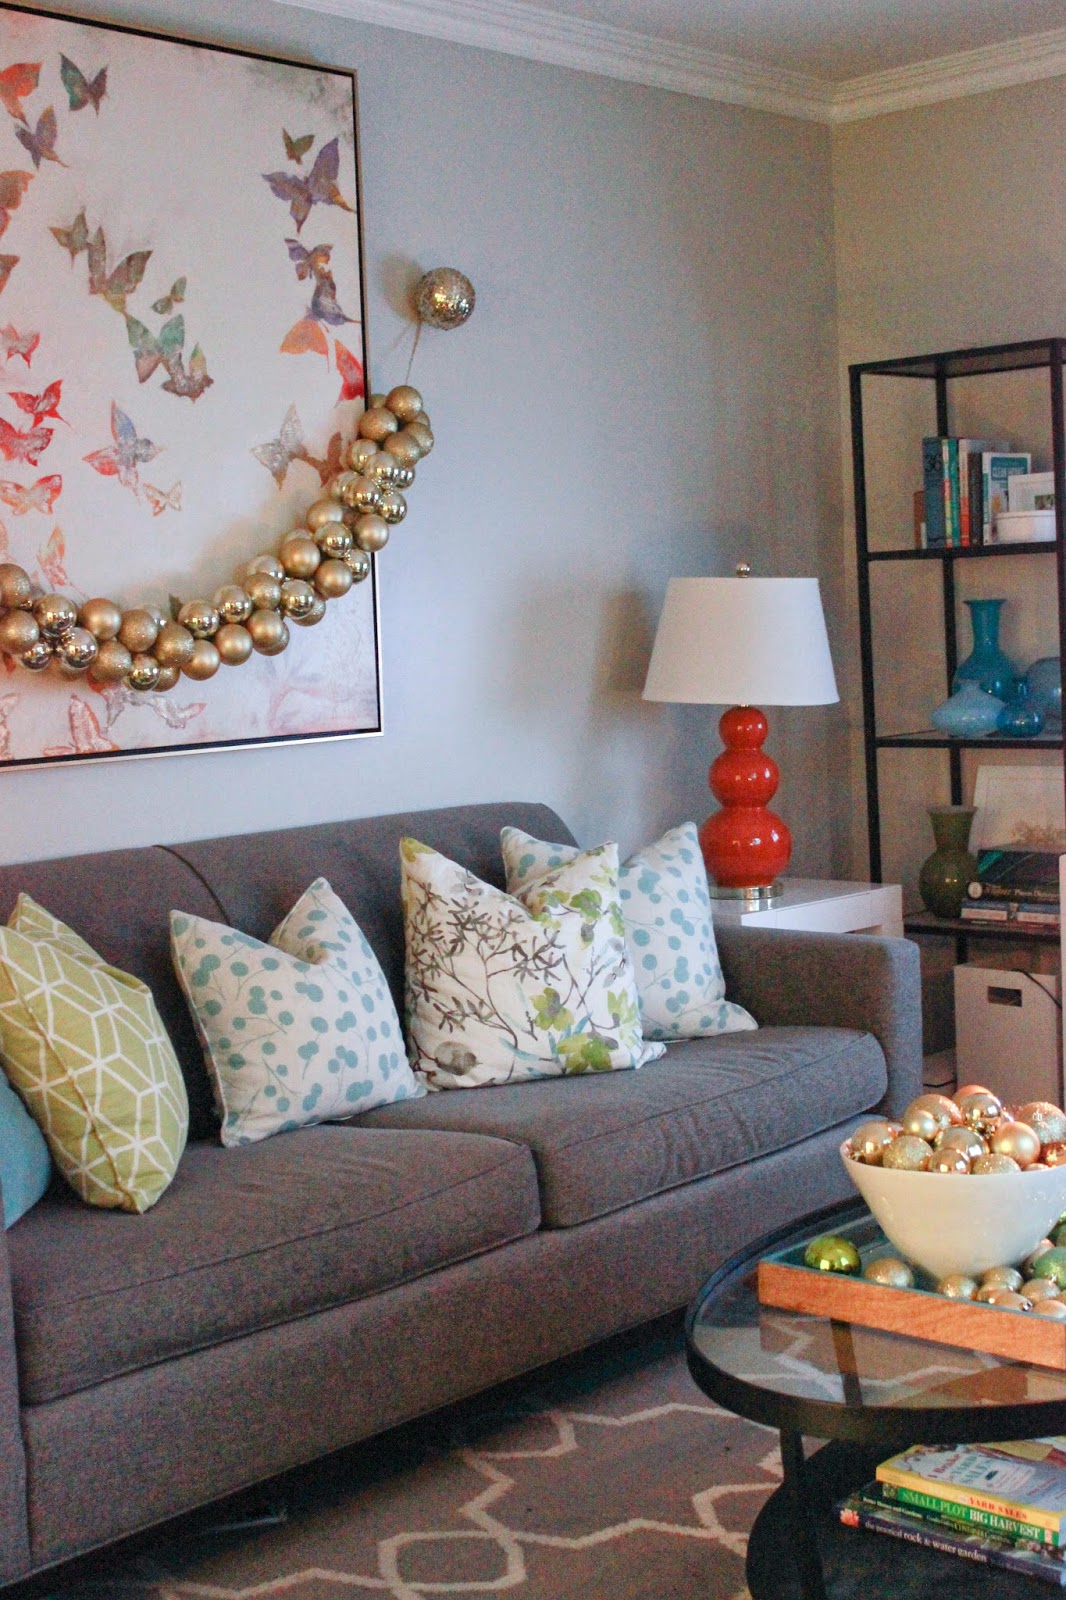
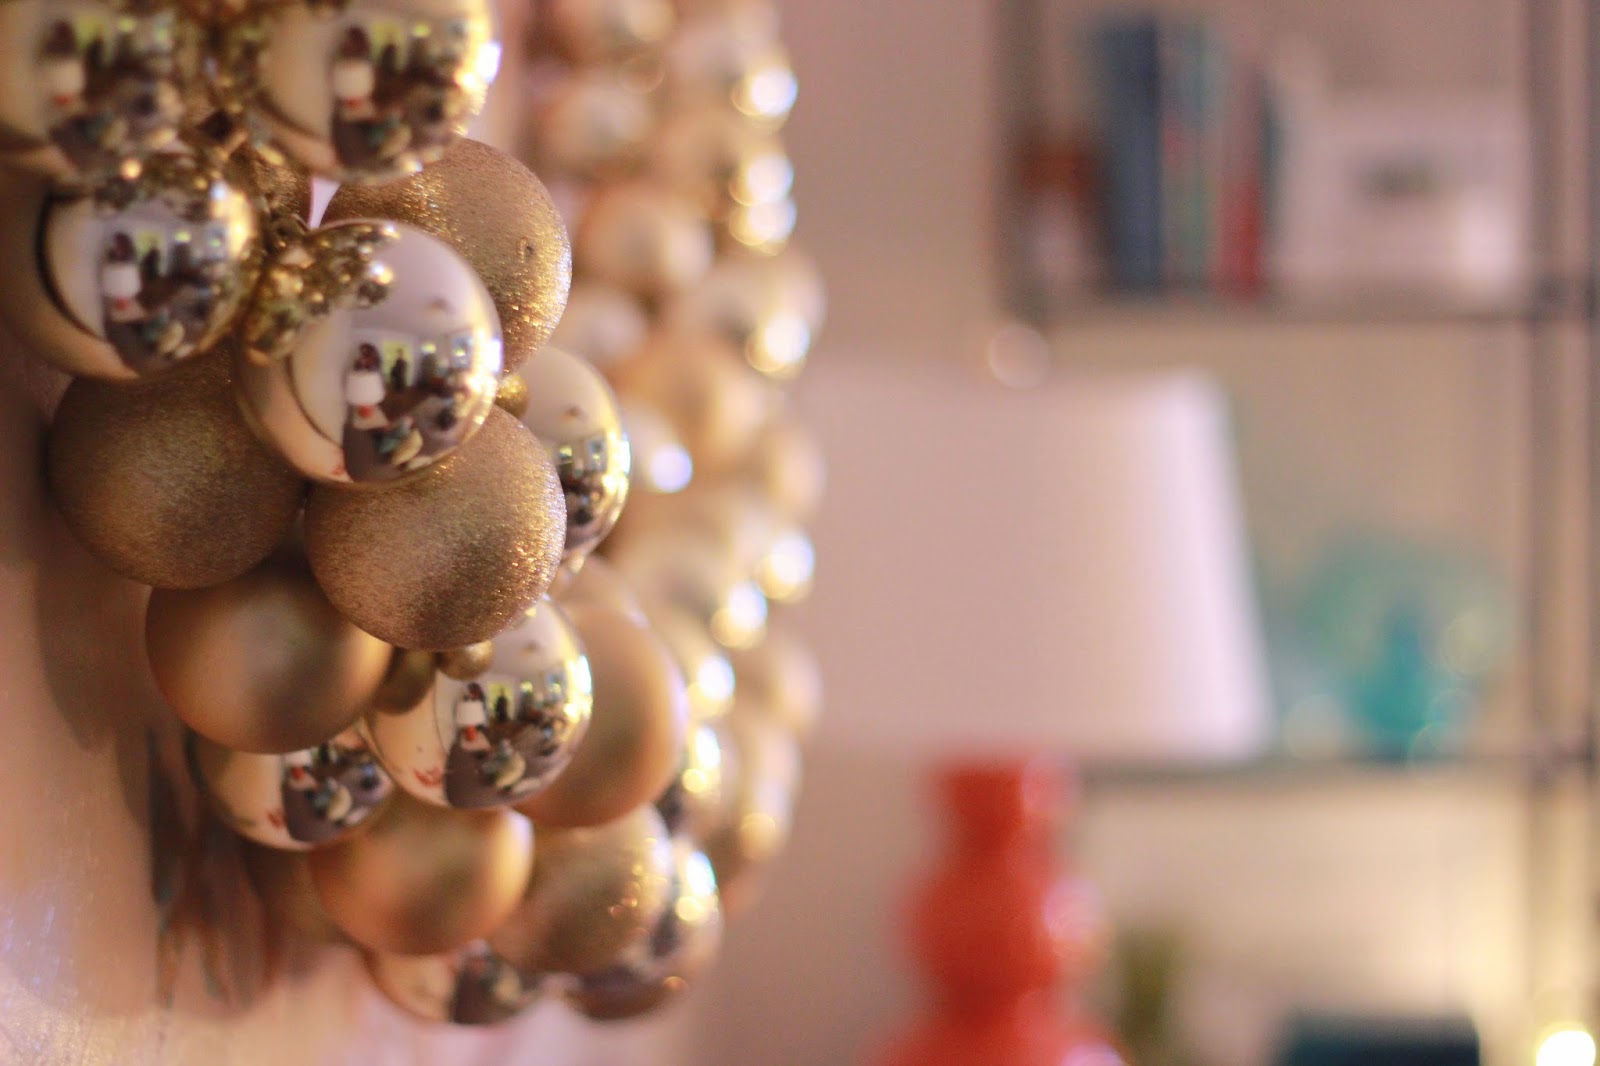
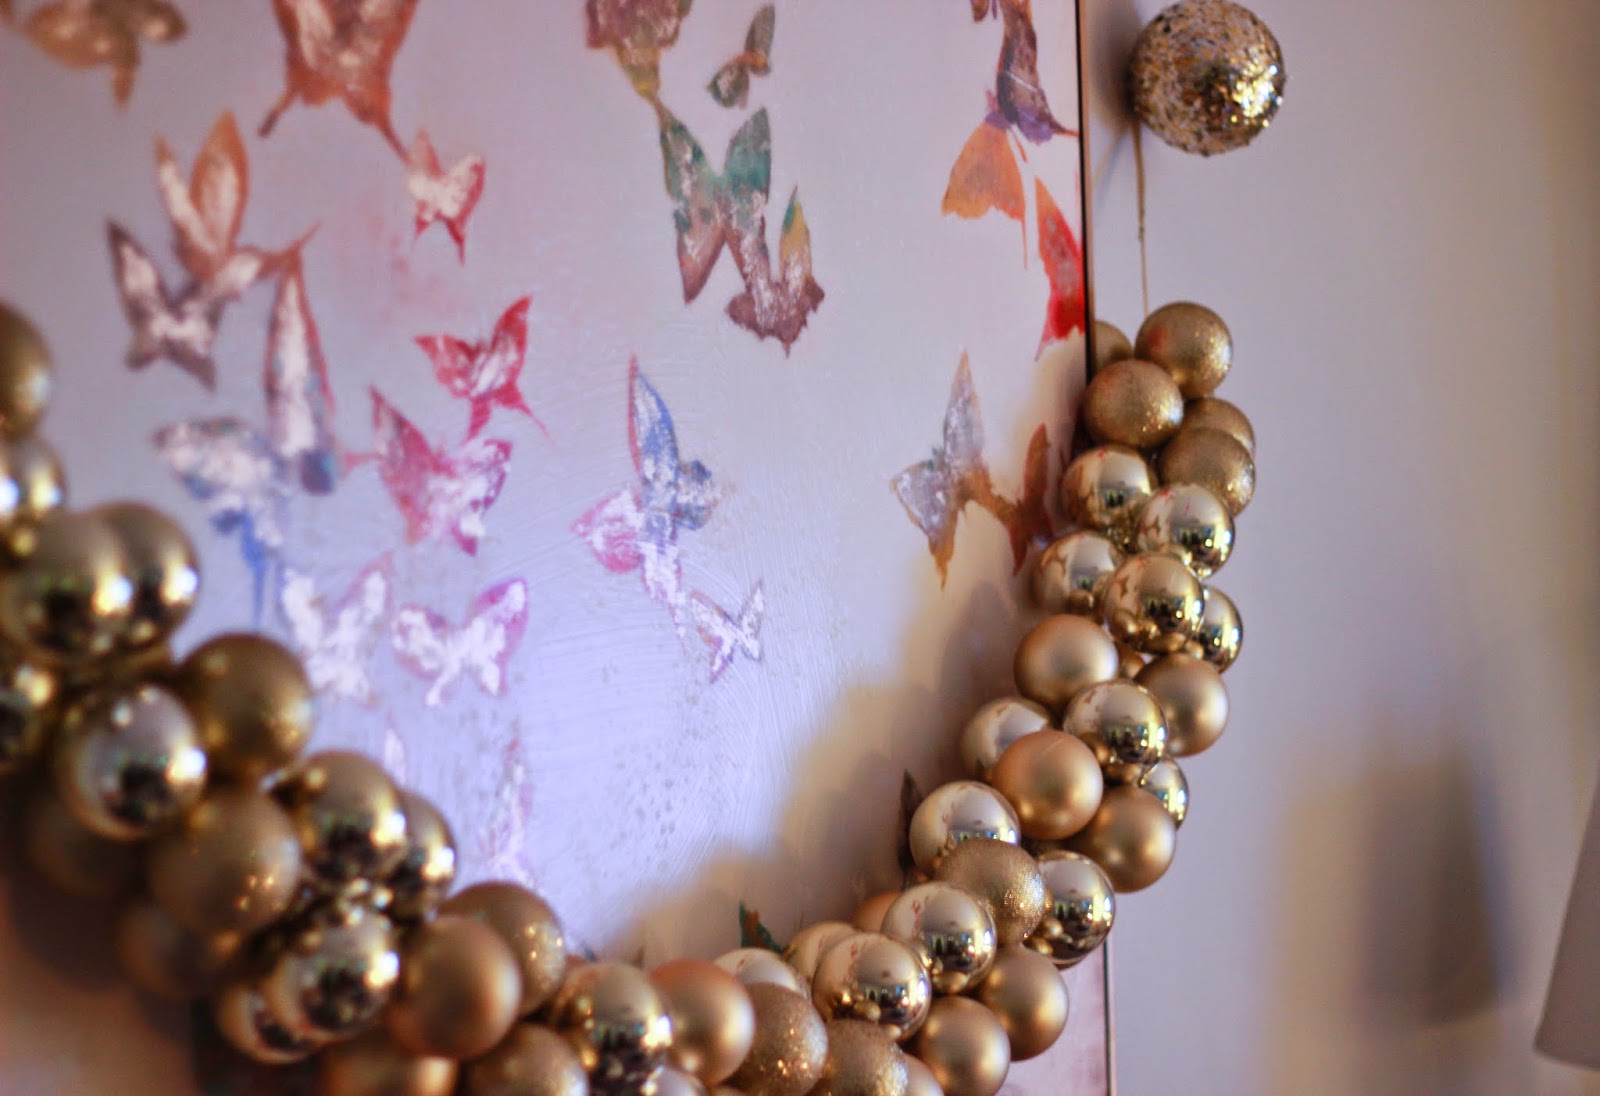
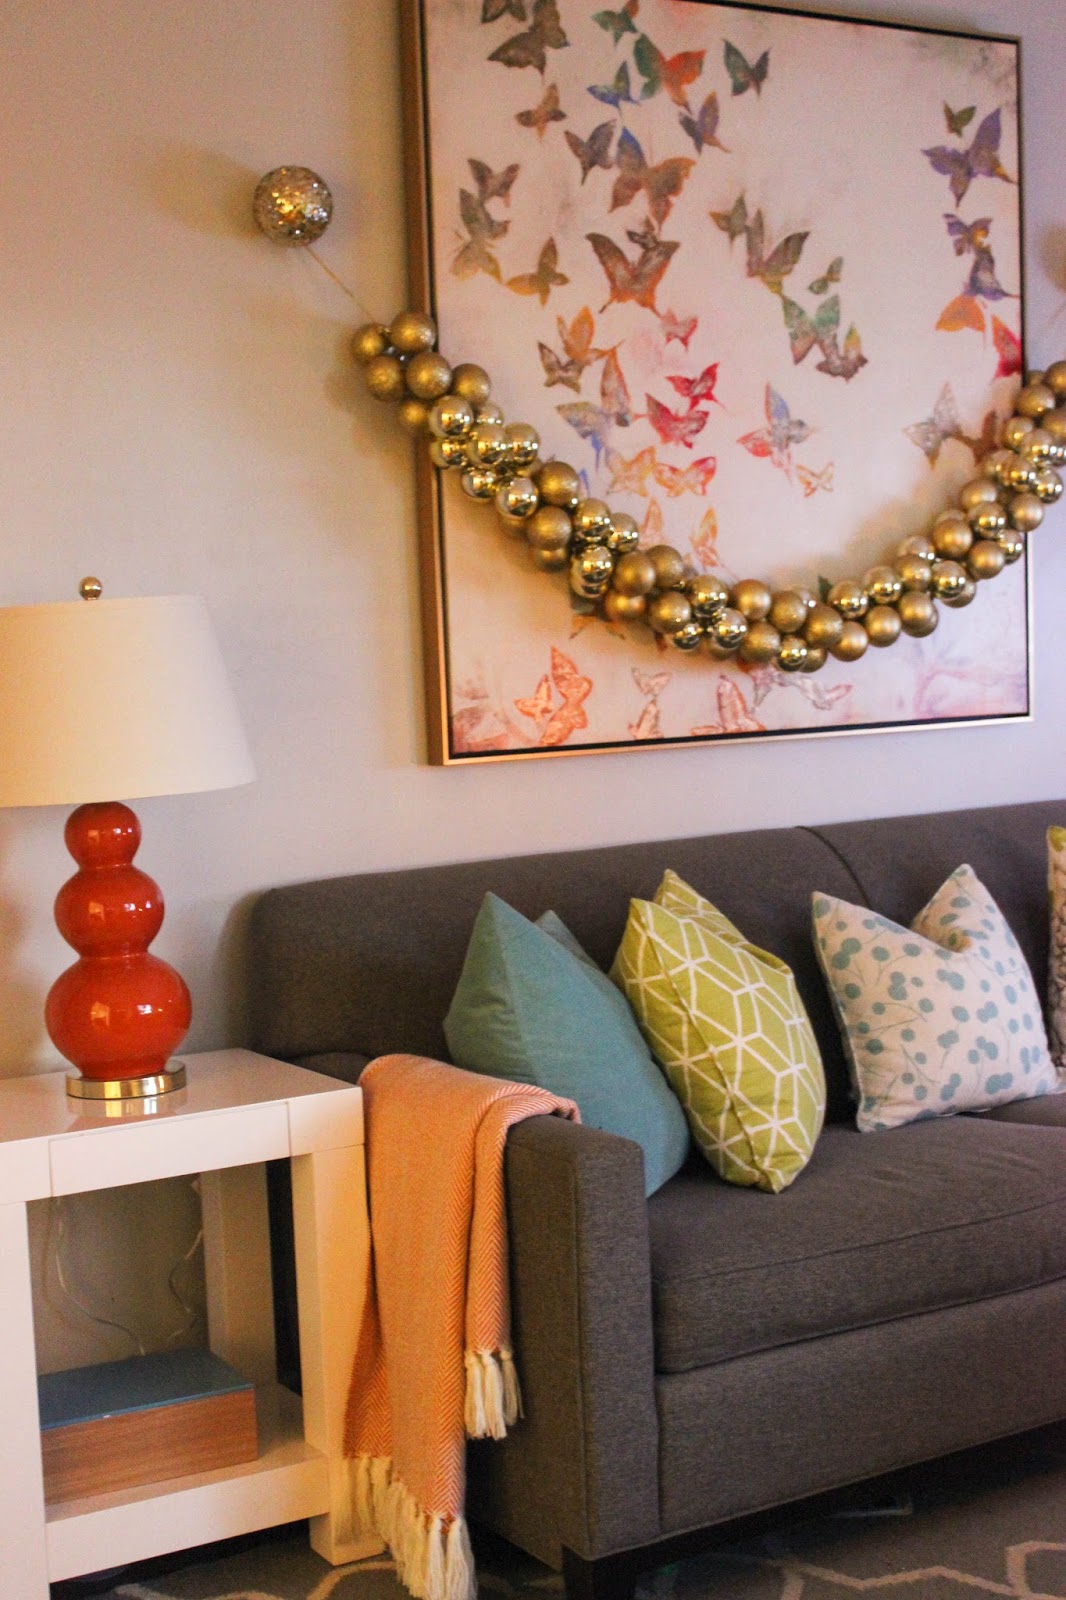
I'm in love with our butterfly artwork above the sofa and wanted to add some merry mint to it, so I decided to make an ornament garland. I used gold ribbon to strung the each ornament though the top to create the garland. I used a mixture of gold, matte, glitter and shiny ornaments to create the garland. 


Our Christmas tree all lit up, I'm just in love with it and can't say that enough! I bought pre-lit garland from Lowes its the super nice and 'real' kind and placed it on our campaign dresser to give it extra sparkle.


This pretty picture with our Christmas tree all aglow in the bakcground just slays me!! So much pretty. 


I hope everyone's having a fun filled holiday season! I still have some last minute Christmas shopping to do this week, thankfully with help from the internet I'll get it all done! Stop by Thursday, I'll be sharing back to back last minute Holiday gift guides for Her / Him and Kids! 

Quick reminder, there's only a few days left to Enter the Color♥Hug giveaway, please click here to enter! 


Adding More Fun & Color♥Hug Giveaway

Monday, December 15, 2014

For the longest time, the area on the side of Avery's bed has been blank. Now that Avery's gallery wall is pretty much completed, I decided I didn't want another galley wall. I wanted to create some visual balance on the empty wall with a few pieces of artwork and books. I love how the clear acrylic book displays look in Freckles Chicks playroom area of her basement and thought they would be a perfect for Avery's room. I love how the clear shelves allow the books to be artwork themselves and allow for my little reader to choose which books he wants to read. 

I'm in love with how the clear book shelves look in his bedroom above his bed! They add so much color and visual interest, plus I like their slim profile. I love how the books feel like additional artwork on his wall. 


For artwork on this long wall, I really wanted a large piece of artwork that would anchor the wall. I wanted the artwork happy and colorful. I reached out to my friend Lauren of Color♥Hug, shared with her my ideas for a old school 1980's cassette tape with the name of the song written in with the tape ribbon. I'm head over in heals in love with the artwork she created for Avery's bedroom!! For the lyrics on the ribbon, Hasani and I chose Bust A Move. Do you remember that song? It always makes me laugh, and when it plays once on the radio, I sing along to every word pretending I know all the lyrics, I love love how old songs from your childhood can stay with you like that. The artwork is 18x24 which complements the other large artwork on Avery's gallery wall the Giving Tree. 


On the label of the cassette tape, it reads 'Avery's Mix Tape.'


I just love how the custom artwork created by Lauren of Color♥Hug looks in Avery's bedroom! Down the line, I'll add in more a few more prints on this wall on the wall to help balance his gallery wall. I love that Lauren was able to take my ideas and add her creative vision and made the artwork come to life. 


I'm thrilled that Lauren of Color♥Hug has partnered with Chic Little House in offering my readers a giveaway! Lauren Myers is the owner and designer of the colorful paper goods company Color Hug (www.ColorHug.com).  Lauren has had an entrepreneurial and creative spirit since her youth, so starting Color Hug was an easy decision for her.

In 2009, a few years after receiving her BFA in Graphic Design, Lauren started her first company LrnM Design in which she was an independent graphic designer. In 2011 she decided she wanted to change gears by mixing her love for paper goods with endless color combinations to create a fun product line, so Color Hug was born.  Products that can be found on the Color Hug website are greeting cards, art prints and an upcoming wedding stationery line.  She also provides custom event branding services for weddings, baby showers and other exciting events.

Lauren is a graphic designer on paper and in her heart.  She loves nature (minus the bugs), classic jazz, innovative design, cotton candy, fine tip pens and an infinite number of color combinations.  Color Hug is an extension of her love for color.  If you ask Lauren what her favorite color is, she cannot choose one...she would choose them all!


Lauren so kindly teamed up with me to bring you a chance to win the 'Bust a Move' print for your home! I could tottally see this print, depending on color choices just about anywhere in your home! It's just a fun whimsical print, that's not only fun but also motivating to 'Bust a Move' and go for what you want!! Giveaway deets below & good luck! 


Giveaway Details

Prize: One 8x10 'Bust a Move' Print
Chose: Three color choices (print background, and cassette tape colors) Please visit ColorHug.com for color chart choices. 
Letters: Choose custom words for Label on Cassette [Please Note: Ribbon on Artwork will say 'Bust a Move'] 
Giveaway Dates Start 12/15-19/14 Open to all US Residents
Enter to win using Rafflecopter, Entry details below 

a Rafflecopter giveaway


Frame those Pretty Ornaments

Tuesday, December 9, 2014

Its hard to believe that Christmas is jut right around the corner! I've teamed up with 15 other bloggers to share with you all 15 Last minute Holiday Ideas using items your already have or creating thrifty and fast Holiday projects. Welcome, if your popping over from Tuesday's line up: Decor Adventures, The Space Between and That's My Letter. I love this time of year the Christmas from glittery ornaments, Christmas lights all the baking, this is the time of year I'm in my kitchen the most. 


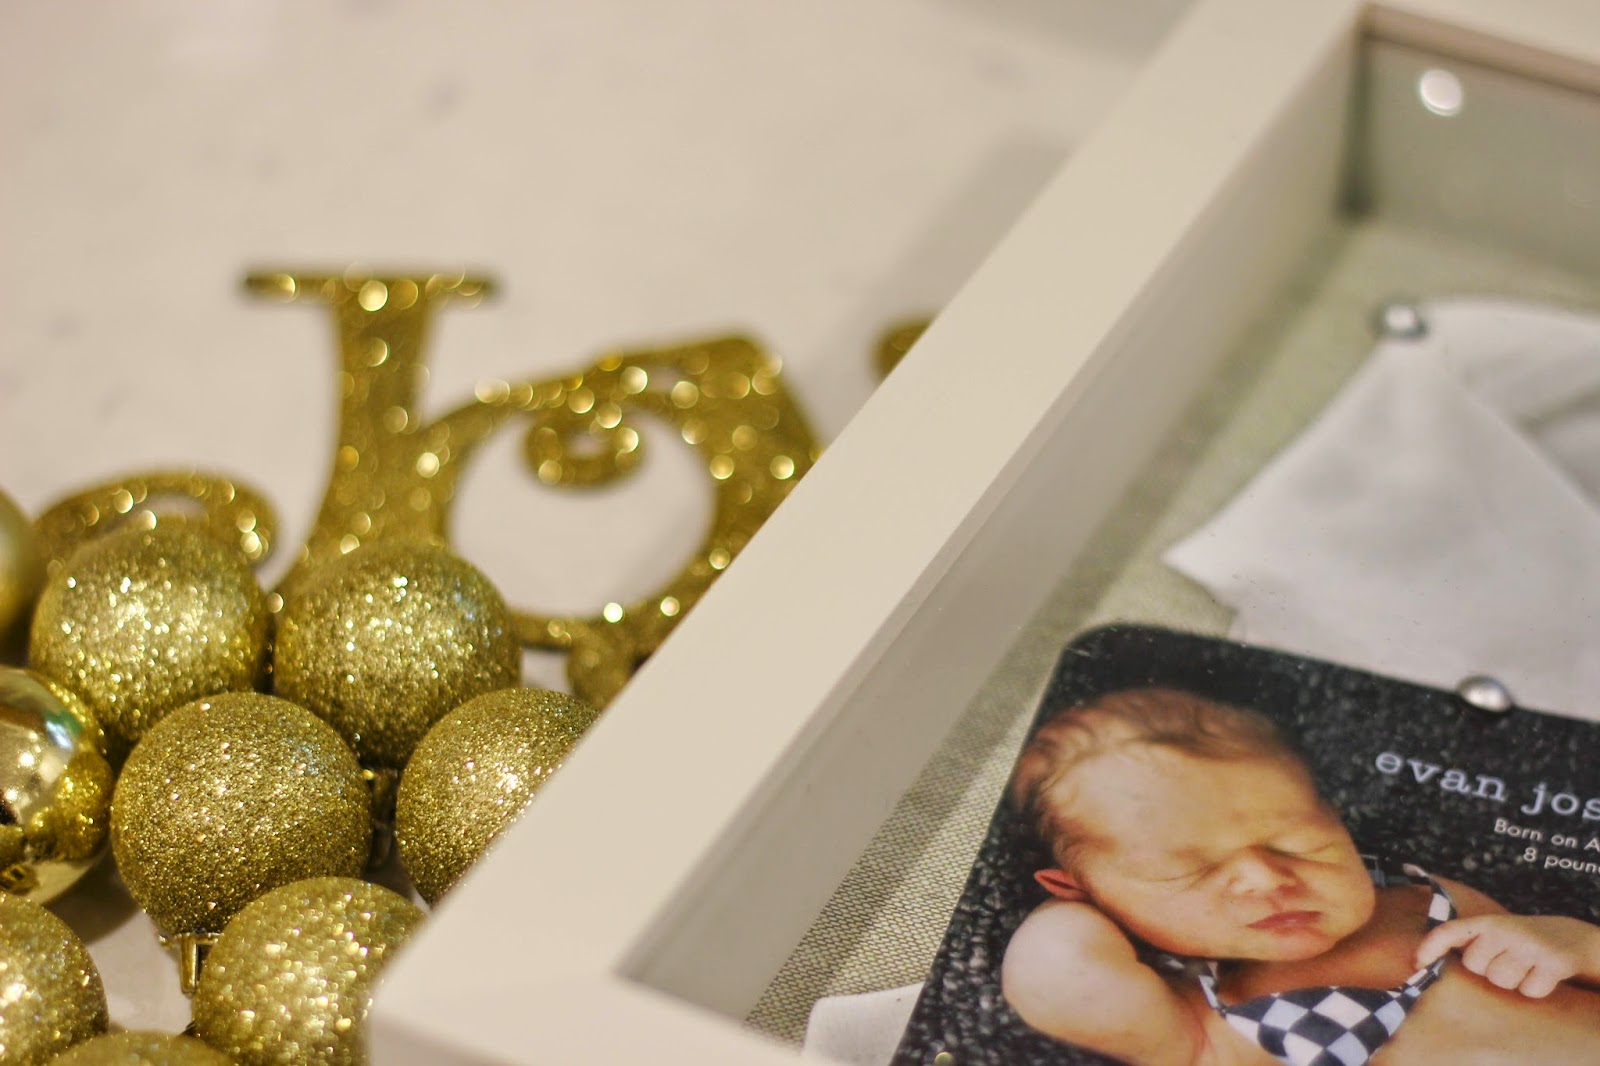
I've been wanting to add some pretty Christmas decor in our kitchen that tied into our Christmas tree in an sparkly way. A few months back, I brought I shadow box frame at Target, that I planned on using but never got around to it. I decided to transform the empty shadow box into ornament bulb holder. I wanted to keep this project thirty and fast, I used a mixture of matter, shiny and glitter ornament bulbs from the dollar tree! Remember when it comes to Holiday decorating shop everywhere. You can find amazing surprises and deals stepping outside 'your comfort zone.' 


I knew, I wanted my shadow box to also display a message so I was thrilled when I came across a Joy ornament. I simply removed the holder part of the ornament to transform it into a glittered sign pinning it in place. The back of the frame is lined with a linen type fabric, which gave the perfect backdrop for the letters to rest on. The ornament 'Joy' is also from the Dollar Tree! 


Next I filled up the inside of the frame with an array of pretty gold ornaments. I'm usually not a 'gold girl,' but totally embracing its use for the Holidays this year. 


I'm totally in love with the with how the array ornaments looks in the shadow box frame, just feels so pretty and subtle. You can easily create a shadow box ornament frame for Christmas too. Buy a shadow box from any local craft store and fill it up with mini ornaments and message using an ornament word. I also love the idea of filing the ornament box up with an array of snowflake ornaments! 


Next up on our 15 Last Minute Holiday Ideas, is Ashley with Simply Designing, please stop by her blog and check out her Holiday Idea. Huge thank you to Karah from The Space Between the Blog and Jessica from Decor Adventures for coming with up with this great idea to share Last Minute Holiday ideas you can make for your own home. 

Pin of the Week

Friday, December 5, 2014

Hi friends! We've finally made it to Friday! This week as been a busy blur of working and Holiday decorating in the evening. I have so many projects to share next week: Holiday Decor, Vintage Dresser Makeover, an update on my sons big boy room and much more! I've been sharing snippets of what I've been working on Instragram [see more here] This week for the Pin of the Week, I've been thinking about pretty cork boards made by using new or vintage frames and all the ways you can customize for your home, more ideas below. 


Quick reminder, don't forget to enter my Treetopia Giveaway for a Christmas tree along, garland and wreath (more deets in this post) Today is the last day to enter and I will announce the winner on Saturday morning! 

A Very Chartreuse & Gold Christmas Tree & Treetopia Giveaway

Monday, December 1, 2014

I just love Christmas, everything is sparkly and pretty, from decorating the Christmas tree, drinking cocoa and watching Holiday movies and more, I love it all. In our home once, the tree is up and decorated, it really starts to feel like Christmas. Last year was our first Christmas back in our home and it was made extra special, when I won a Christmas Tree from Treetopia. I loved our Oh Christmas tree, we choose last year. The needles were so realistic and I love that it came pre-lit, you can see our fully decorated Christmas tree from last year here. I love the look of Traditional Christmas trees, but this year I really wanted a flocked Christmas tree. I've always loved the look of flocked trees, they're just so beautiful, snowy and feel magical. This year, I was asked to be apart of the Treetopia Design Council, and received a Christmas Tree and wreath of my choice. 

I choose the Frosty Flocked Christmas tree and couldn't wait for it to arrive! Our new Christmas tree arrived super fast, and its so pretty and looks like it came fresh from the snow. Going forward, I'm sure each year we'll switch back and forth between our Oh Christmas Tree and our Frosty Flocked Christmas tree, I love both trees so very much. 


We decided to put the tree up in a corner of our living room, we worked in one section of the tree at a time fluffy each branch. Setting up the tree was a little messy, since the tree is flocked. Once the tree is up, the little extra time spent vacuuming is sooo worth it. 


One of the things, I love to do while decorating the tree is turning on Christmas music or playing a classic holiday movie and drinking hot cocoa. Those little traditions, help create memories with my family. Decorating our tree is a family affair, my husband and I love hanging a few ornaments, and then just enjoy watching our kids finish hanging all the ornaments. Tabari gave Avery a little boost while decorating the tree, love their teamwork. I just love my boys. 


My biggest splurge each year on Christmas is changing our ornaments colors. Last year we went with a colorful tree and this year I took a cue from our home decor and went with shades chartreuse and green bulbs and mixed in gold. Here's our tree all lit up, I love the soft glow the white lights give our living room. 


To keep decorating our Christmas tree stress free, we use unbreakable plastic ornaments, that still look like glass. I love using simple round ball ornaments with a few other ornaments mixed in, like glitter star bursts and snowflakes. They add that extra sparkle among the bulbs. 


My sweet friends Treetopia are gifting one of my readers a Christmas Tree of their choice 7.5 or smaller, along with a garland and wreath of their choice!! I'm so excited about this Giveaway, Treetopia trees are truly fantastic and so realistic looking they also have several whimsical tress ranging from Winter White, Pretty in Pink to Pure gold with their All That Glitters Christmas tree. This Giveaway begins December 1 and December 5 (Midnight PST) open to all US and Canada residents, please enter below using Rafflecopter. Please note you can gain additional entries below with the extra options.


Please the Rafflecopter below and make sure you enter all options for an additional Giveaway!! Good Luck Everyone! Please visit Treetopia and share with us all in the comments below, your favorite Christmas tree! 

Oh Crumbs! My Rafflecopter, has hit a snag! Please enter a comment below for an entry (I'll make sure you get credit for it your email address!) and then please check back later for multiple ways to enter the Giveaway using Rafflecopter! 

Update: My Rafflecopter is back up and Running, please enter below! Thanks! 

a Rafflecopter giveaway


You Make Also Like

Related Posts Plugin for WordPress, Blogger...