

The back wall in our small space is dedicated to our laundry area, we opted on front loading washing machine and dyer to maximize space. I really wanted to carry hardwood floors into this space, but I needed to be practical since our washing and dryer and mudroom are in the this space we went with faux wood look tile. Another good decision! The tiles are long planks and laid the same direction as our wood floors to help create a cohesive look with our flooring. We opted to go with dark drown grout. I love how easy the tile is to keep clean and how nice it looks! Here's a reminder of our home laundry room space looked like prior to moving back into our home.
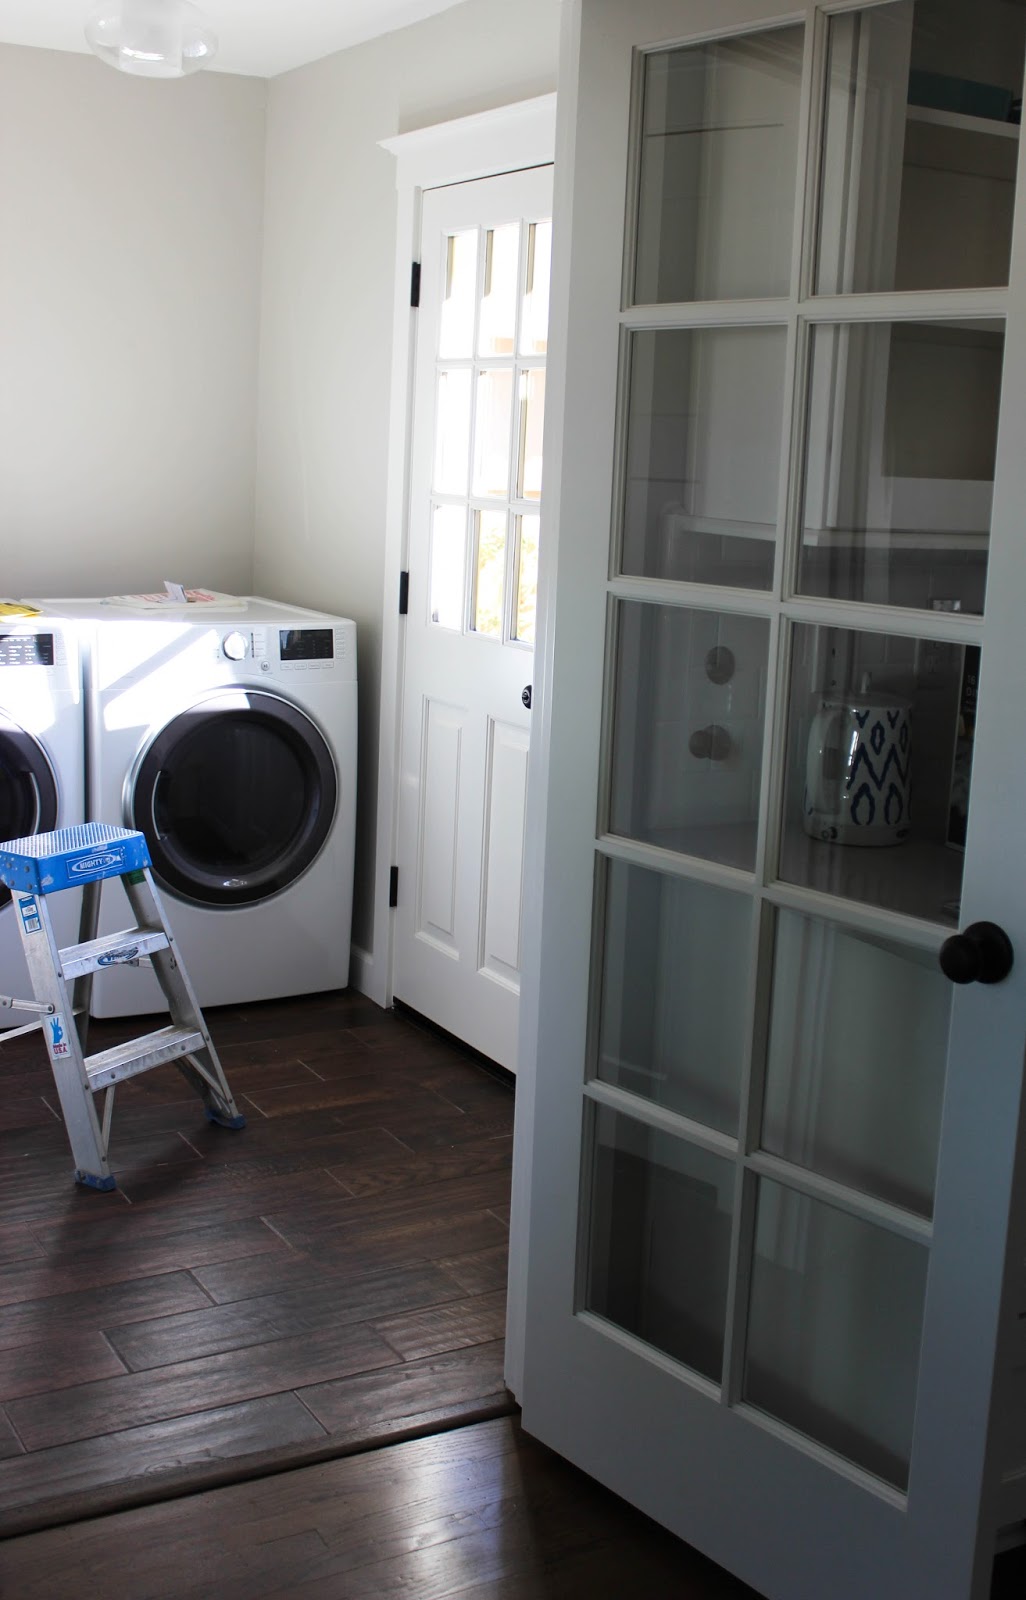
We bought our washing machine and dryer from Sears during the Memorial Day holiday sale, at first we planned on buying and entry level set, but thanks to the savings we were able to buy an upgraded Kenmore with a few more bells and whistles plus we saved some extra cash thanks to local rebates offered though SMUD and PG&E. We've had our washer and dyer for about 7 months and love them!
Ever since our appliances were delivered, we've been wanting to add a counter top above them, for folding clothes etc. We decided to DIY a wood counter top for laundry room. I love how much warmth wood brings into space and it seemed like the perfect easy affordable solution for a counter top. We went to Home Depot and purchased Red Oak Plywood. The plywood was perfectly smooth and had pretty grains that we thought would look pretty once stained.
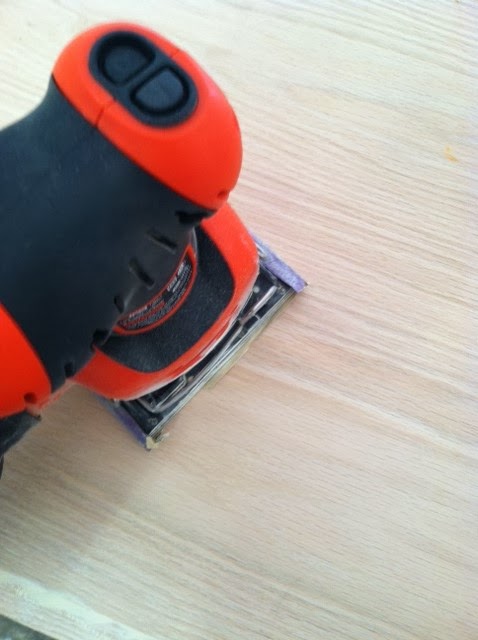
We had Home Depot cut the Red Oak plywood based on the measurements for the counter top. Using 1x2 boards we made a ledge along the back wall and sides to hold the counter up, so the counter top doesn't rest on top of the washer & dryer. In the picture blow you can see the wood ledge.
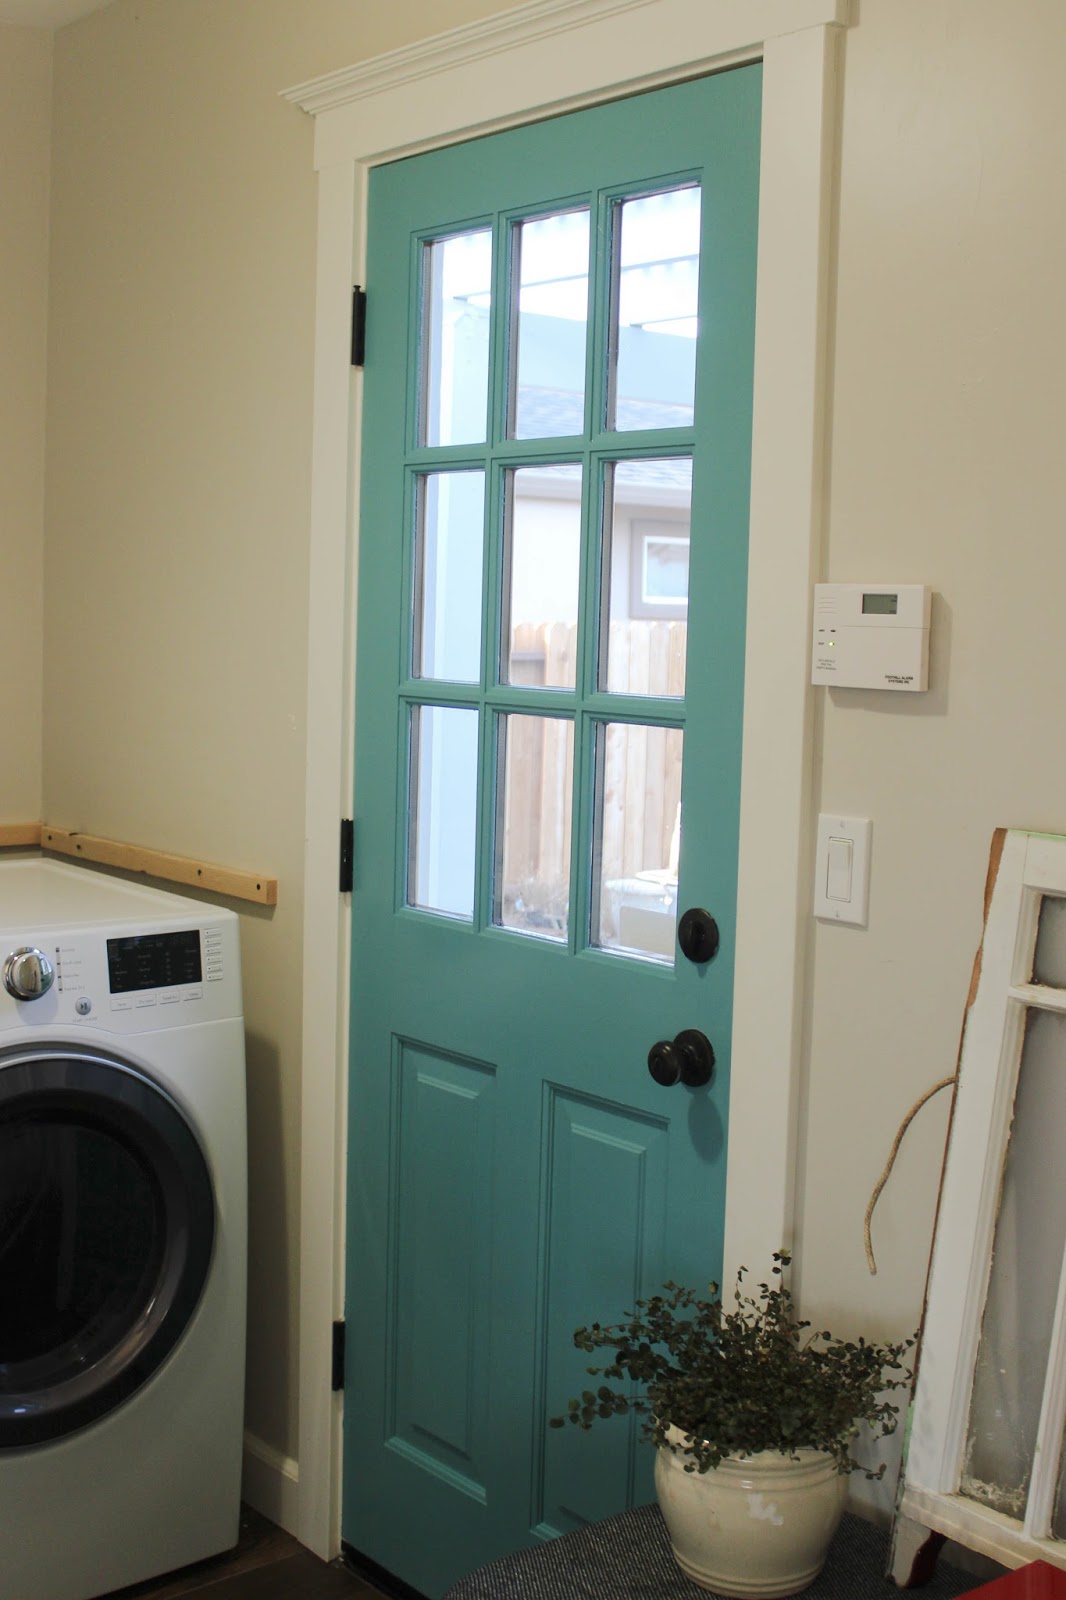
The sides of the Red Oak plywood are unfinished, we used a 1/2 piece of trim to make the the counter appear thicker. We countersunk a the nails and covered the nail holes with wood filler. I fell in love with our new counter before the stain even went on, I love how much space it provided.
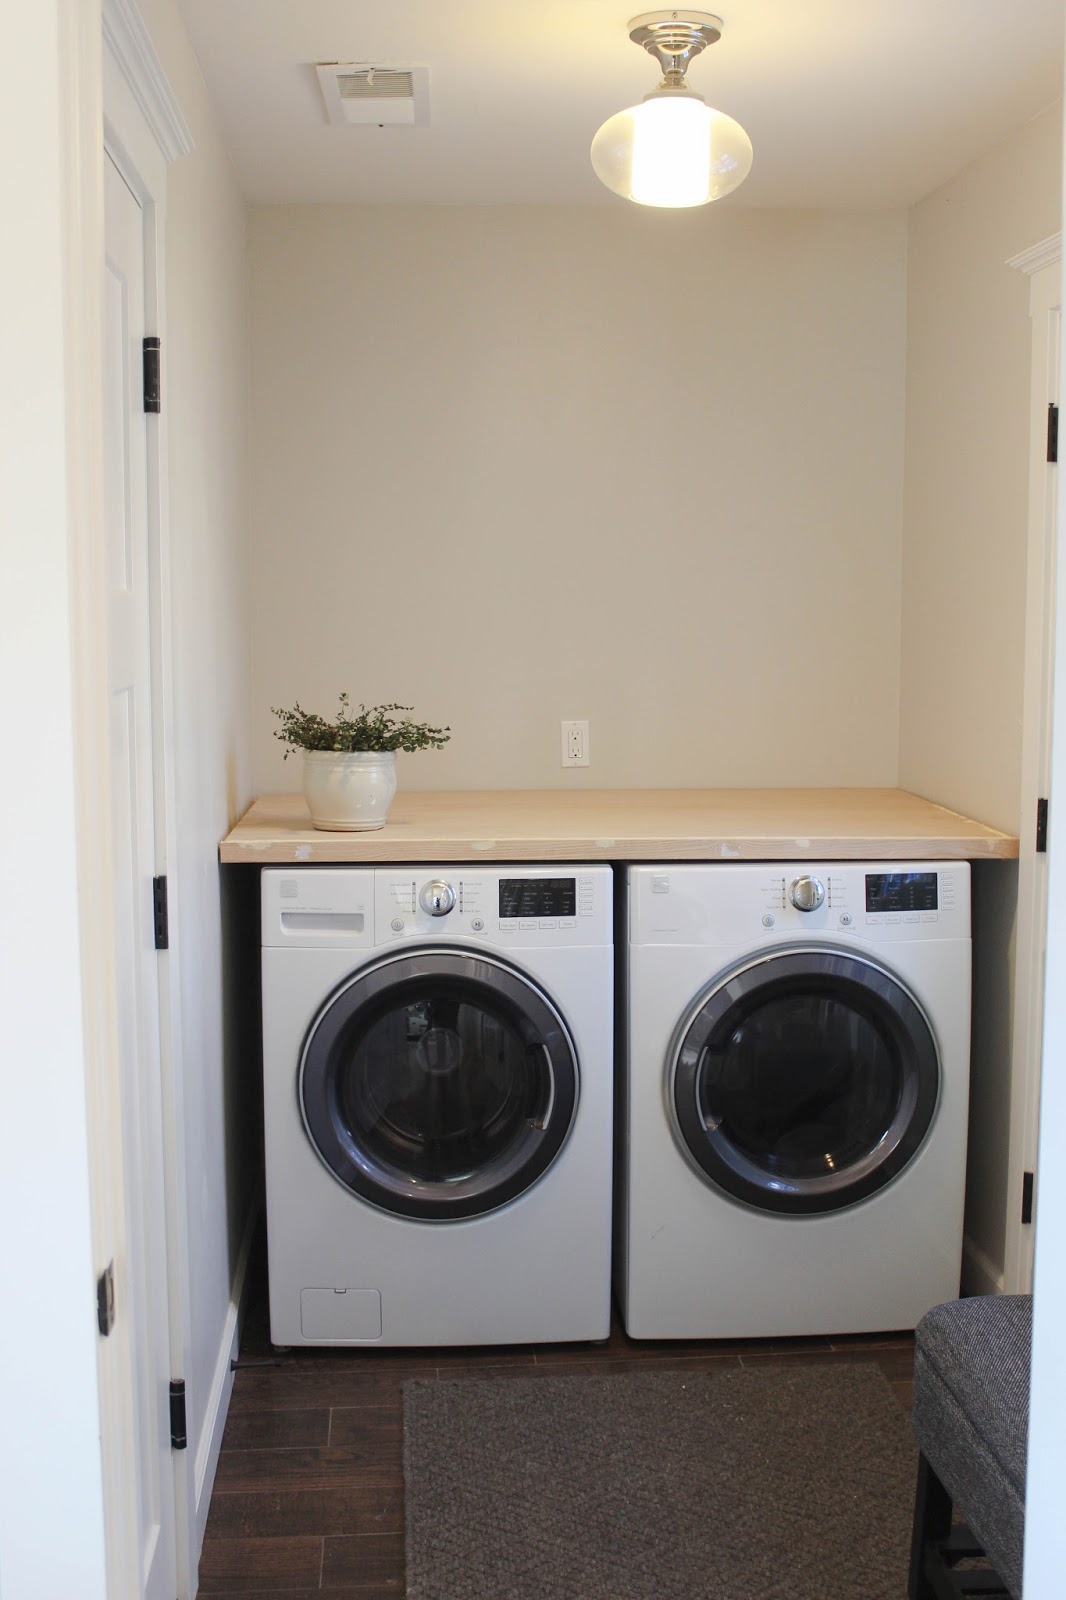
I wanted to cut down on all the staining steps, so I decided to try Minwax Polyshades in the color Mission Oak with a satin finish. I applied three coats of staining to achieve the dark rich stain I was wanting. The stain goes on really runny, so I just took mine time applying each coat. I love the the rich color counter top turned out.
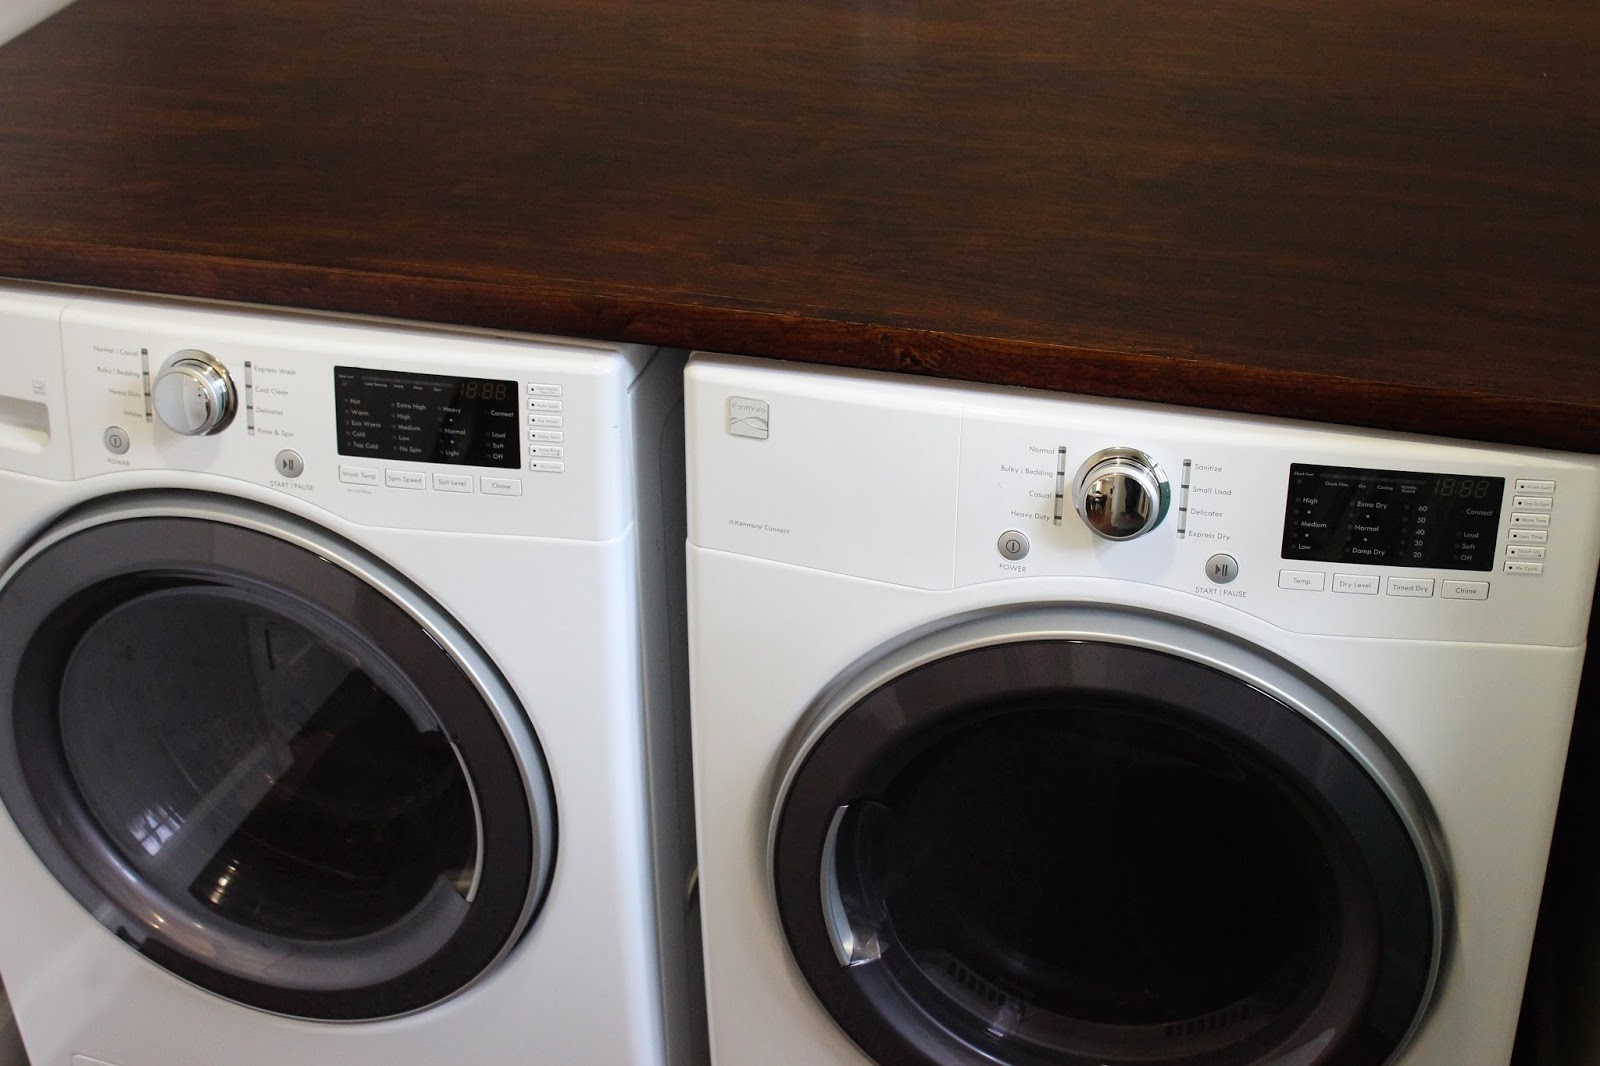
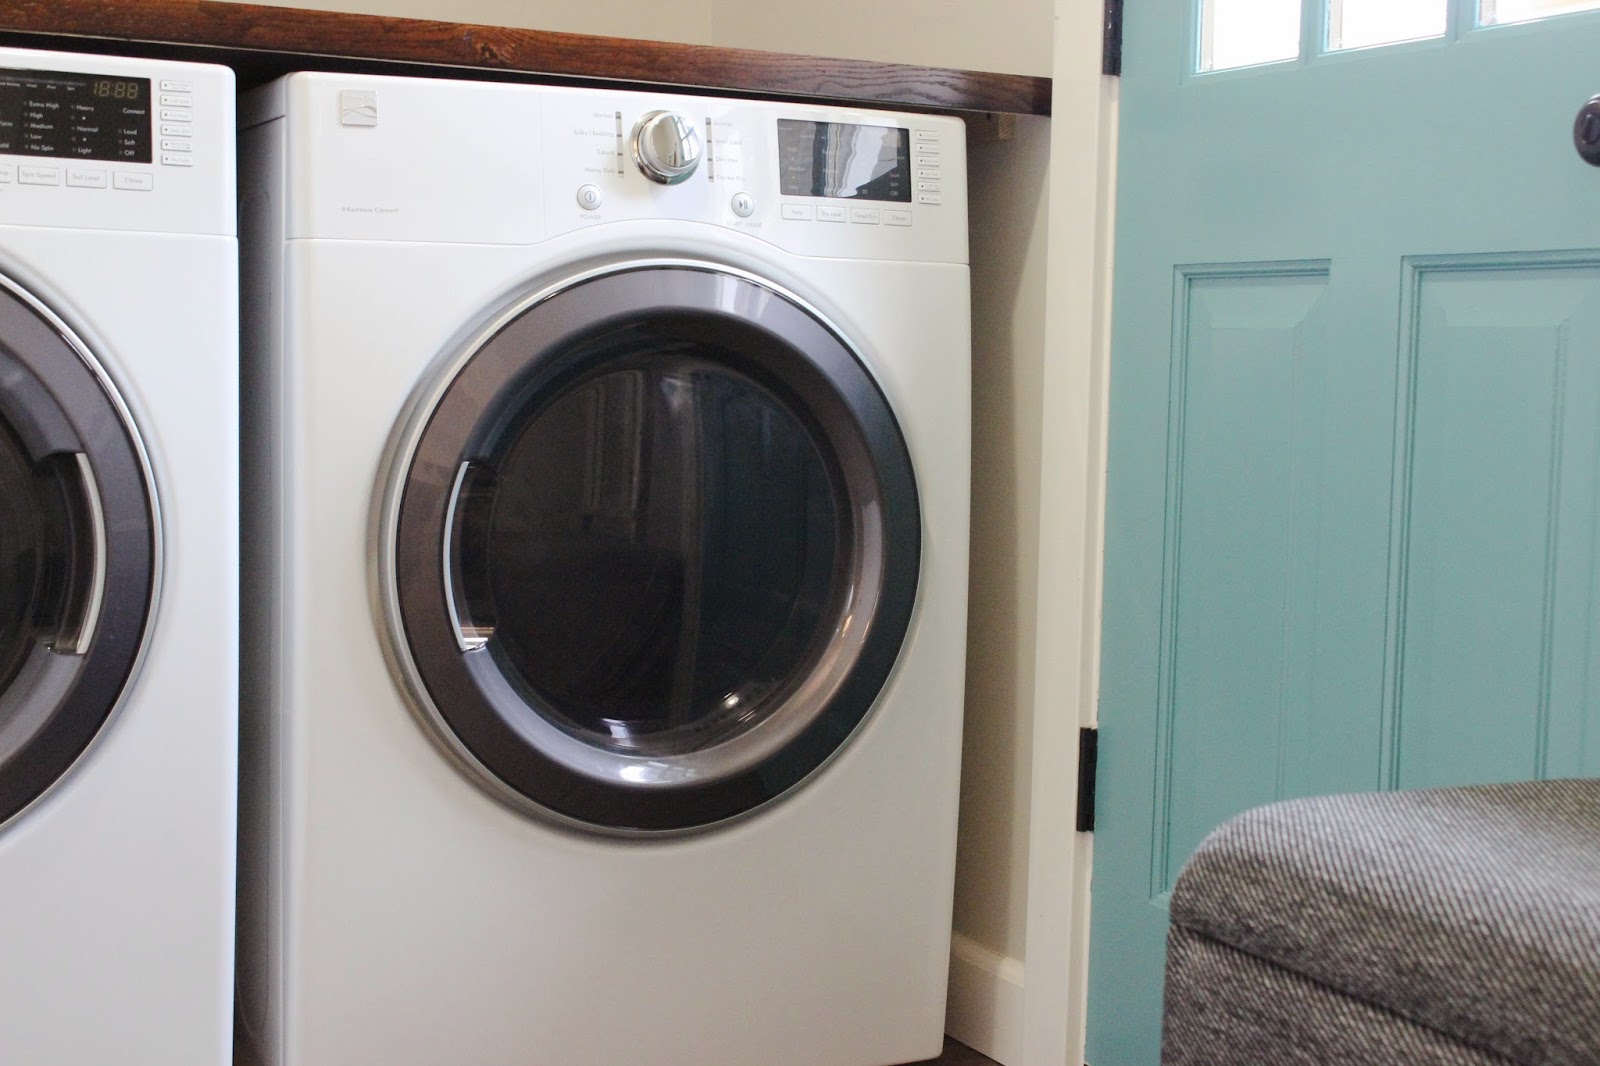
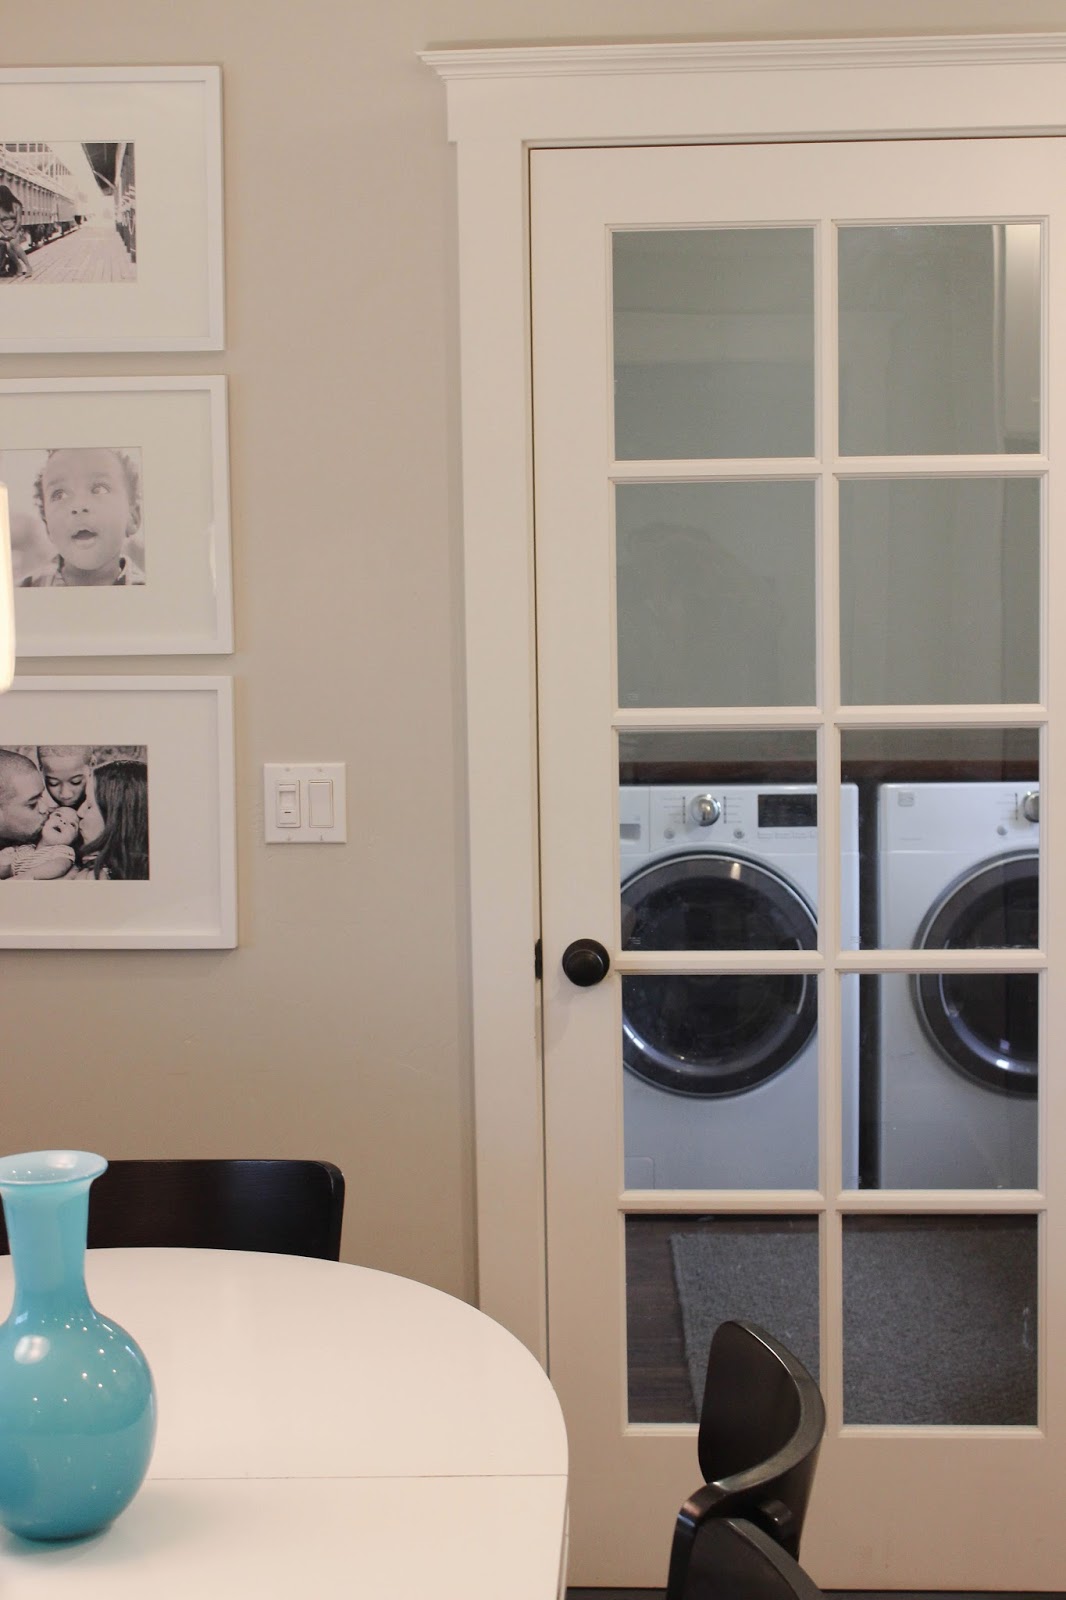
It's exciting to see the laundry room / mudroom start to take shape. So far adding a little storage bench (that I plan on recovering) and painting the inside of the door a fun color along with our DIY wood counter top have really given our space so much more purpose.
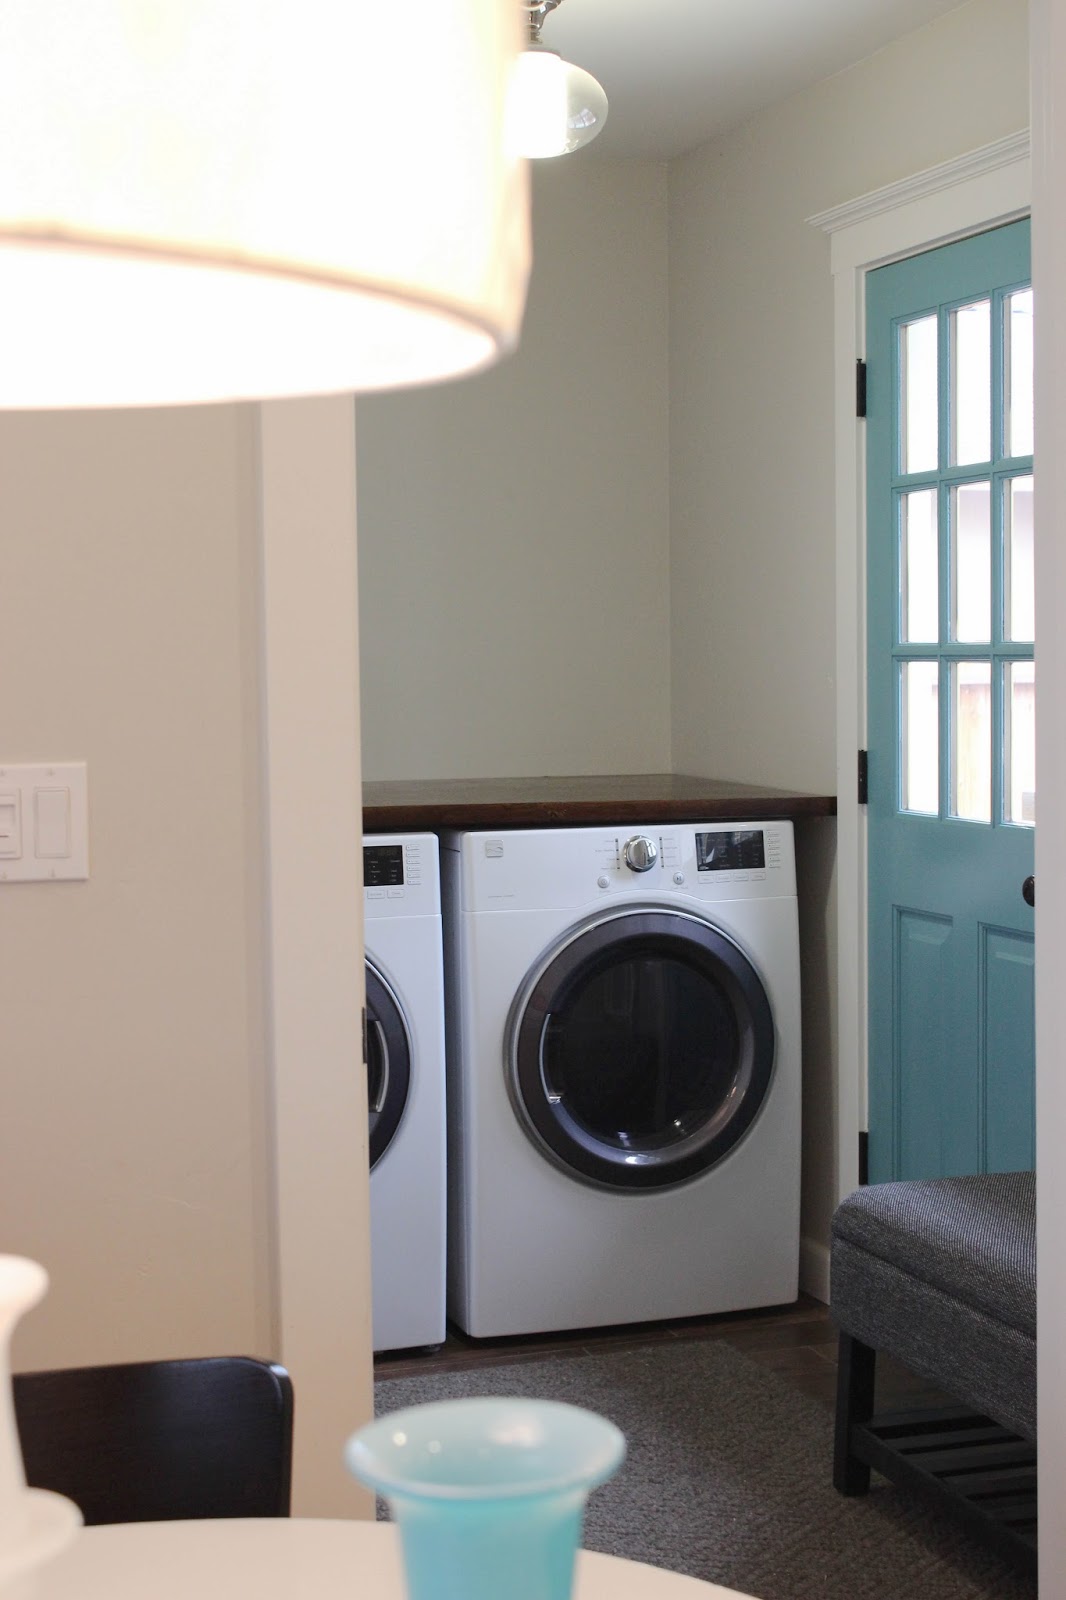
Next on our list for this space is to add cabinet storage, shelving and possibly a back splash. I'm still tossing around ideas: subway tile, colorful wall paper or stencil? Once the bench has been recovered in more 'me fabric' and I add more storage for 'mudroom essentials.' So happy with decided to tackle our laundry room counter on a whim.
*Update: We chose not to nail our new counter top in place, so its floating above the washer and dryer, we figured if we ever needed to make any repairs it would make it easier by being able to remove the counter top *
What do you think of our DIY Wood Counter top? Have you started any laundry room updates to your home recently?










Looks great Katrina :) xo Kristin
ReplyDeleteThanks Kristen :)
DeleteI love the stain and it is amazing how 'finished' it makes the room look. Love it.
ReplyDeleteElizabeth, your so right its funny how adding the Countertop makes the room feel done!
DeleteLooks great. Love the color stain as well.
ReplyDeleteThank you Erin!
Deletelove that door color in the room the most...but the countertop is perfect too. I like that you went dark. it really looks so good against all the light!
ReplyDeleteThank you! The color of the door makes me smile :)
DeleteLove the color of the door and how it adds that pop of color. The countertop is great and a great spot for folding. I like the idea of doing a stencil on the walls.
ReplyDeleteThanks Darnetha! i'm leaning towards a stencil on the back wall too, once those cabinets and shelves are up, I'll have a better idea of what direction to go :)
DeletePerfect form and function! I love the color of the stain! I think you should tile this wall and stencil the other wall! Just my thought... whatever you do will be amazing!
ReplyDeleteOooh a combo! Good thinking - i might have to twist my hubby's arm to get him to agree to a stencil or backslash lol :)
DeleteLooks prefect! I'm so jealous of all the gorgeous laundry rooms I have been seeing in blogland lately!
ReplyDeleteThanks Julia! The blogland is full of so many crazy amazing laundry room its mind blowing! This is my feeble attempt to make it work for for us lol :)
DeleteLooks fantastic!!
ReplyDeleteThank you!
DeleteI love it! I really neeed to do this in mine! Does your washer move when it cleans? mine does and it drives me bonkers! I constantly have to push it back in its place..
ReplyDeleteThanks Sweetie :) Our washer and dyer stay put and thanks to the ledge that holds up the counter we hear no wonky loud vibration noises - I do need to push the washer and dyer all the way together -- I'm actually hope there's just enough room to squeeze an organizer on the side, but this space is pretty narrow
DeleteI was so excited to read this post as I just recently have been making some laundry room updates too. I like yours way better than mine though, haha! I took a thin piece of plywood and I just painted it white and sat it on top of my machines. It's nice to have a bigger surface to fold and a more secure place to set things, but I do still lose things behind the machines soooo that's not great. Your countertop looks so nice with that rich, brown color. I'm saving the picture for inspiration. :)
ReplyDeleteThanks Morgan! While we adding the trim to holdup our counter, I saw so many lost socks already lol glad we now can avoid that! I'm sure yours looks great!! Anything to add practicality into a space is perfection!
DeleteLOVE IT! The wood counter top is beautiful! And that teal door is everything. I'm excited about the progress of your laundry room. Can't wait to see what else you do with it!
ReplyDeleteThanks Nicole!! The door makes me smile too :) So happy its feeling 'more finished' :)
DeleteThis looks amazing. Love the stained wood and that door just makes me smile. Such a great space. I'm pretty jealous, actually.
ReplyDeleteAhh Kim! thank you so much!
DeleteCan you share some details about that front piece of trim? Was it just a 1x2 or something else that you nailed into the front? I'm interested in doing a similar design for our laundry room. Looks great!
ReplyDeleteThanks!
Hi Mike - Yes we used a 1x2 piece of red oak trim that we nailed to the front of the board, it really makes our laundry room counter top look like a thick piece of wood and more custom. Please let me know if you have any other questions! :)
DeleteI know this was a few months ago, but can I ask how long your countertop is? I'm trying to do the same with our laundry room and I'm unsure if I need a middle support.. I think it should be fine, but I'm trying to see what others have done.
ReplyDeleteHi there! I will measure the counter tonight and let you know! Please let me know if you have any other questions :)
DeleteHi Katrina,
ReplyDeleteI'm wondering how you were able to fit the counter between your walls? Did you have to take off the door trim? It looks pretty flush up against the wall which is what I'm going for, but I'm afraid that I'll have to take off my door trim to do so. I'm avoiding that at all costs. Is there a best way of making the counter fit without taking off the door trim?
Hi! Sorry for the delay in answering your questions (I've been doing a bit of traveling)
DeleteIn order to fit the counter top in the space we lifted the wood and sat it down diagonally down on the ledge, this allowing us to leave the trim on! It was a tight fit getting the counter top in place, since our walls are definitely not straight and the wood was cut straight, so there are a few gaps here and there - we are considering adding some trim to make it appear flush next to our walls.
Love that door! Do you remember the name of the color? :)
ReplyDeleteThanks Megan! The color is Bali Bliss from Behr!!
DeleteReally like your project and would like to do something very similar. I looked over the reviews at the link you provided for the plywood you used and they are all really bad. I was wondering if you had any similar problems when working with it or if you have noticed anything since. The problems mentioned are that this sheet of ply warps easily, that it has numerous voids, that the veneer is almost paper thin which may not allow for much sanding and the wood can easily bubble up, etc.
ReplyDeleteHi, thanks for the great questions - we haven't had any issues with the plywood you mentioned for this project, but like all plywood its not solid wood. The Red Oak plywood we used is actually a better quality plywood than most and gave us the option to be able to stain, which is what we wanted, I hope this answers your questions.
DeleteYour plywood appears to have a finished edge, looks like a solid wood edge, not like the standard plywood edge in the link you provided. How did you accomplish that?
ReplyDeleteHi, I used a 1x2 strip of red oak wood and nailed that to the edge of the counter top, which help make the plywood look more like a solid piece of wood.
Delete