

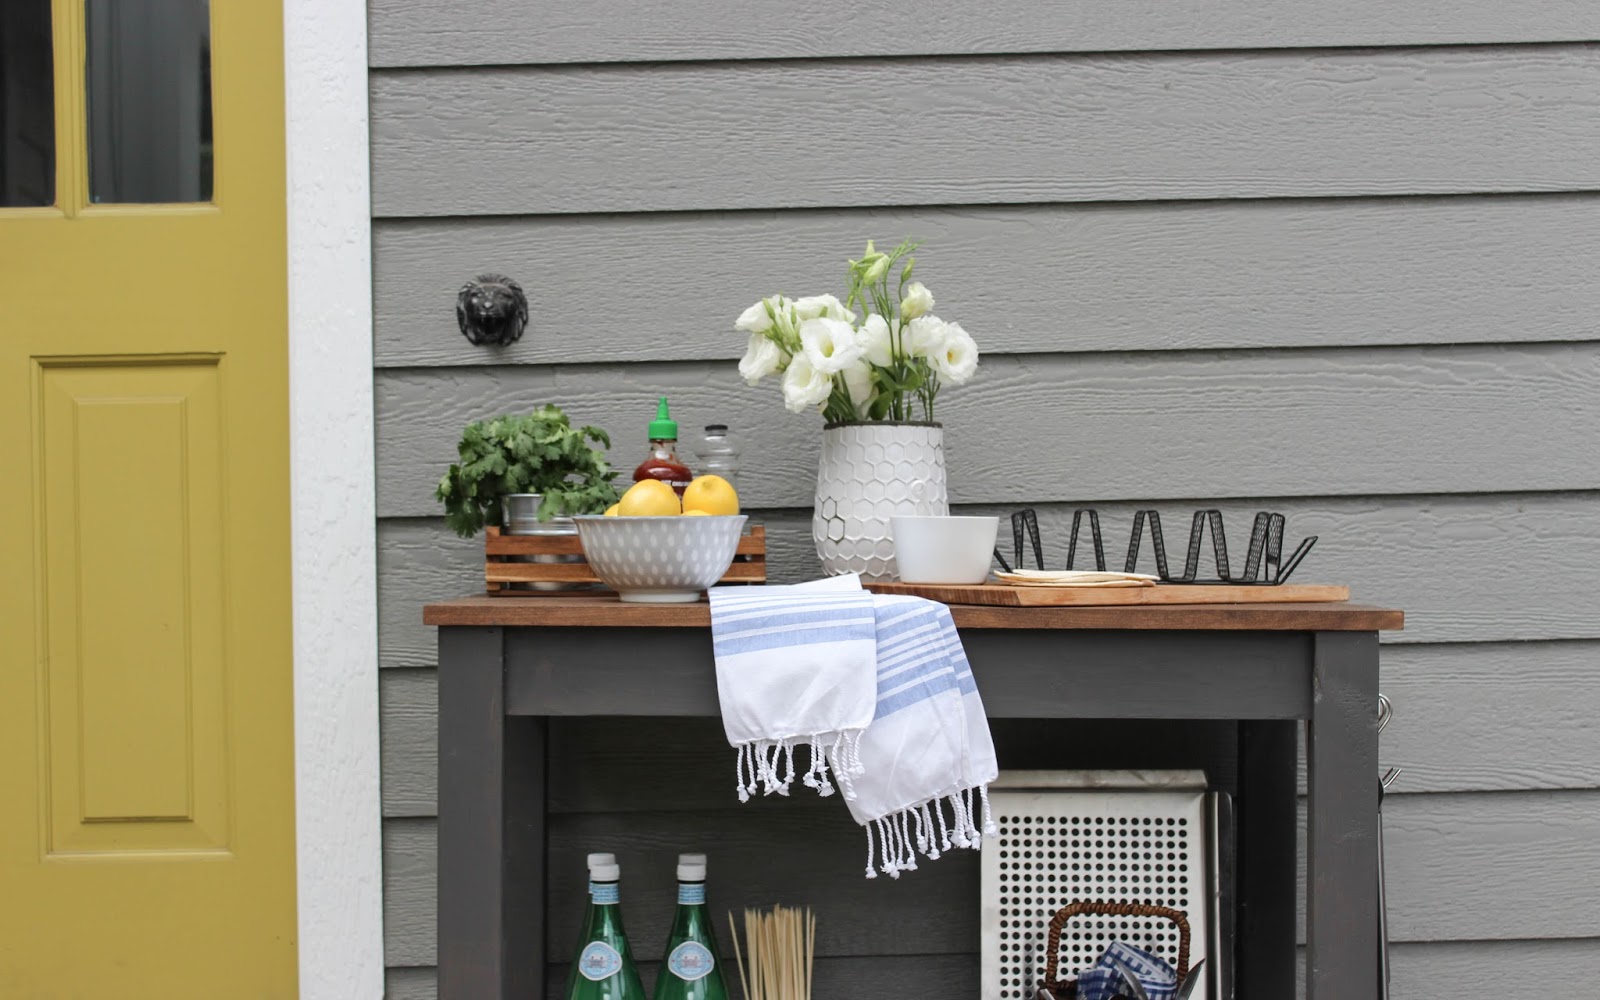
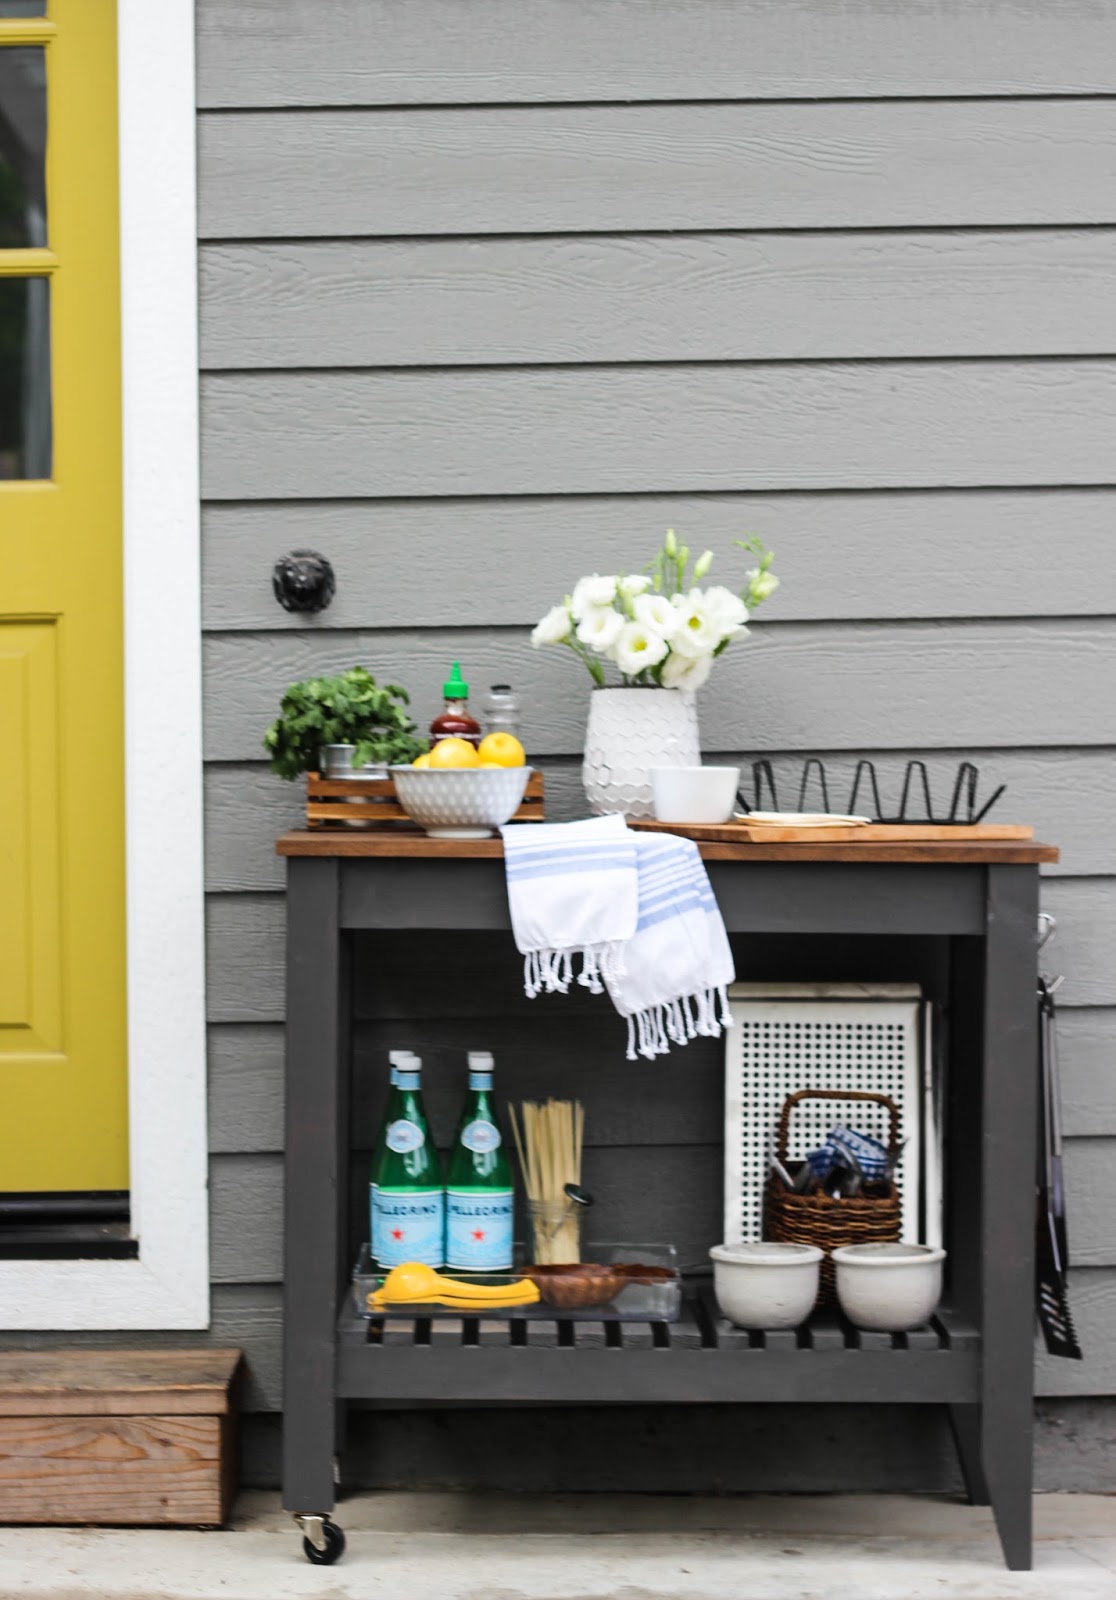
Using the initial design plan, I re-worked the BBQ Cart to for our needs. We built the BBQ Cart using a Kreg Jig to build the frame, the Kreg Jig creates pocket holes which allow for all screws to be hidden and creates extra strong joints. For our cart, we attached two wheels in the front and cut the back legs at a 15 degree angle to enhance the design or the cart. The bottom half of the grill cart was built using framing studs, 1x2, 1x3 and 1x4 boards.
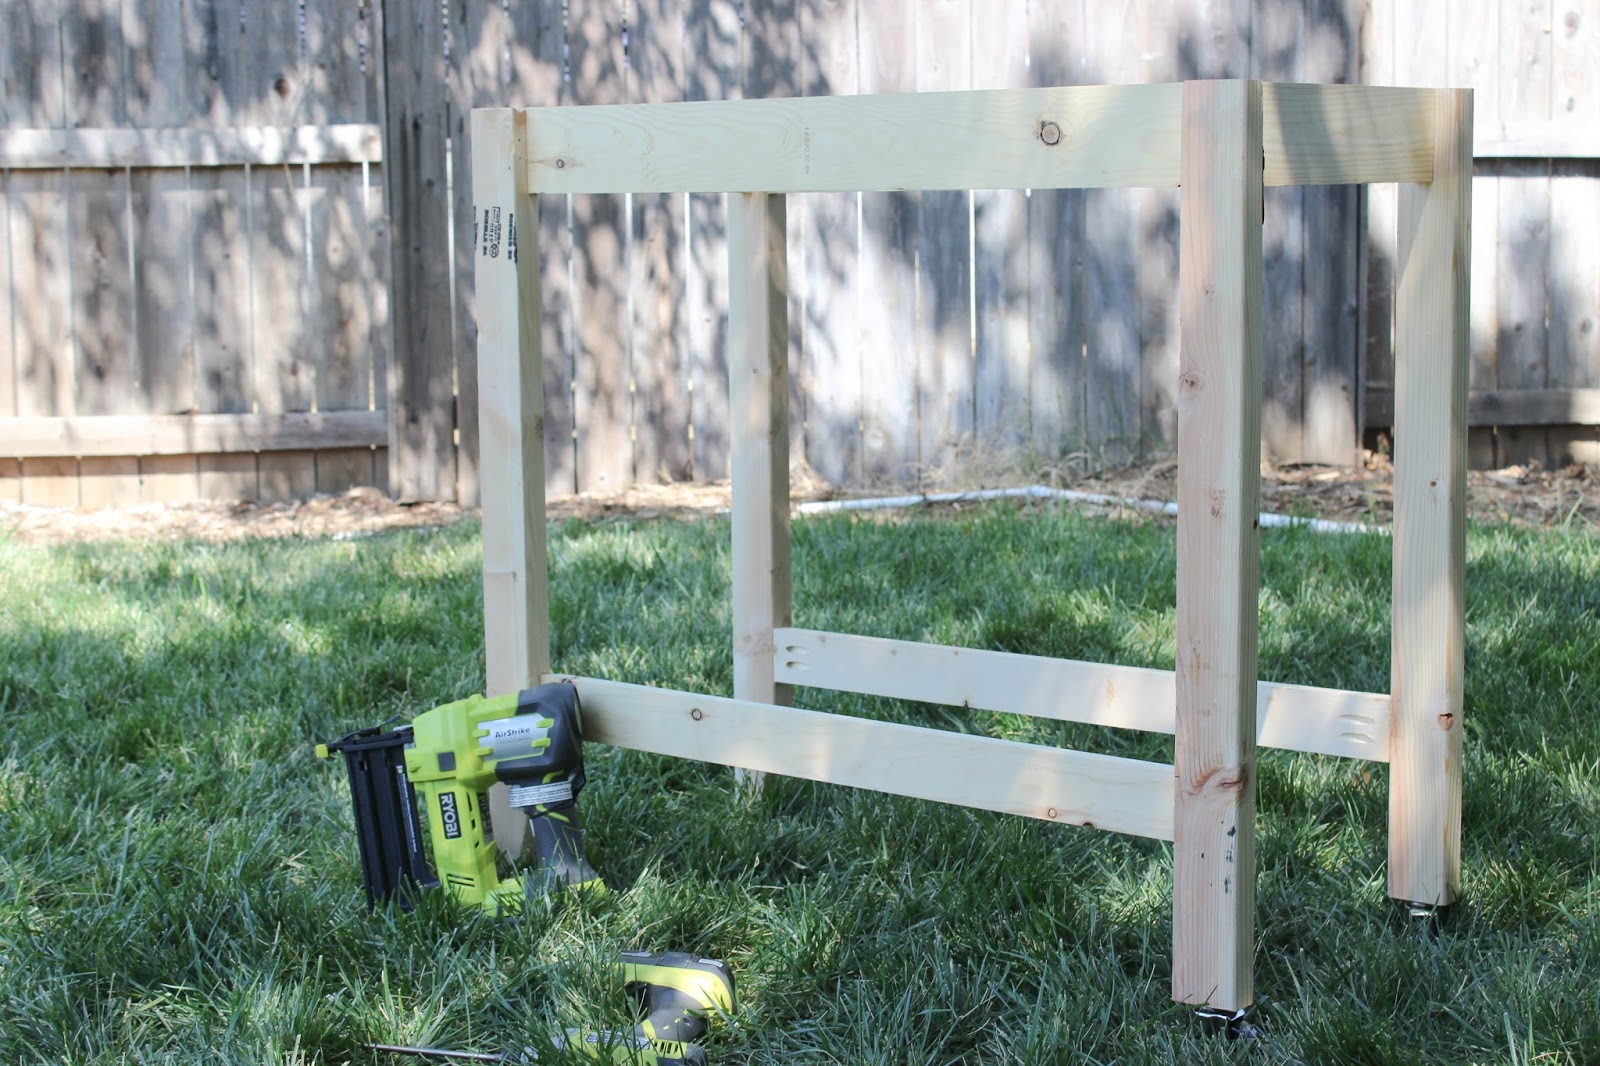
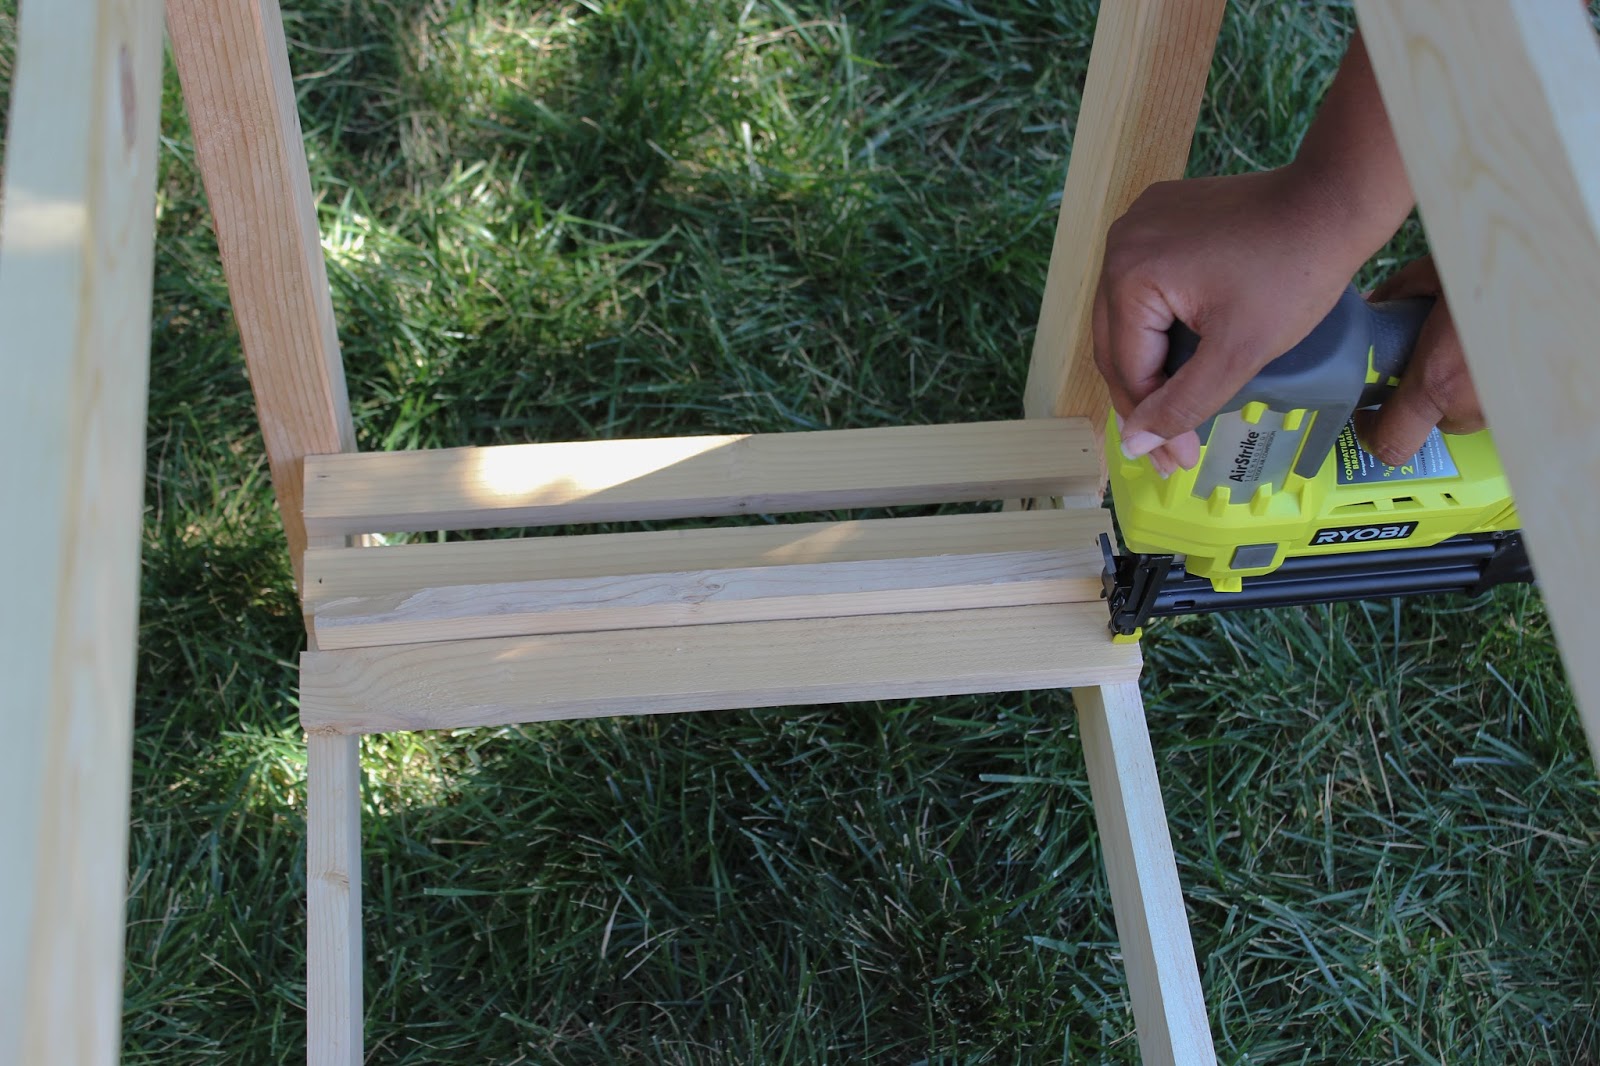
To attach the bottom slats on the cart, I used our Ryobi nail gun, and placed an extra piece of scrap wood between each slat to use as a space. Using the scrap wood as a spacer, cuts down on the measuring time.
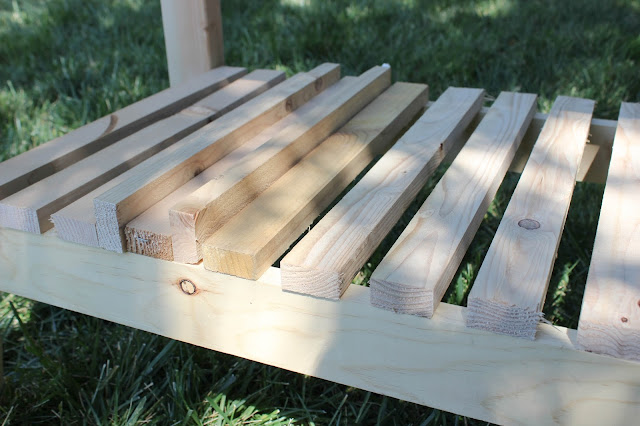
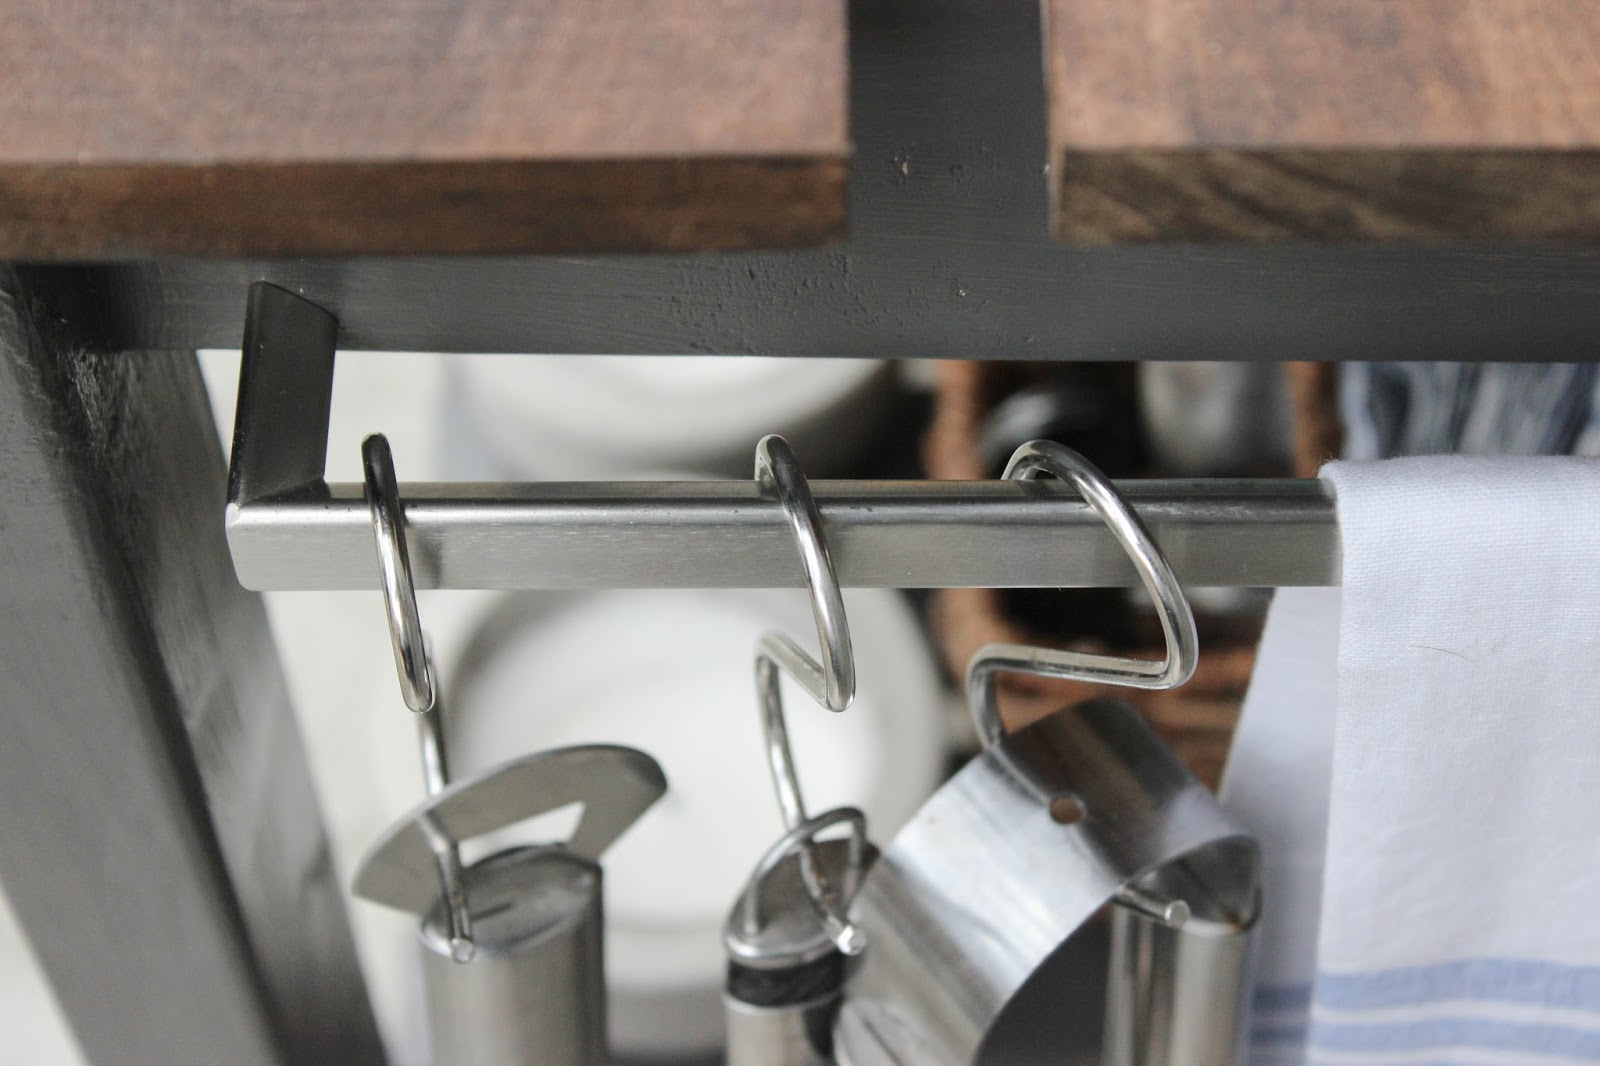
After the the top and bottom slats on the cart were attached, I filled the nail holes with wood filler then sanded the entire frame using a Ryobi orbital sander to create a nice smooth surface. The lower potion of the BBQ Cart is painted Intellectual Grey, by Behr Paint, using exterior satin paint. We wanted to using a dark grey,that would compliment the exterior colors of our house. I think we found the perfect color, its such a pretty deep rich grey. On the side of the grill cart, we attached an extra long drawer pull to hold towels, and tools.
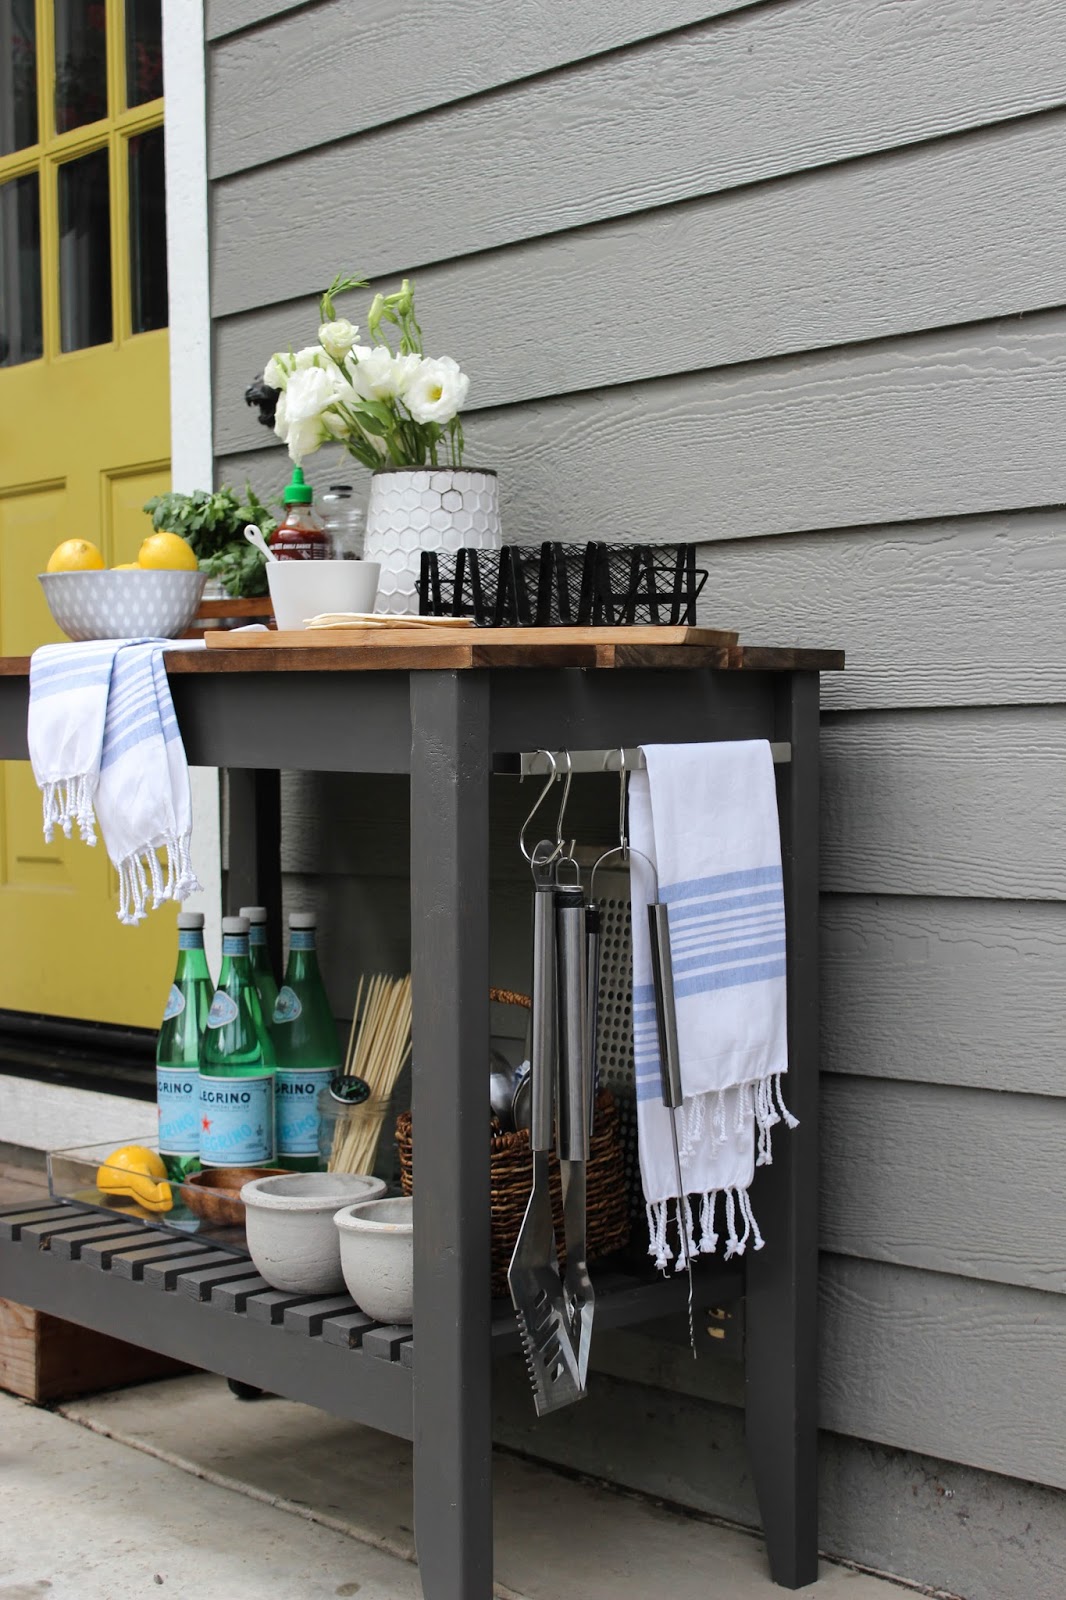
For the top of the BBQ Grill Cart, we decided to use Cherry Wood, which is such a pretty piece of wood and looks even better when stained. Top top was stained with one coat of Jacobean using a lint free cloth. A wood spice rack is the perfect addition on top of the cart to help hold BBQ Sauces, Spices and fresh herbs.
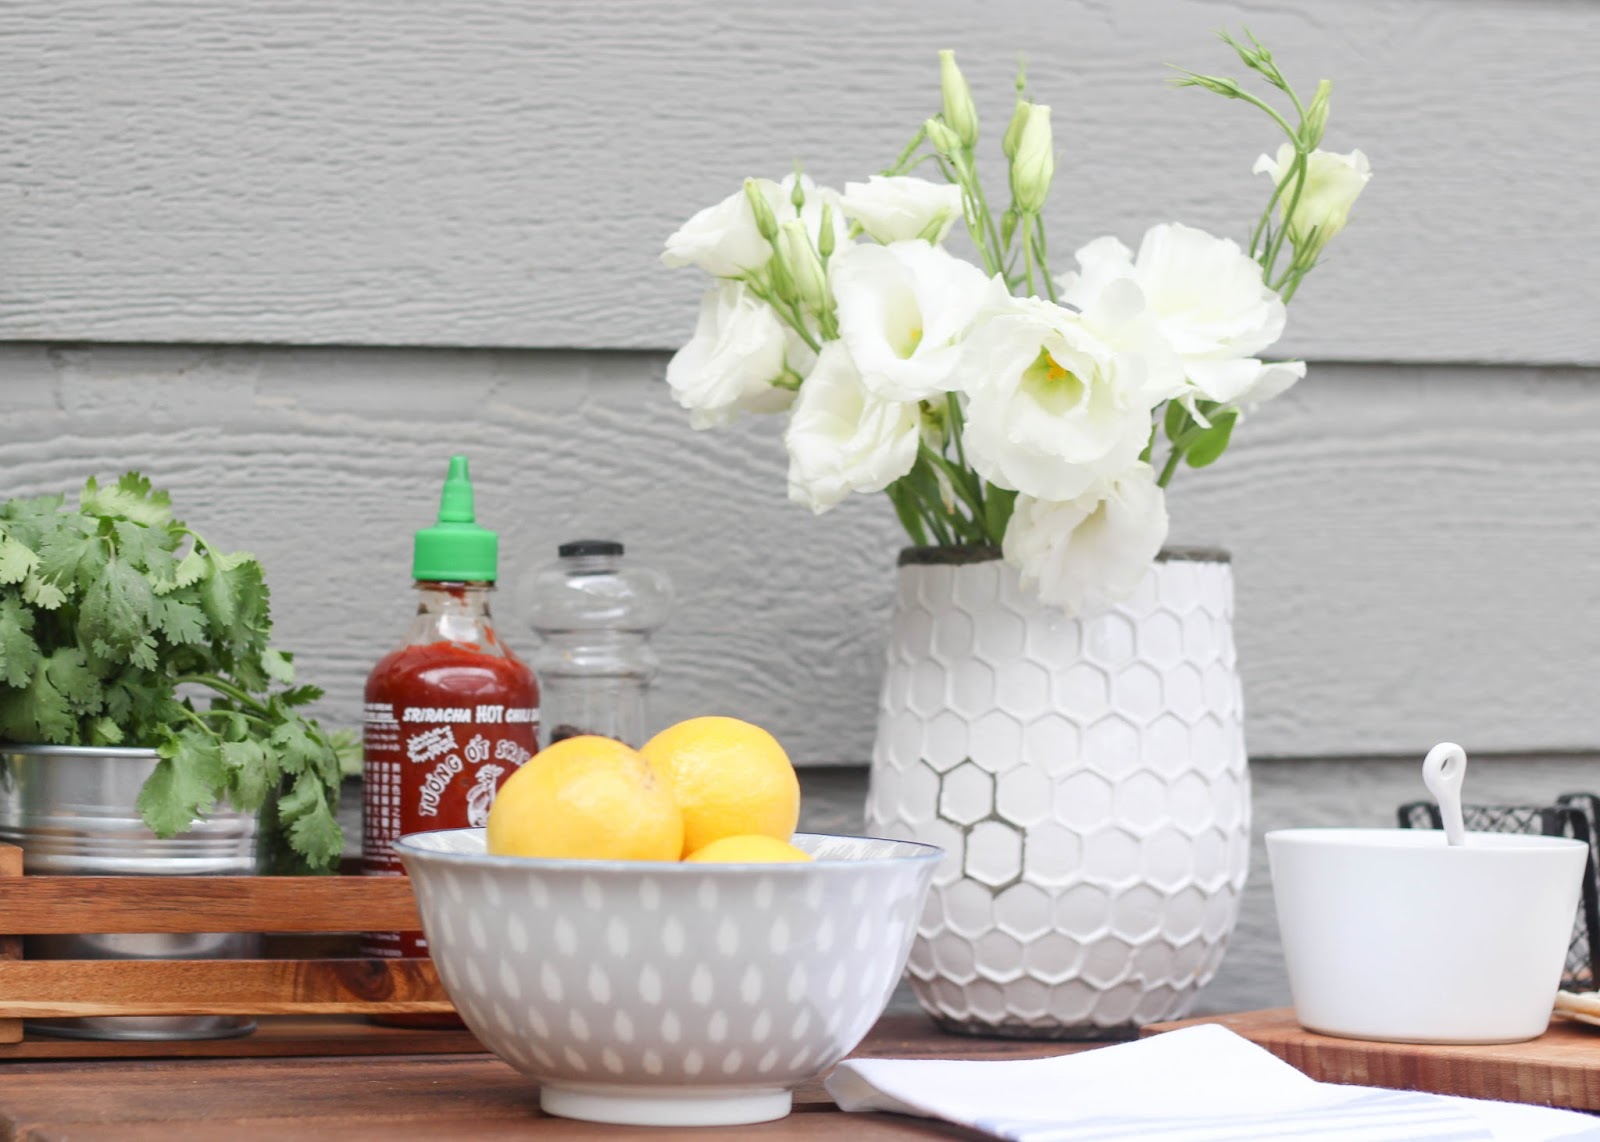


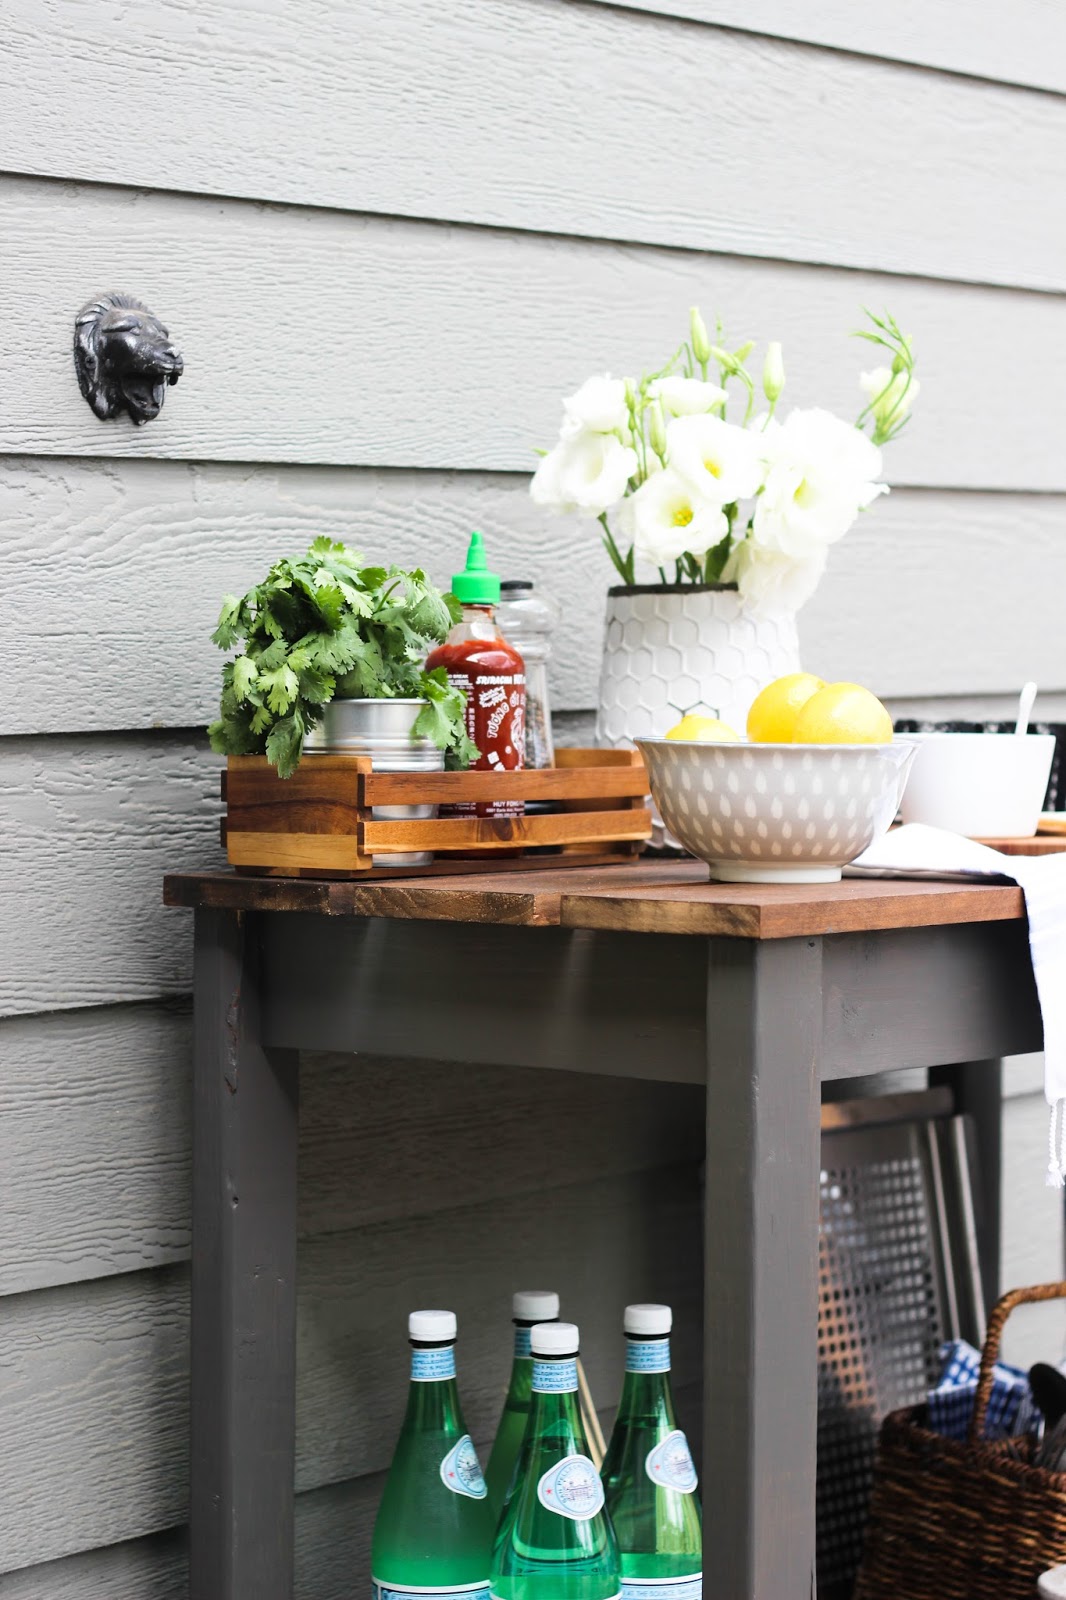
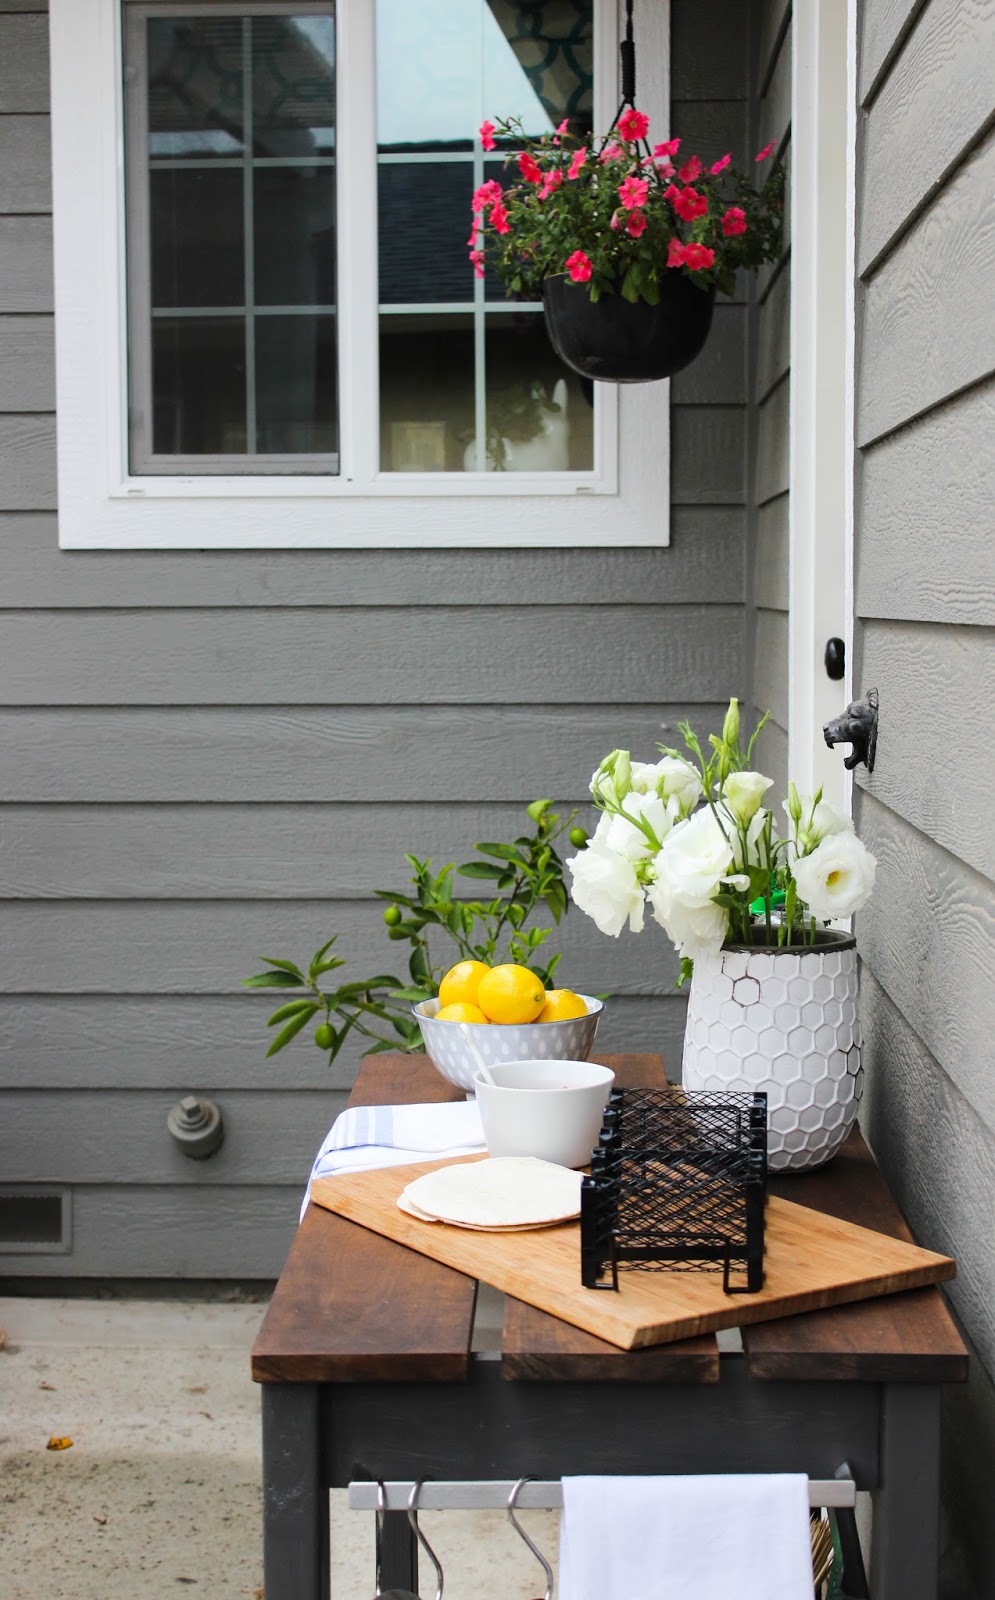
I layered a wood cutting board on top of the BBQ Cart, for cutting and assembling food, having a removable working surface allows for easier clean-ups.
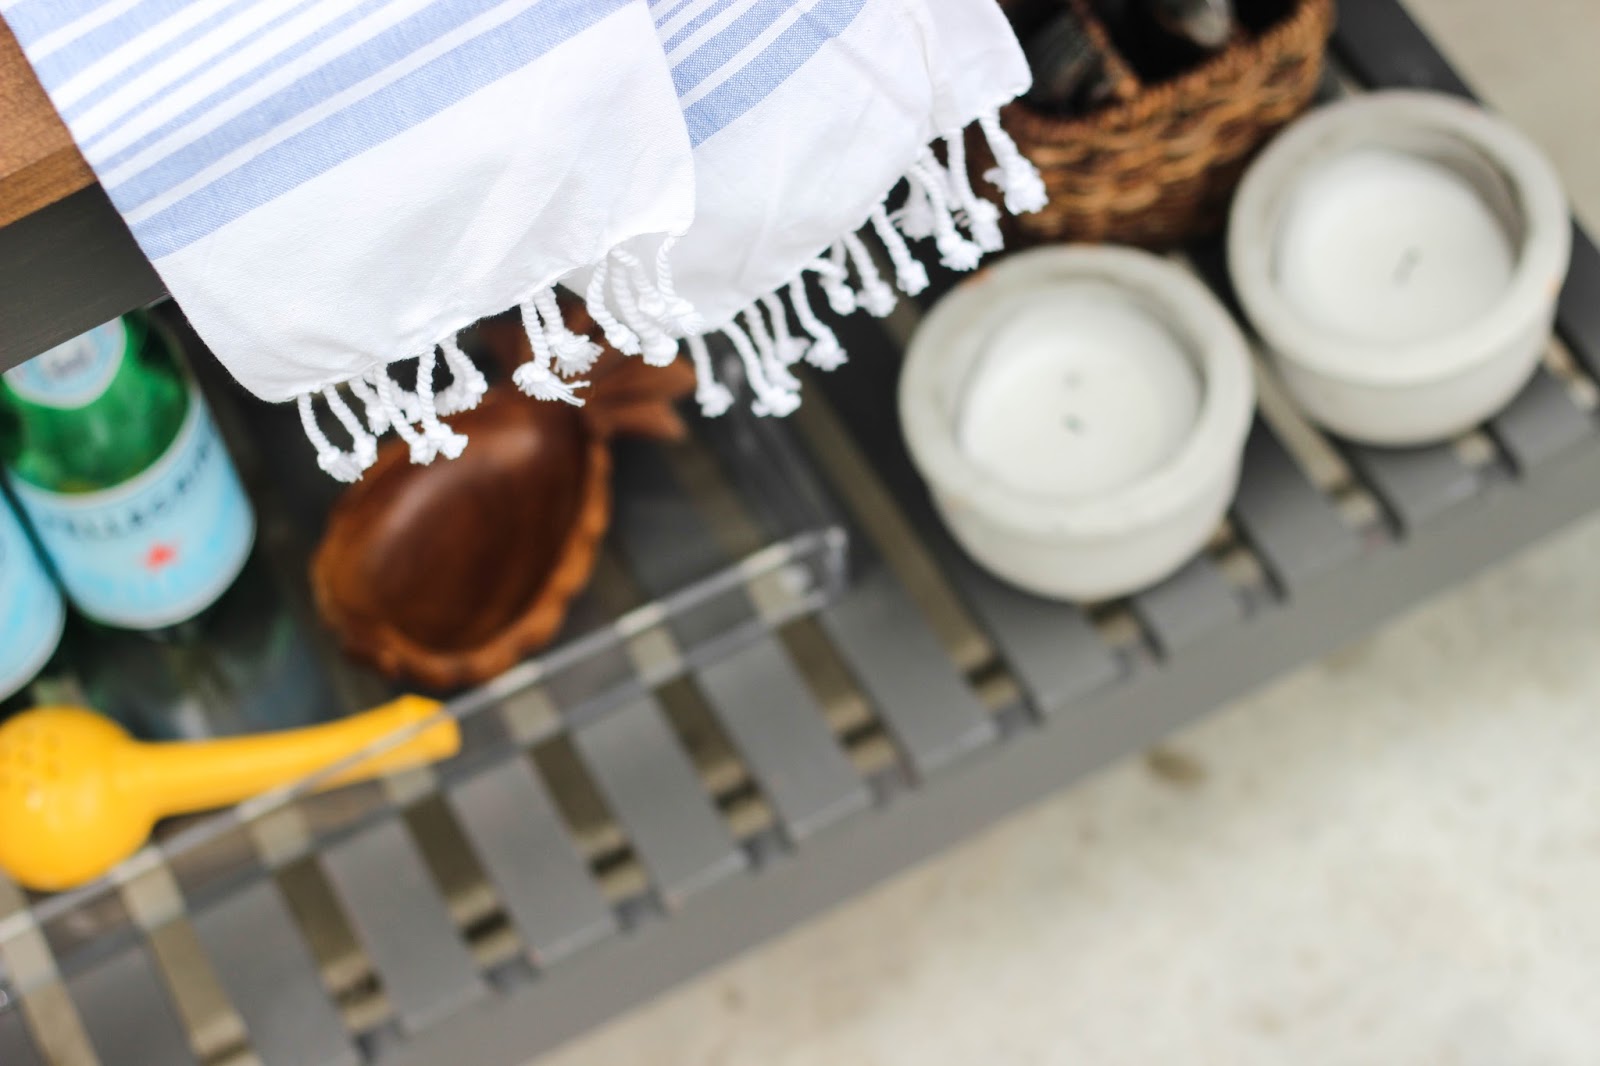
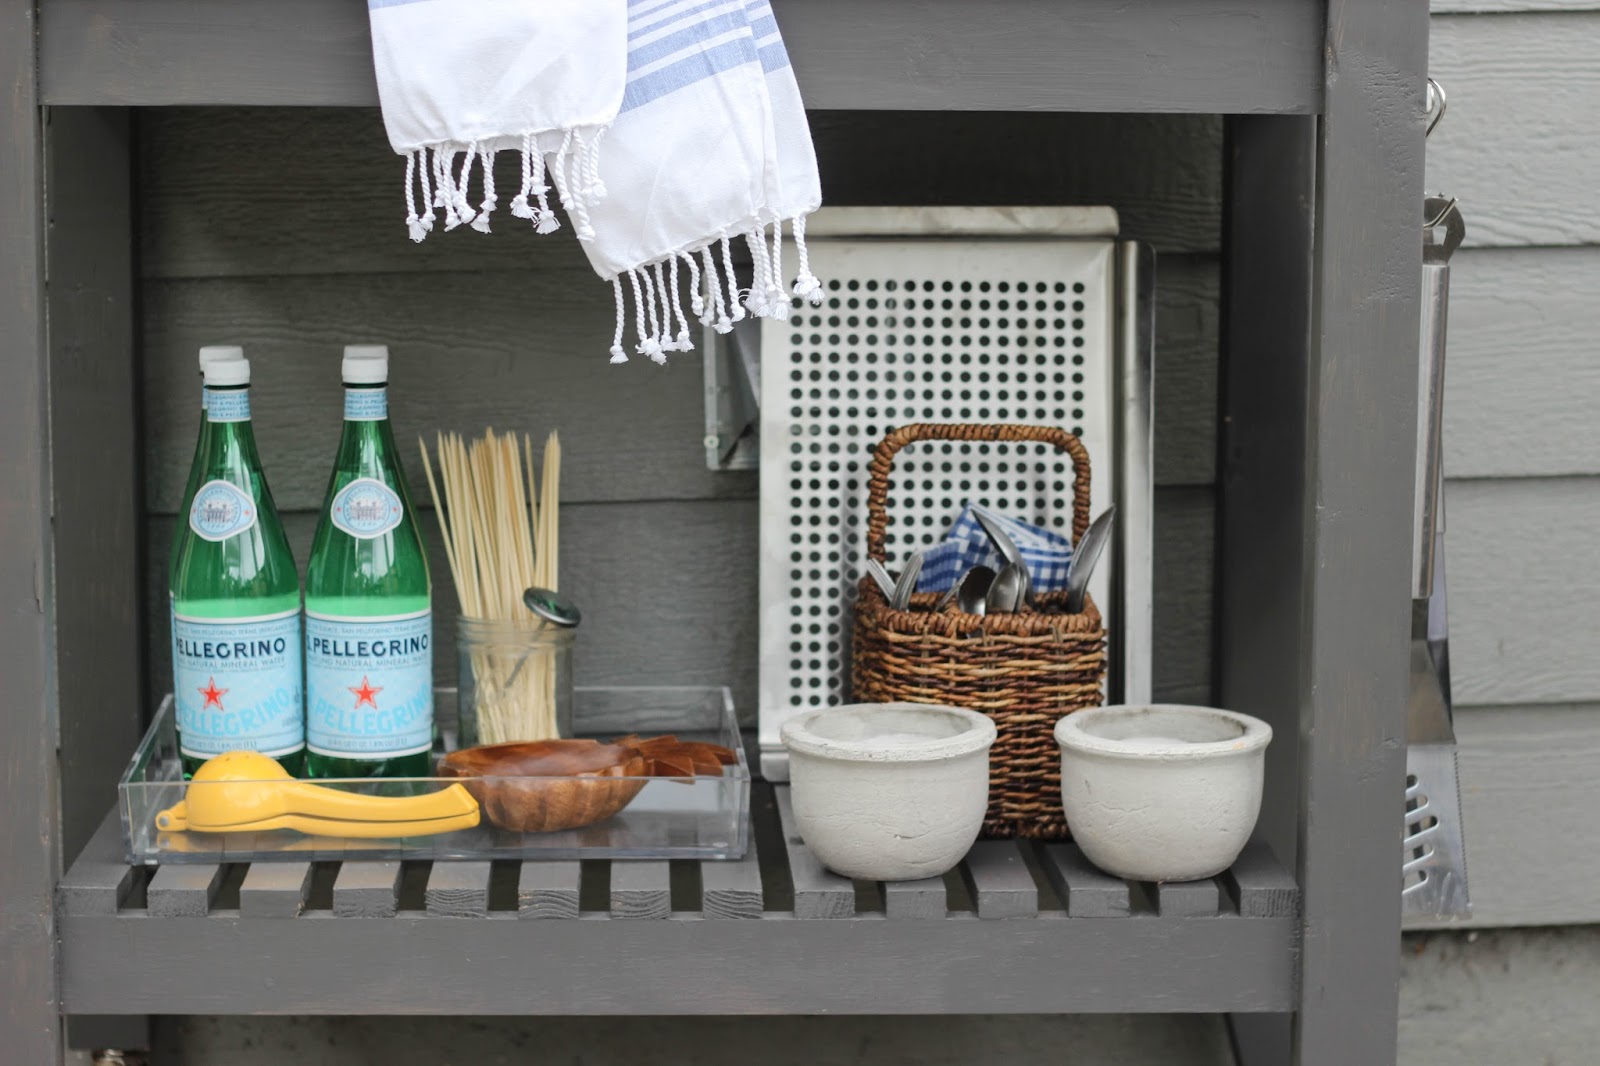
The bottom shelf of the BBQ cart is perfect for holding misc cooking gear along with candles, utensils and drinks. I'm a huge fan of using trays indoors and out to help corral items. On our cart, the clear tray is used to hold drinks, skewers, lemon squeezer and thermometer.
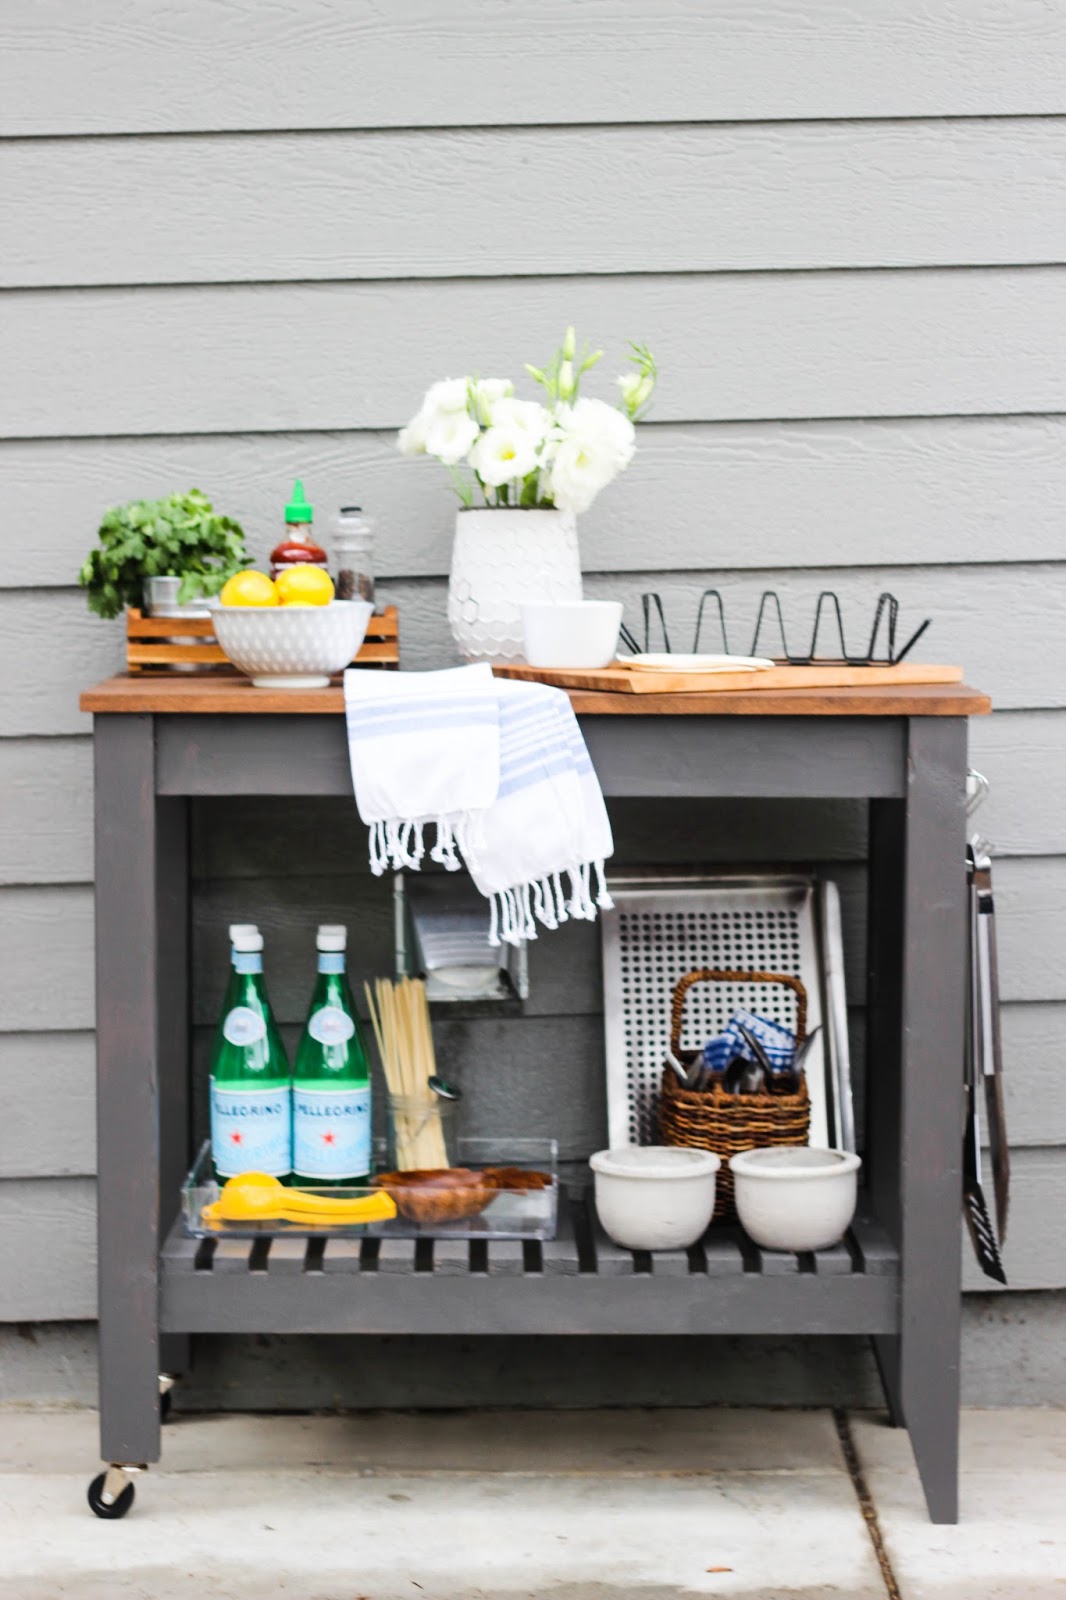
Our BBQ Grill cart, we built is bar far one of my favorite DIY building projects to date, I love how our cart turned out and how versatile it is doubling as extra cooking space and a full bar cart when needed. We bought a small grill cart cover to use to cover it with when not in use, which already came in handy we received lots of Summer rain last week.
Quick Reminder:
The Home Depot DIY Workshops are typically held on Saturdays and Sundays throughout the month are all about skill-building, from teaching how to tile, outdoor projects and fun seasonal projects, associates are on hand to answer questions you may have. Please Click Here to Register for the FREE DIY Workshop: Grill Cart
Join Me! Saturday June, 2015 at 10:00 am - 11:30
The Home Depot Denver Store # 1532
3870 Denver, Colorado 80207
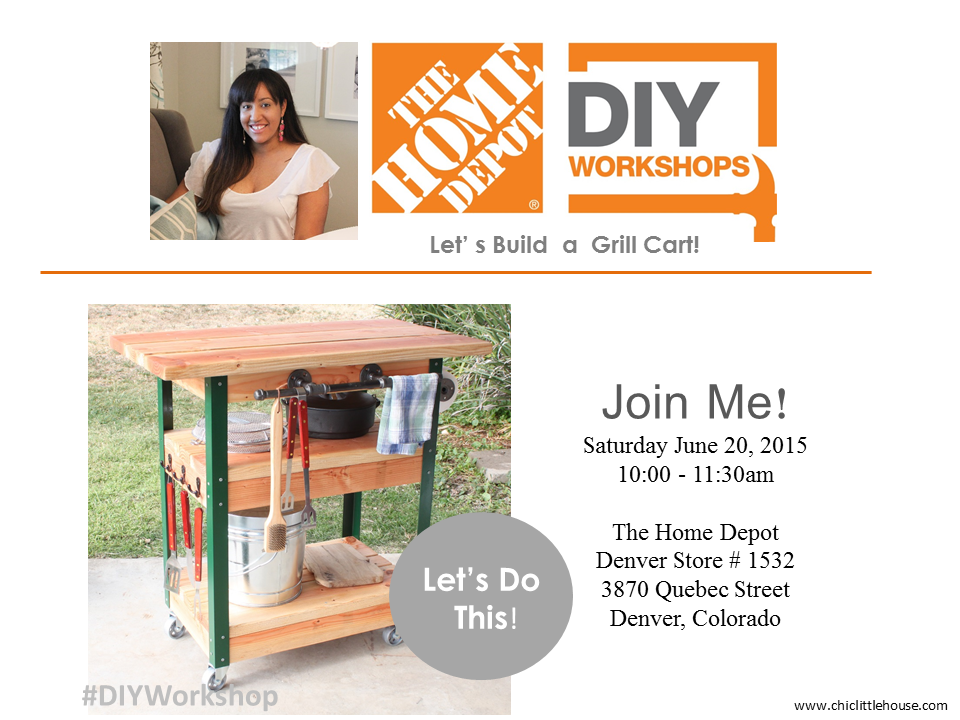
Not local to the Denver Colorado area? Please click here and register for a DIY Workshop near you! Also follow along on my Instagram /Twitter and Facebook on June 20, 2015 and use the following hashtag #DIYWorkshop to share and see what I'm up to.
Looking forward to seeing you this Saturday!!











Your pictures are so pretty, Katrina! I love how your cart came together. The colors are perfect. I bet it's really convenient to have around.
ReplyDeleteThank you so much Brandi, I'm so happy with how it turned out and can't wait to use it all the time when we grill outside or have friends over to turn into a bar cart!! :)
DeleteWow! It looks great. I really need to get a few tools that are easy for me to use… I can easily use my dad's construction grade (and freakishly large) tools but I need smaller versions, I'll have to check into Ryobi. But I just adore the cart. I need to show this to my hubby!
ReplyDeleteMegan thank you so much!! Using both the Kreg Jig and Ryobi along with a miter saw to make the cuts made this project move so much faster!!
DeleteThis is exactly what I need for grilling. Now I need the nerve to build it.
ReplyDeleteHi Tiffany its perfect for grilling + serving drinks on, I plan on sharing more details of how it was made very soon :)
DeleteSo pretty and functional. Love it
ReplyDeleteThank you Julia, I'm so happy with our it compliments our space!
DeleteI love how it turned out! The wood cutting board on top is so clever. Have a great time in Colorado :)
ReplyDeleteThank you so much!! Colorado should be fun & quick!
DeleteThis looks so perfectly at home there. Love the color and the wood tone top. Really chic.
ReplyDeleteThanks Kim, its exactly what are space needed, so happy to have this new hard working addition!
DeleteLove it! Great job!
ReplyDeleteThis is perfect but do you happen to have any additional information on how you built it? Would love to re-create!
ReplyDeleteHi Heather! I'm putting together an in-depth how to, but in the meantime please fee free to email with any questions you have and I can give you a break down on all the measurements and cuts!
Delete