


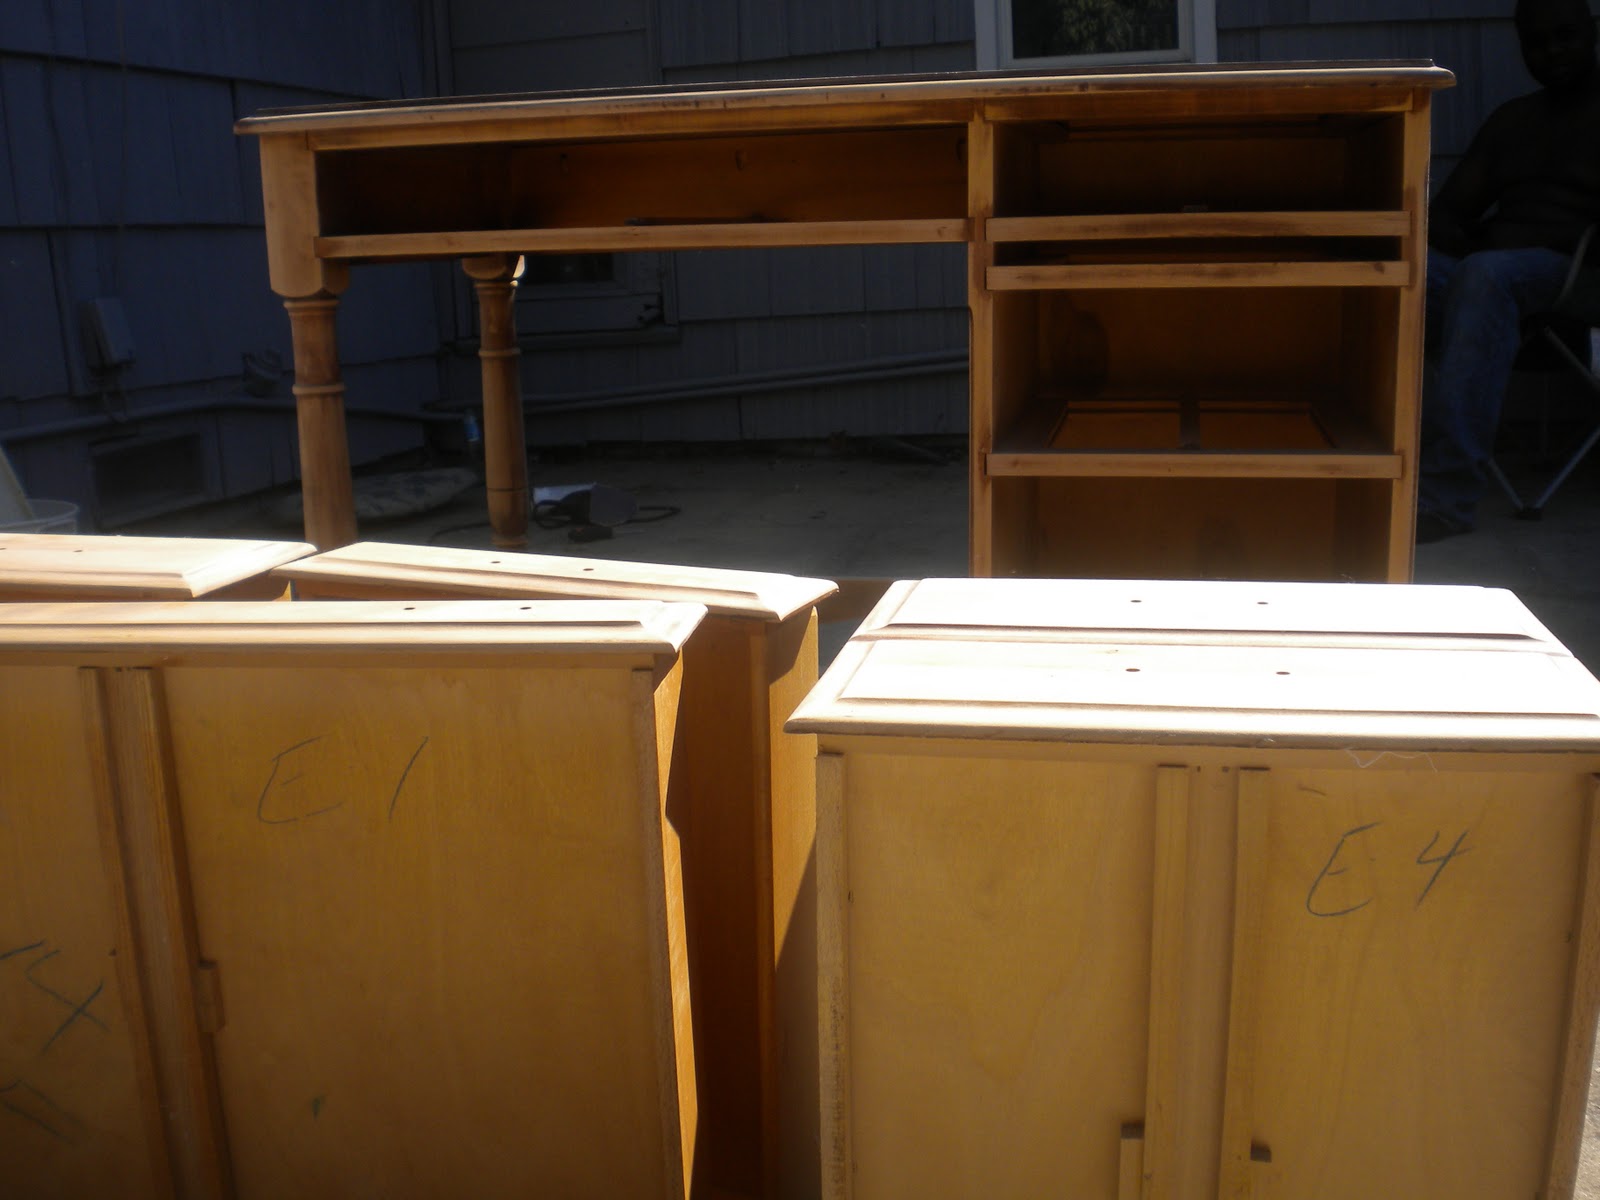
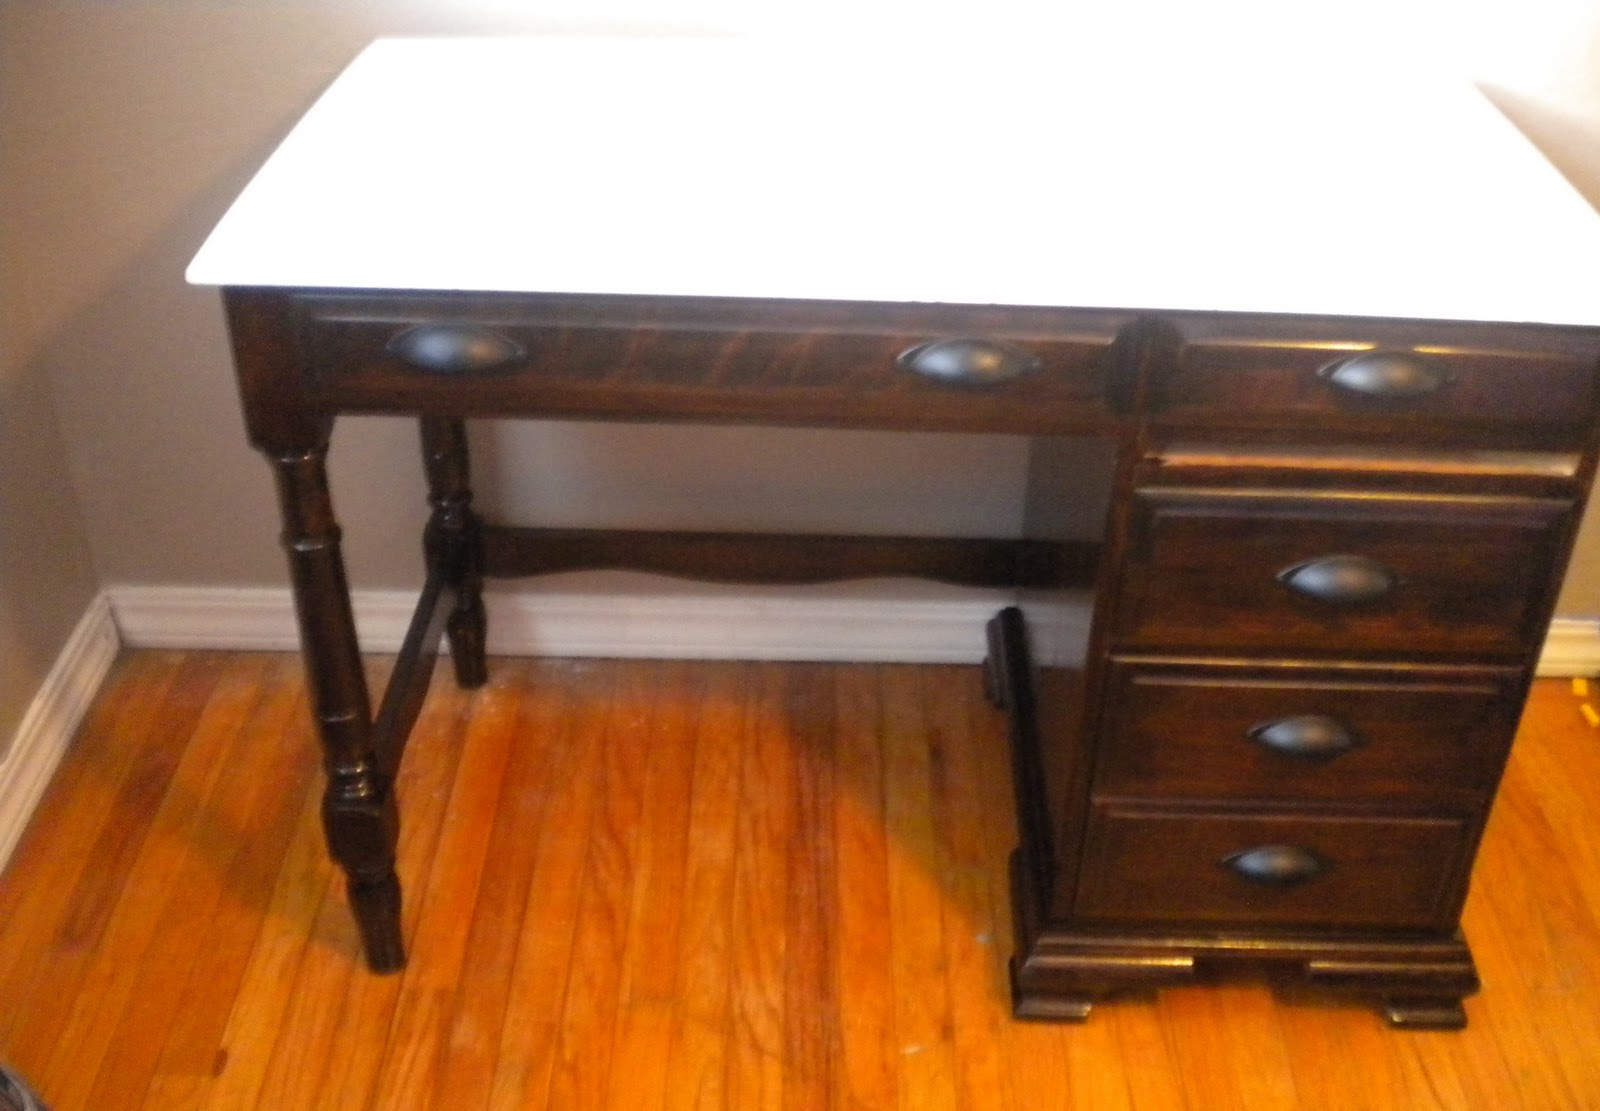
This desk was a hot mess: missing hardware and lots and lots of writing on the top of the desk and a funky box on the bottom of the desk. Even though it was a hot mess, I loved the vintage lines of the desk which gave it more charm. The desk was also a solid piece of furniture, all wood (except the very top) and super heavy.

After we refinished our dining room table, I received a lot of emails about the steps refinishing and sanding etc. Since I slacked and didn't do a how to post then, I created one for the desk.
How to Refinish a Desk
Like any painting project or staining project, clean the wood with a soapy water and a clean rag, and let dry.
Sanding
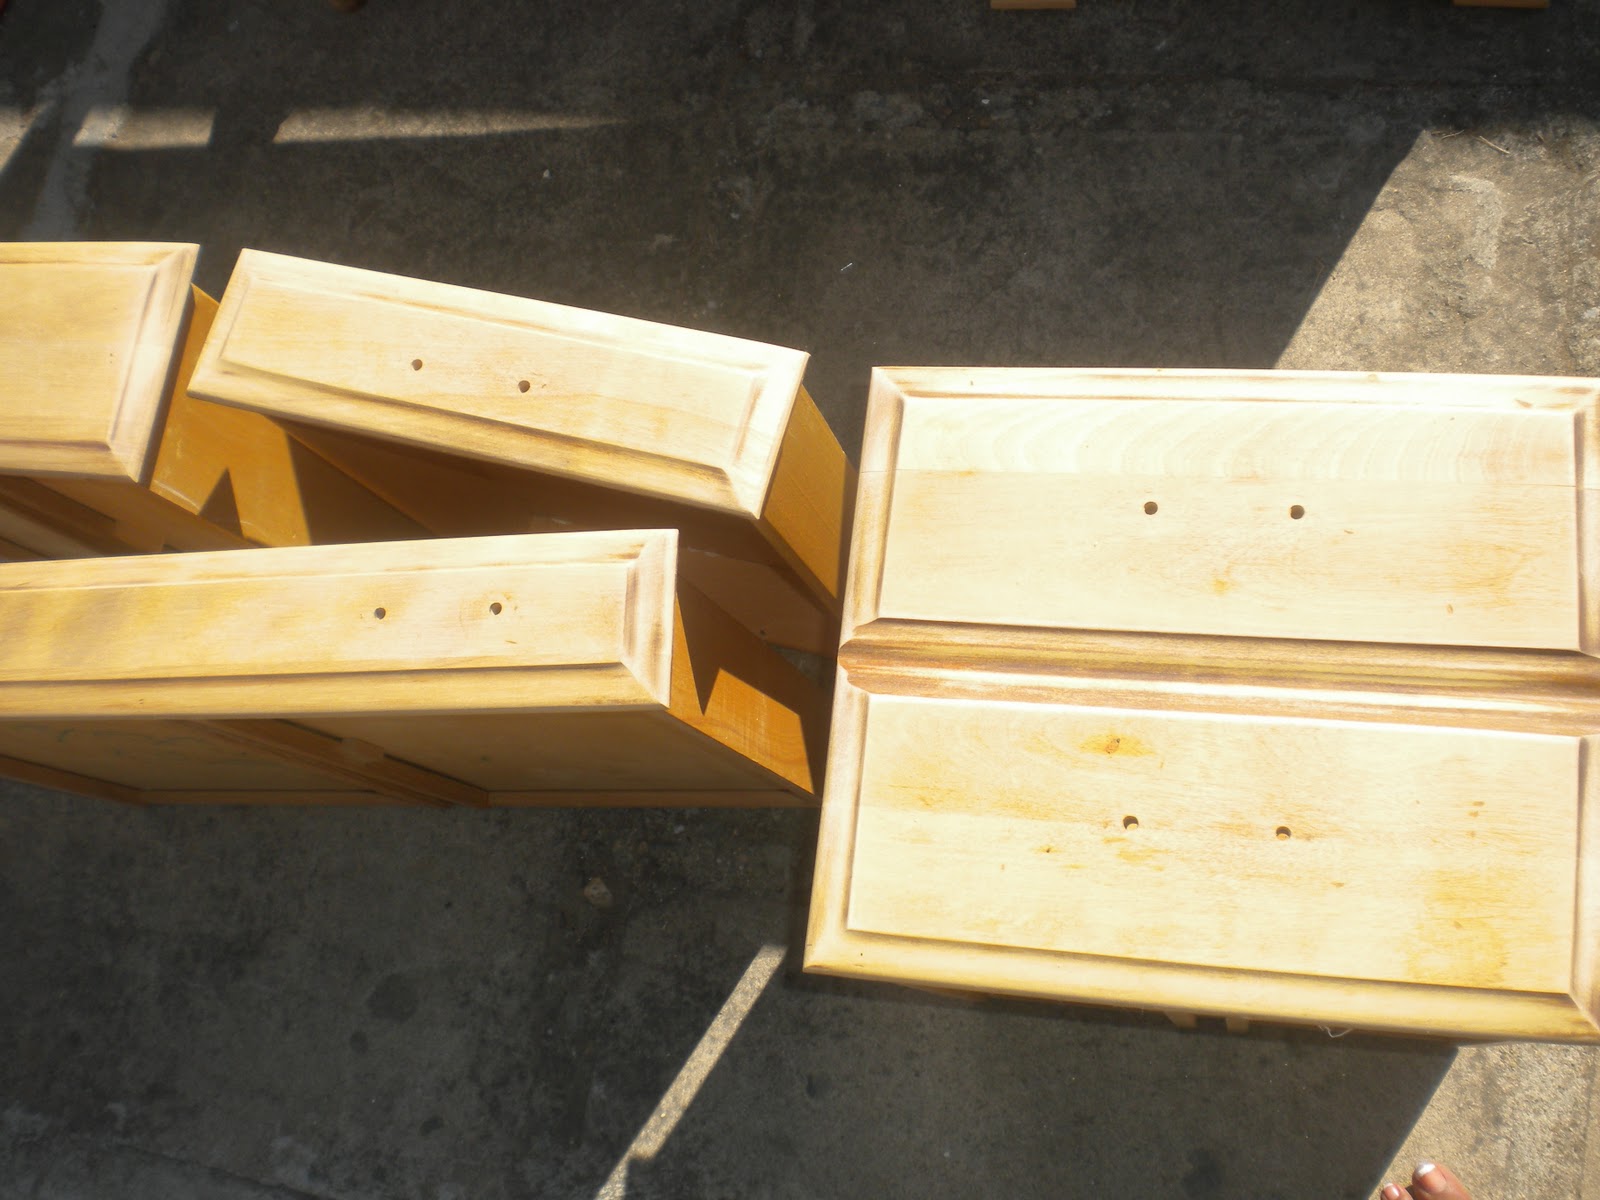
I sanded the entire desk with out Black and Decker Mouse power sander, I used 60 grit sandpaper. I made sure to sand in the direction of the wood grain, when you sand in the direction of the wood grain you get a nice smooth finish. I used a combination of the power sander and hand sander. Next I sanded the entire desk and drawers with a 220 fine grit sanding block, which leaves a nice smooth finish.
Staining
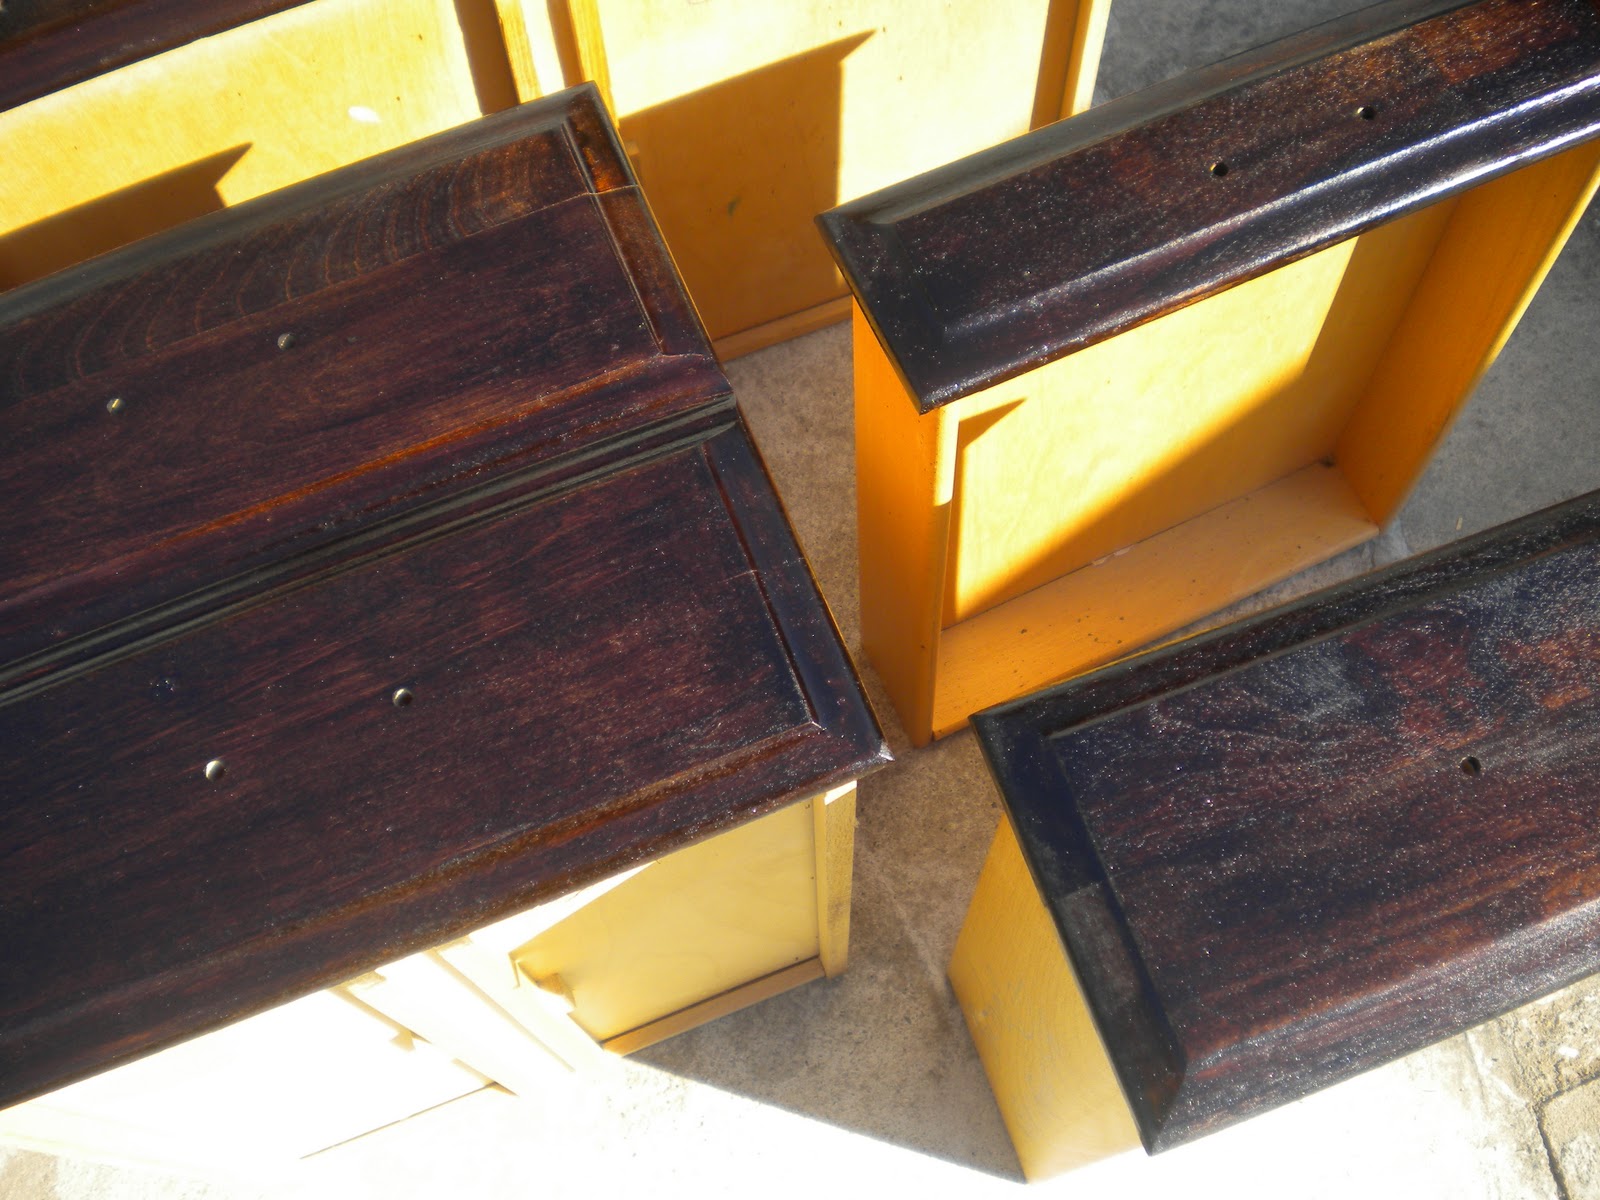
I love the staining part of this project the best, this is when you see all your handwork payoff. We used Minwax Wood Finish Dark Walnut 2716, fortunately we had left over stain from our dining room table project. I applied the stain with a brush going the same direction of the stain. I took my time applying the stain to the desk and made sure I made to drips on the desk finish. The directions recommended waiting waiting 5-15 minutes before wiping away excess stain. However I let the stain sit on the desk for 25 minutes so stain would really soak in. Then I wiped away the excess stain using lint free cloth, again wiping in the same direction as the wood grain.
I wanted the desk to be a nice rich dark oak, so I applied another coat of stain following the same directions as the first coat. After wiping down the second coat with a clean lint free rag, the desk was a nice rich dark walnut color I was looking for, so I only did two coats of stain.
Clear Coat
I let the desk dry 24 hrs and before starting the clear coat application. For the clear coat I sued Minwax Fast Drying Polyurethane Semi Gloss. Before applying the cleat coat gently stir the the polyurethane - do not shake. Wipe away all dust and then very lightly sand the desk in the direction of the wood grain using a 220 grit sanding block. Then apply a very THIN coat of polyurethane, I applied it using a sponge brush. The dry time on the label says 6-7 hours and then you can apply another coat, I didn't want the desk too glossy so I only applied one coat. I let the clear coat dry for 8 + hours and then again very light sanded the desk with a 220 grit sanding block. This stuff is smelly just like the stain, so I left the desk outside for 48hrs before bringing the desk inside my sons room.
Hardware
Finding hardware that fit the original wholes in the desk was a challenge! Most standard new pulls have whole spacing thats 3 inches apart, his desk and whole spacing that was 2.5 inches apart. I thought about drilling new wholes and filling the excitsing whole with wood filler like I did with my dresser (here) but I was afraid it might not stain properly. I used cup pulls for the dresser, which kept the vibe of the vintage desk.
For the top of Tabari's laminate desk I read YHL's instructions on using an oil based primer verses a water based primer (here) After I sanded the top of the desk, I primed the top of the dresser with 2 coats of Zisser Oil Base Primer using a sponge brush. I used two coats of primer because I wanted to make sure the writing has completely covered. I waited 30 minutes between coats of primer. Next I used a sponge roller and applied 2 coats of Valspar Gloss White Paint. Then waited and additional 24 hours to apply one thin coat of Clear Water Base Poly.
Here's Tabari's refinished desk in his bedroom. I love the contrast of the dark walnut stain and the glossy white desktop. I'm really glad the desk turned out nice!
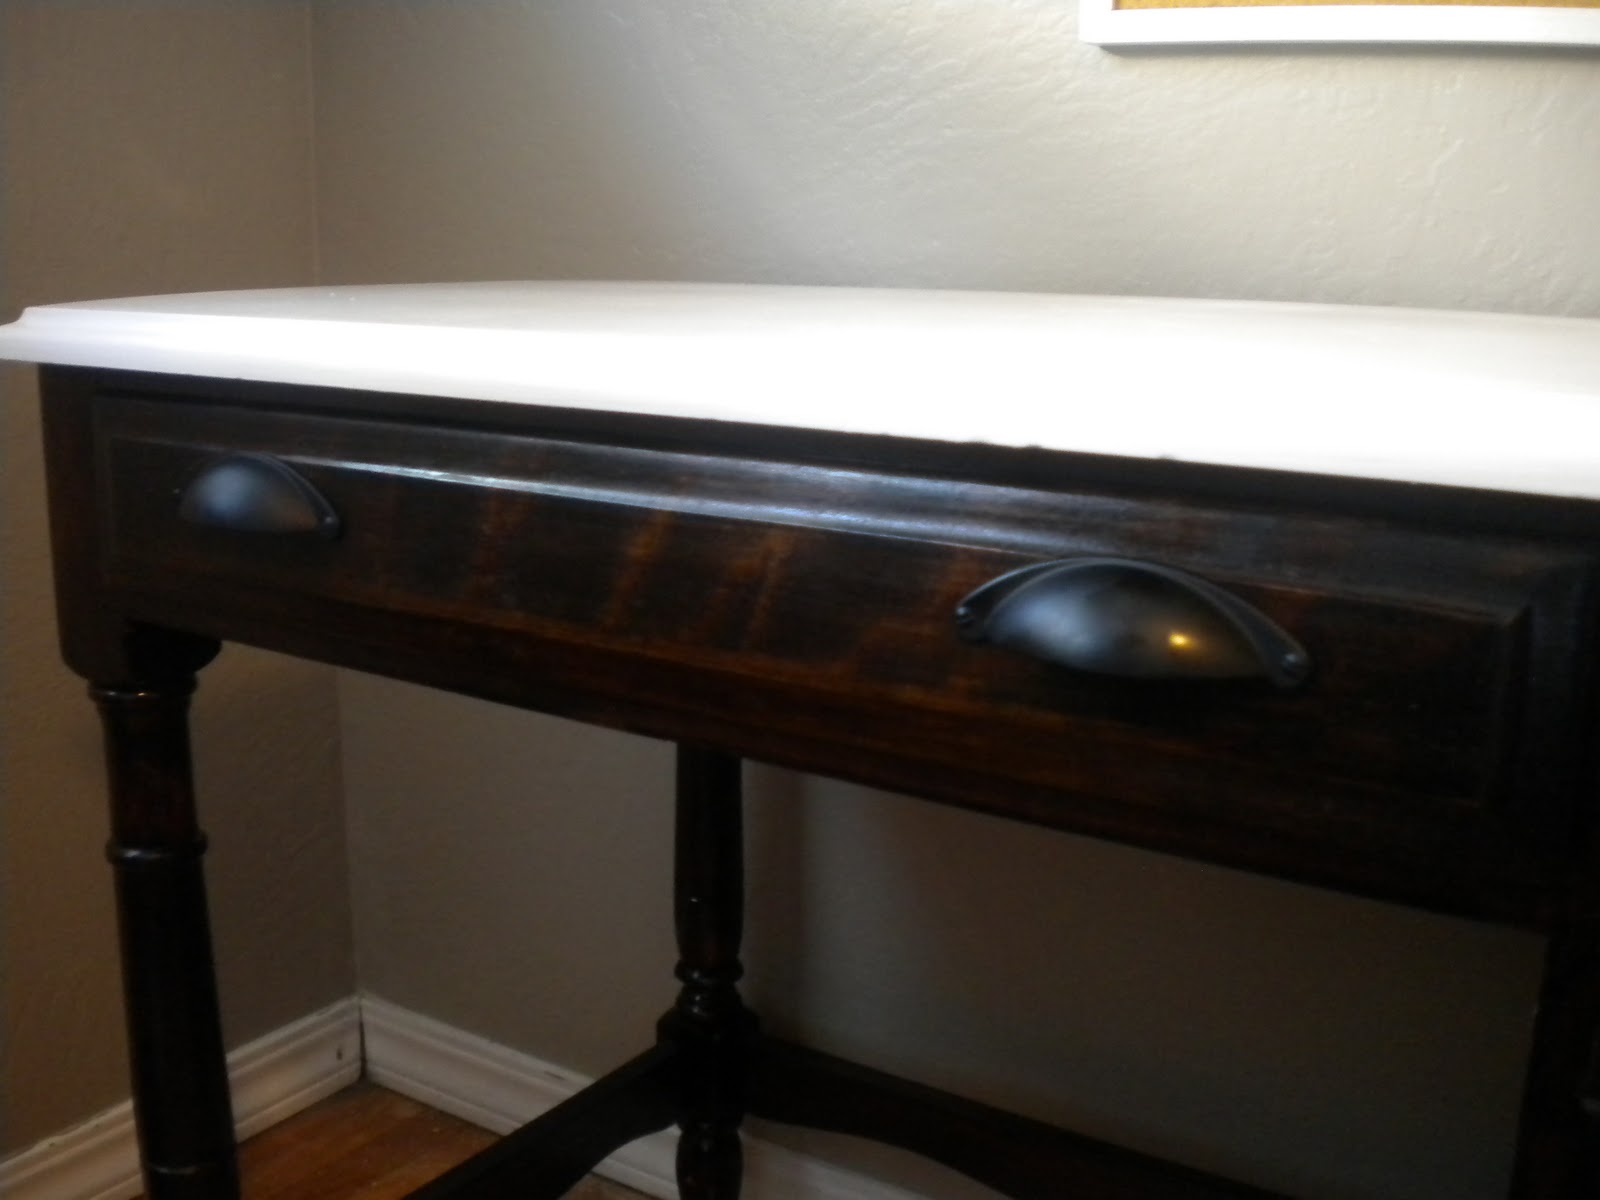
For some reason it was really hardware me to take a good front picture of his desk (note to self, read the camera manual!) His desk is 99% done, I still have to cut a board to fix the gap in the desk, were a pull out board once was.
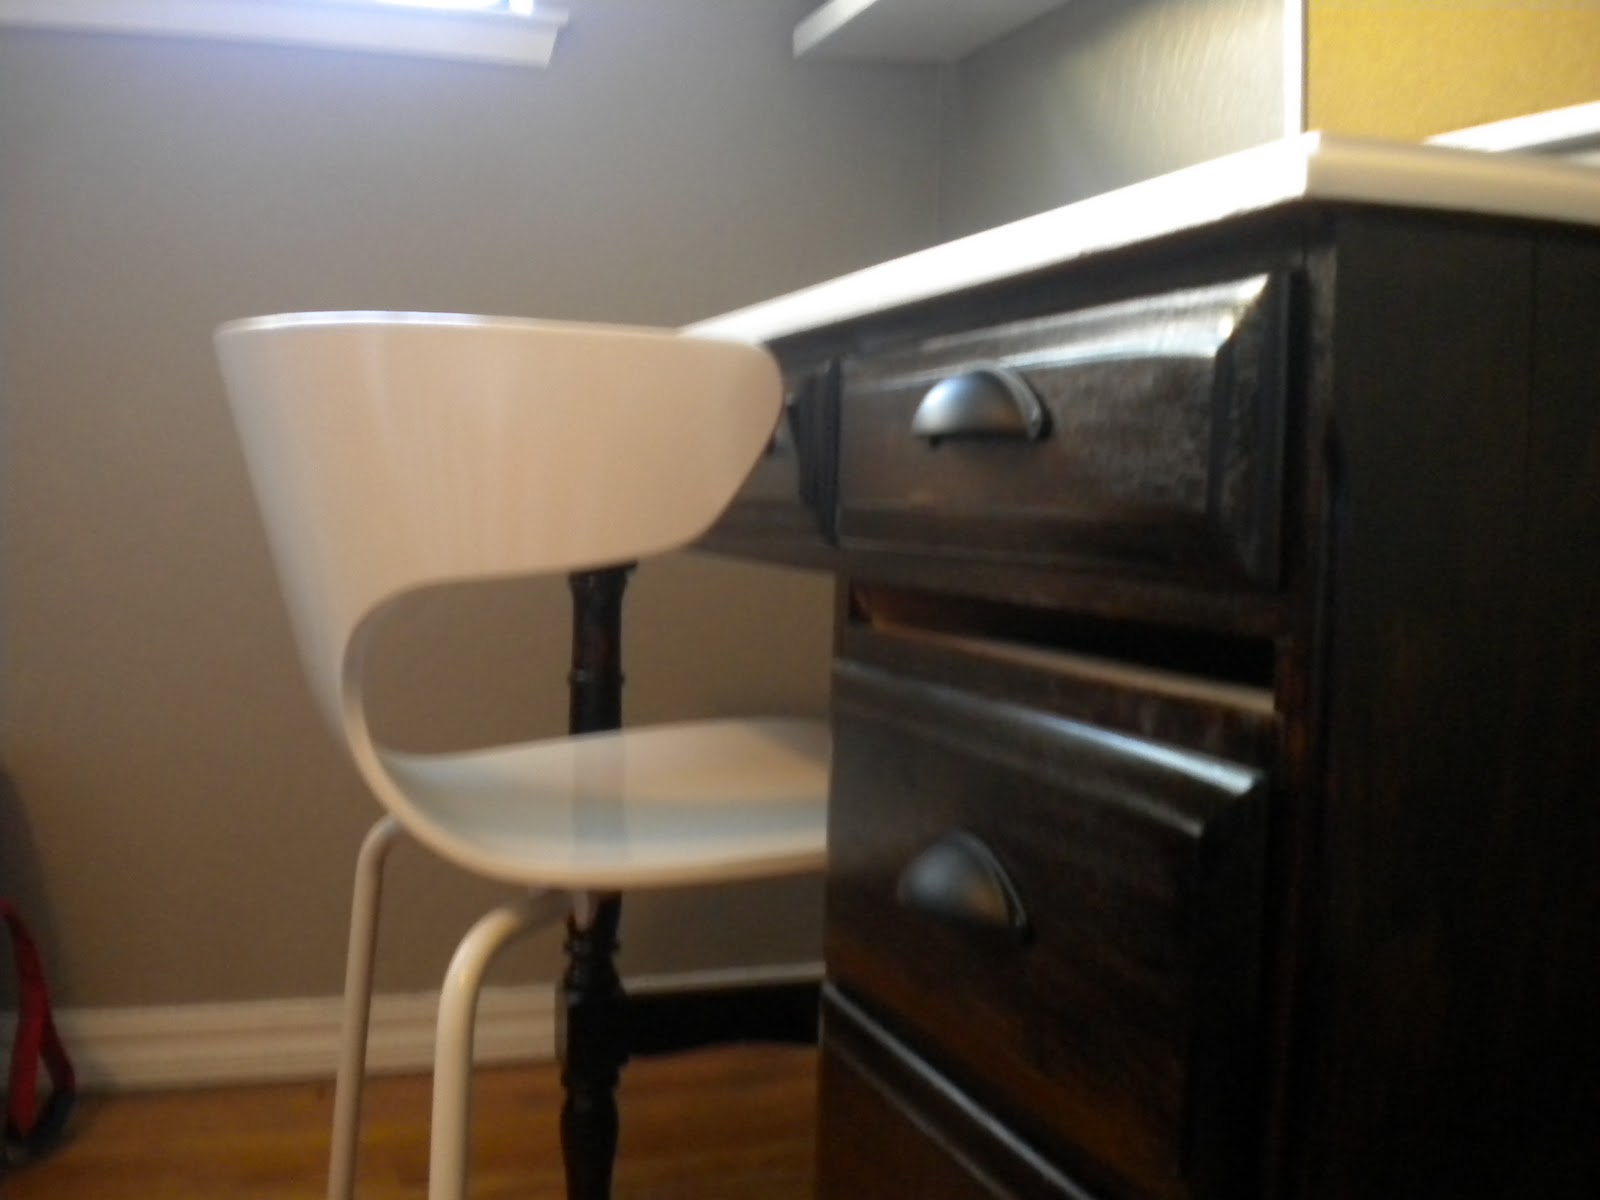
I like how the modern West Elm chair looks with his traditional desk.
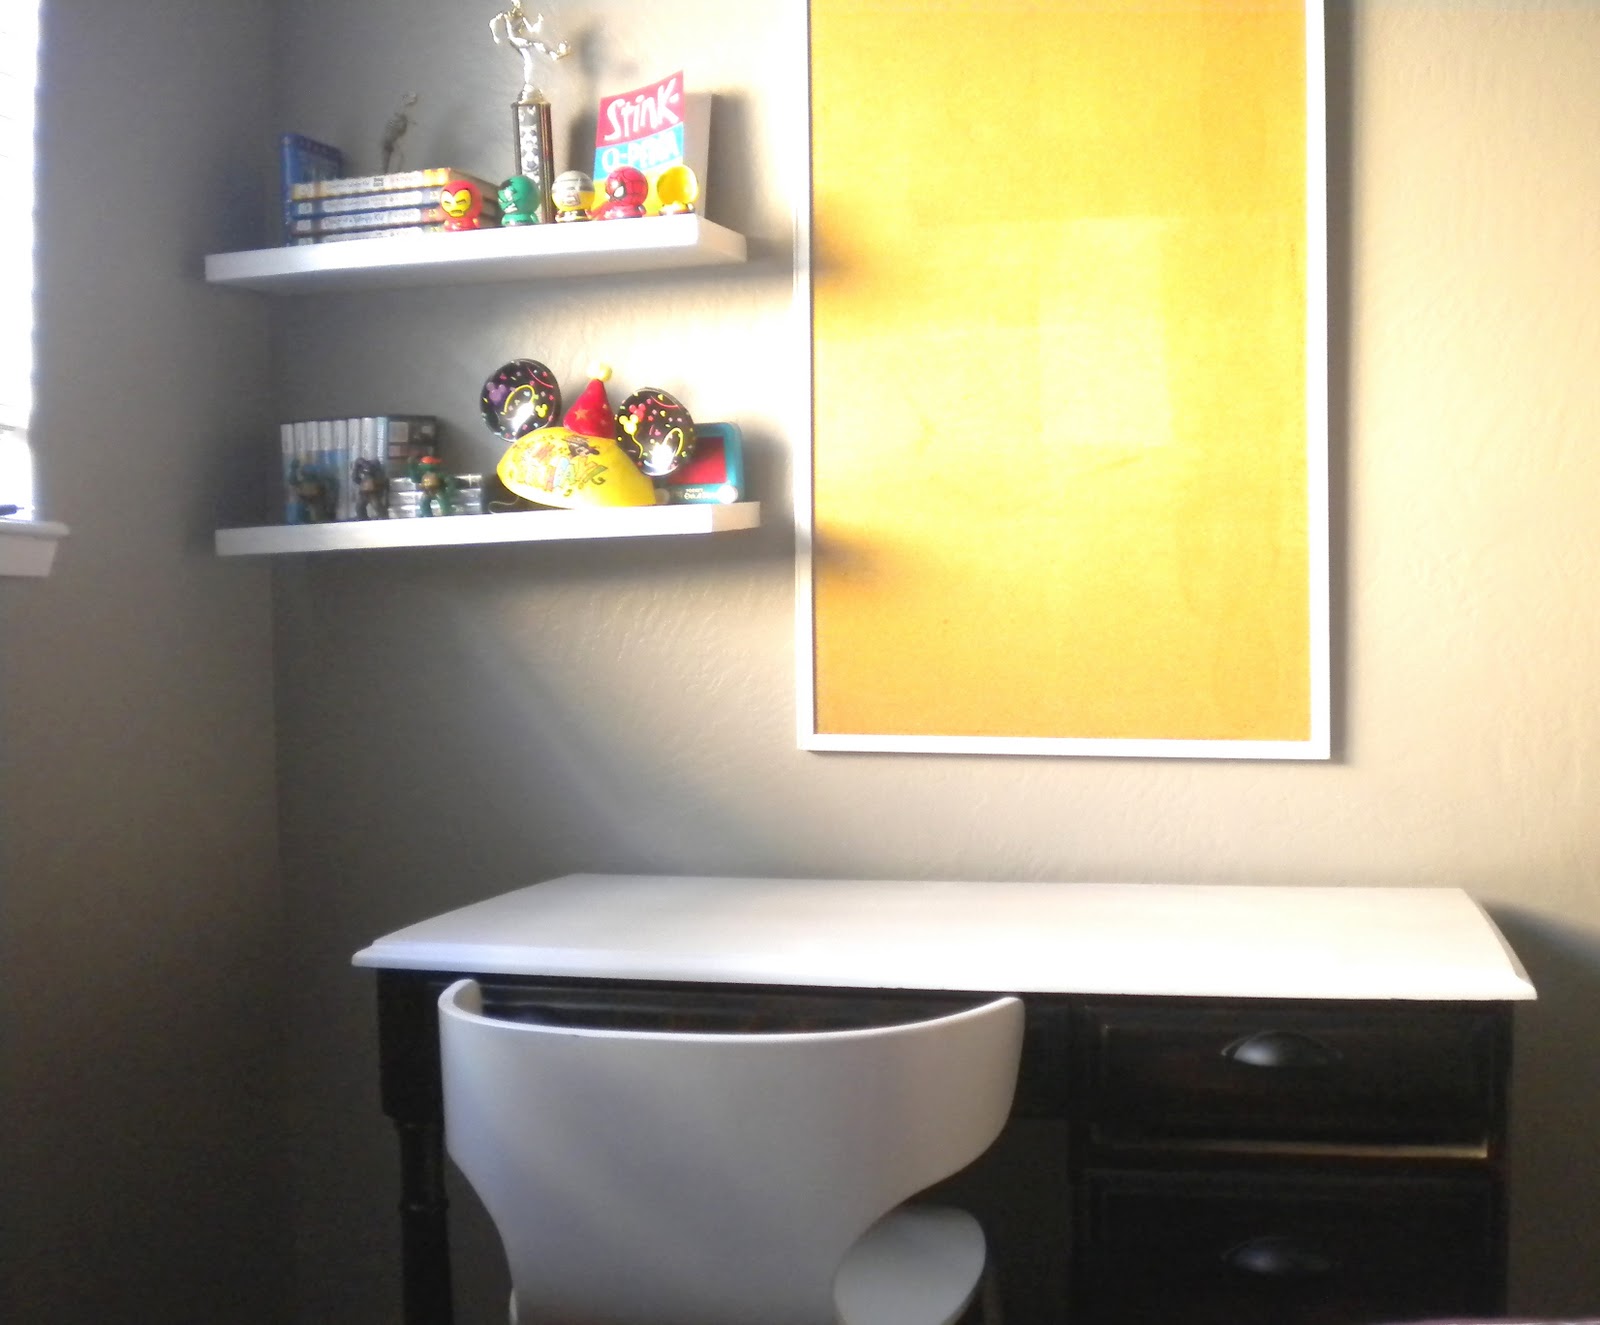
Tabari's loves his new desk and thinks it looks cool. What do you think of his desk? Am I on the right track in creating a tween space that is a combination of modern and traditional?
ps: Here's a recap of completed projects & ideas for our sons tween room: Painted Room (here) Used Tools as Decor (here) Room Lighting (here) Found a Desk (here) Desk Chair (here) DIY Floating Shelves (here)















Yup-you're definitely on the right track! The desk looks great! : )
ReplyDeleteA wee bit of whining is always acceptable during a labor intensive project. :)
ReplyDeleteI have to be honest, the before picture scared me a bit and I didn't think it could be salvageable; but you proved me wrong! The desk looks great! I'd say you've been on the right track since day 1.
Looks FAB! Excellent job!
ReplyDeleteGreat job, doesn't even look like the same desk!
ReplyDeleteDolores - I may have shed a few tears too during the sanding process, I loathe sanding.
ReplyDeleteGlad you all like how the desk has turned out.
I think you achieved it!! I am very impressed with the look! The new pulls just make it! Great job and I am glad he is diggin it!
ReplyDeleteOMG, you did a great job! It looks like a new desk. I am soooo sending this to a friend who has been planning a similar project-since last fall! I'm sure it will motivate her to get cracking. The room is looking great. Hope you tweener is enjoying all the work that you've put in.
ReplyDeleteLooks amazing! Am sending this tutorial to a friend, as well.
ReplyDeletelooks awesome! Thanks for the tips...I'm currently refinishing a sideboard and I am also considering the two-tone look! Great job!
ReplyDeleteI always see pieces like this to tackle but get too overwhelmed... you did an amazing job! The room is really coming together :)
ReplyDeleteYou have done an amazing job - it looks very put together and the table looks like a signature piece! Great job!!
ReplyDeleteXOXO
Kiki
It's looking fabulous!!
ReplyDeleteWOW, Mrs. Chic the desk looks amazing. I love that your paired it with the modern desk chair. very "domino mag"
ReplyDeleteThanks Everyone.
ReplyDeleteKaren & Elisa, I hope the how to helps yours friends!
Carrie, go for the two tone - you'll be amazed by how much you love the look :)
i definitely think so, katrina--i love it! the stain on the desk looks so rich! your son is a lucky boy!
ReplyDeleteLooks so good! Can you come over and do that for me, lol!
ReplyDeleteSue
I love this! I have been meaning to get into a furniture refinishing project and contemplating the two-tone look. Seeing how this turned out has just about sold me to go for it. Great job!
ReplyDeleteOMG that looks so great! That is one lucky son you got there!!
ReplyDeleteIt looks so much better than the original. And I love that chair with it.
ReplyDeleteThe desk is fabulous! I love it!!!! Great job taking the old and mixing it with the new. I am sure it is even more lovely in person.
ReplyDeleteWow, I looooove how this turned out! You are the queen of seeing promise in old pieces!!
ReplyDeleteAmazing job! I love the dark stain and new handles.
ReplyDeleteThat is just fantastic! I LOVE the two-tone -- it turned out absolutely beautiful! You did such a great job! :)
ReplyDeleteThanks for the tips! I have an extremely similar desk that I'm looking into refinishing and your suggestions will definitely help along the way!
ReplyDeletehi, I just came across your blog while searching some info to refinish an office desk. It looks like on yours you were not required to strip it at all. Mine seems to have a wood veneer top...NOT solid wood. Do you think this process is still possible? I love how yours turned out. if you have ever done a project with similar material as mine I would love any extra tips. THX
ReplyDeleteI picked up the EXACT same desk - in the same shape - off of Craigslist. I was looking for a way to refinish it and this is GREAT….thanks for sharing.
ReplyDelete